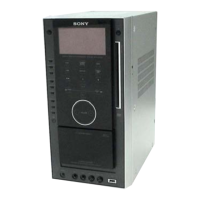
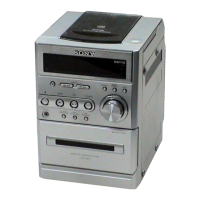
HCD-AZ33D
8
SECTION 2
GENERAL
This section is extracted
from instruction manual.
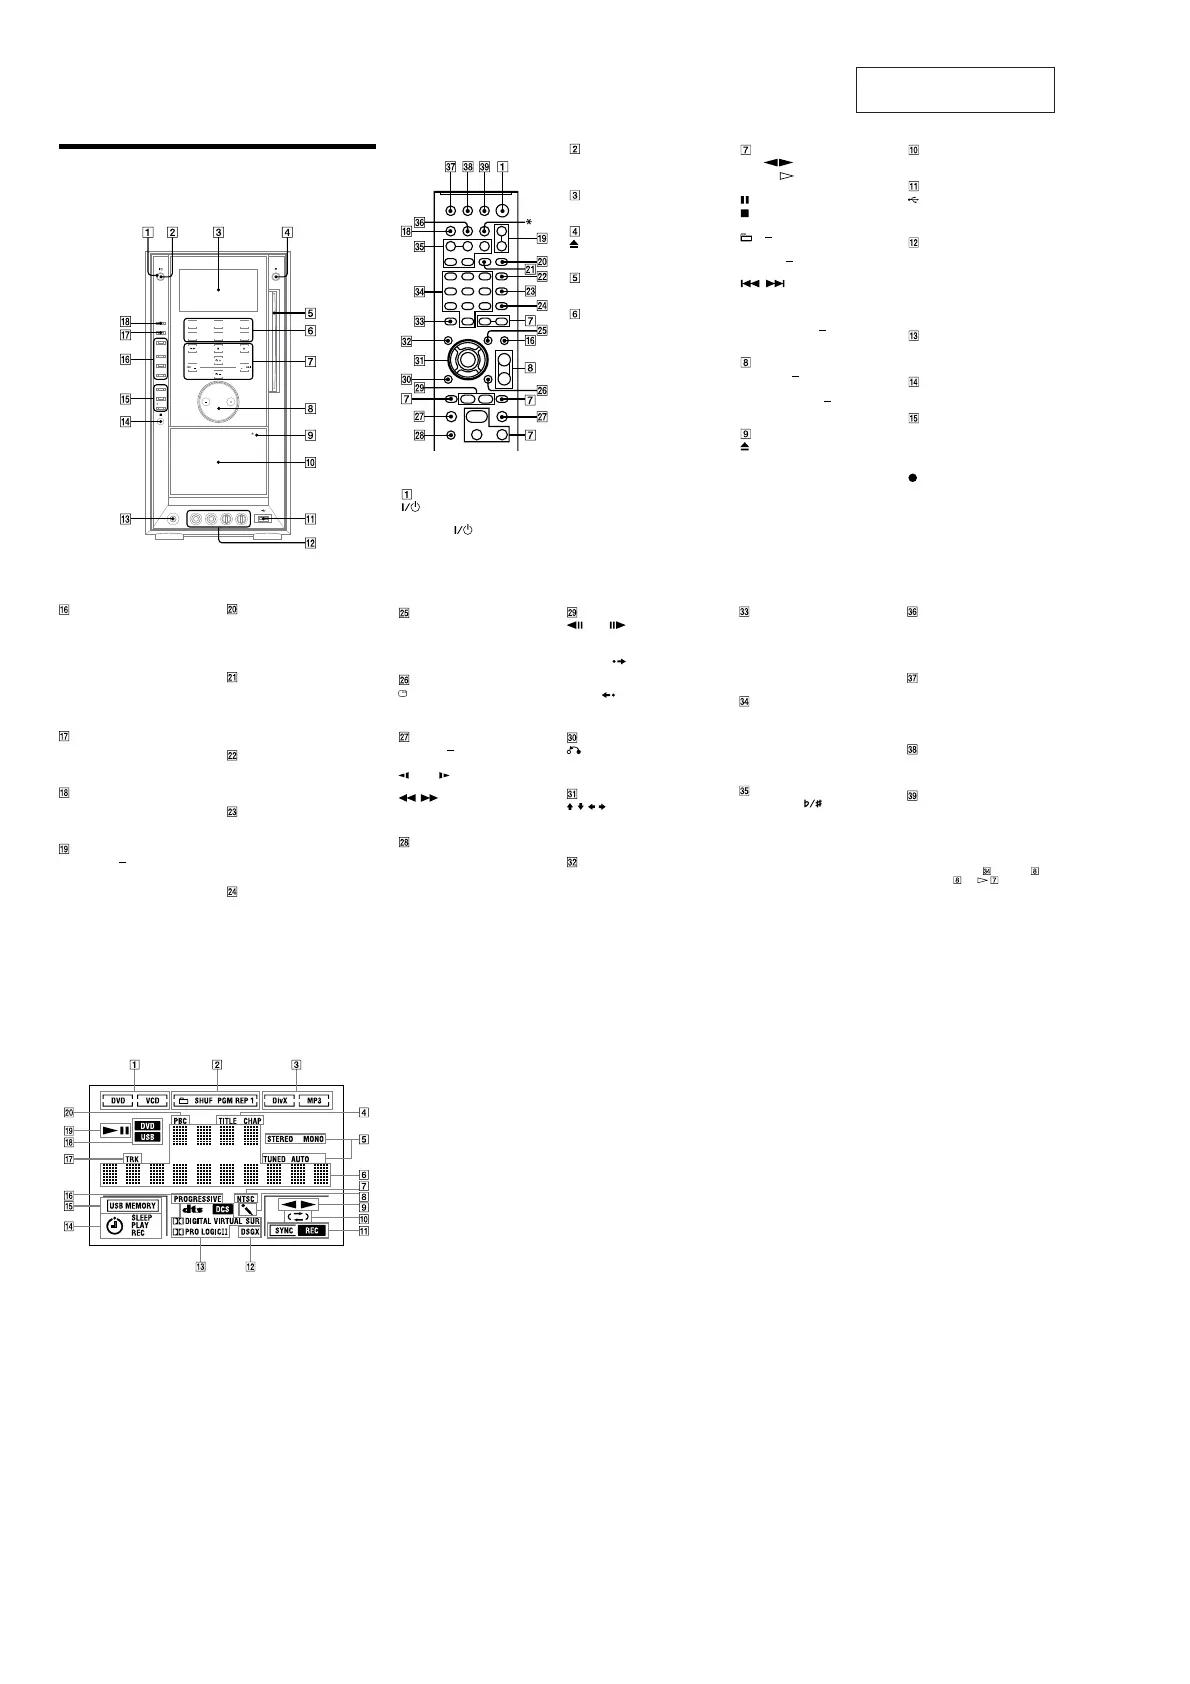
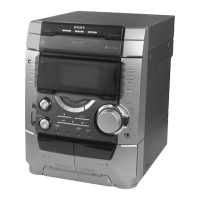
Guide to parts and controls
is manual mainly explains operations using the remote, but the same operations can
also be performed using the buttons on the unit having the same or similar names.
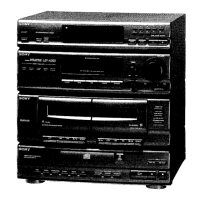
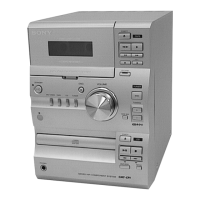
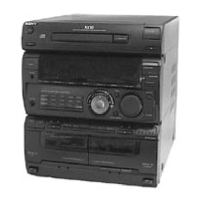
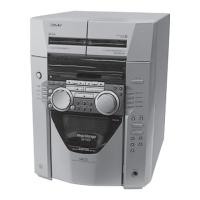
Unit
Remote control
* e DISC SKIP button is not available
for this model.
(on/standby)
Press to turn on the system.
Remote: TV
1)
(on/standby)
Press to turn on the TV.
STANDBY indicator
Lights up when the system is turned o.
Display
(eject)
Press to eject the disc.
Disc slot
DVD
Touch to select the “DVD” function.
TUNER/BAND
Touch to select the “TUNER” function.
Touch to switch among FM and AM
band.
TAP E
Touch to select the “TAPE” function.
USB
Touch to select the “USB” function.
DMPORT
Touch to select the “DMPORT” function.
VIDEO/SAT
Touch to select the “VIDEO” or “SAT”
function.
Unit: (play)
Remote:
2)
(play)
Touch or press to start playback.
(pause)
(stop)
Touch or press to stop or pause playback.
+/
Touch or press to select an album.
PRESET +/
Touch or press to select the preset station.
/ (go backward/
forward)
Touch or press to select a track, chapter
or video le.
Remote: TV CH +/
1)
Press to change the TV channels.
VOLUME +/
2)
Touch or press to adjust the volume.
Remote: TV VOL +/
1)2)
Press to adjust the TV volume.
PUSH OPEN/CLOSE
Press to insert or eject a tape.
Tape deck
(USB) port
Connect an optional USB device (Digital
music player or USB storage media).
MIC 1/MIC 2 jacks
Connect to a microphone.
MIC LEVEL
Turn to adjust the microphone volume.
ECHO LEVEL
Turn to adjust the echo level.
PHONES jack
Connect the headphones.
Remote sensor
DIRECTION
Press to select the side of the tape to be
played back.
CD SYNC
START
Press to record on a tape.
Unit: DSGX
Press to reinforce the bass.
SOUND FIELD
Press to select the sound eld for the
surround sound.
Unit: PRESET EQ
Press to select the sound eect.
Unit: EQ EDIT
Press to select the frequency band.
PROGRESSIVE
Press to change the output video format
(Interlace or Progressive format).
DISPLAY
Press to display the disc information or
clock in the front panel display.
FUNCTION +/
Press to select the function.
PICTURE NAVI
Press to select the viewer format for
searching the chapters, titles and tracks.
Press to display the thumbnail pictures.
REPEAT/FM MODE
Press to listen to a disc, a single track or
le repeatedly.
Press to select FM reception mode
(monaural or stereo).
AUDIO
Press to display the current audio signal
on the TV screen.
SUBTITLE
Press to switch the language of the
subtitle (DVD VIDEO only).
D. TUNING
Press to switch to the direct tuning mode.
ANGLE
Press to change the angle (DVD VIDEO
with multi-angles only).
DVD/TUNER MENU
Press to display the menu items on the
TV screen.
Press to preset the radio station.
DISPLAY
Press to display the Control Menu on the
TV screen.
TUNING +/
Press to tune in the desired station.
SLOW
Press to watch the slow-motion play.
/ (rewind/fast forward)
Press to nd a point in a track, chapter or
video le.
TV
1)
Press to operate the TV functions.
STEP
Press to play one frame at a time when
playback is paused.
ADVANCE
Press to advance the current scene during
playback.
REPLAY
Press to replay the previous scene during
playback.
RETURN
Press to return to the previous menu on
the TV screen.
///
Press to select the menu items.
ENTER
Press to enter the settings.
DVD TOP MENU
Press to display the DVD title on the TV
screen.
CLEAR
Press to delete a pre-programmed track
or le.
-/--
1)
Press to enter a single digit or double
digit number.
Numeric buttons
2)
Press to select a track, chapter or video
le.
Press to enter a password.
10/0
1)
Press to enter a double digit number.
KEY CONTROL
Press to change the key to suit your vocal
range.
SCORE
Press to select the diculty level for
scoring mode.
KARAOKE MODE
Press to select the Karaoke mode.
KARAOKE PON
Press to activate the “KARAOKE PON”
function.
TIME/TEXT
Press to change the information
appearing in the front panel display or
on-screen display.
SLEEP
Press to set the Sleep Timer.
TV INPUT
1)
Press to switch the input sources.
TIMER MENU
Press to set the clock and the timers.
THEATRE SYNC
Press to activate the “THEATRE SYNC”
function.
1)
is button is used to operate a Sony TV. For
details, see “Operating a Sony TV”.
2)
e numeric button 5 , TV VOL + ,
VOLUME + and buttons on the
remote have a tactile dot. Use the tactile dot
as a reference when operating the system.
Display
Indicates the type of disc being played
back.
Indicates the selected play mode.
Indicates the le format.
Lights up when the title or chapter
number is displayed.
Lights up in “TUNER” function.
Displays the text information.
Lights up when the output video
signal is NTSC.
Lights up when the Karaoke Mode is
turned on.
Indicates the playback status of the
tape.
Indicates the playback direction of
the tape.
Lights up during recording.
Lights up when DSGX is turned on.
Indicates the current surround
format.
Lights up when the timer is set.
Lights up when the USB device is
recognized.
Lights up when “P AUTO” or “P
VIDEO” is selected.
Indicates the track information.
Indicates the selected function.
Indicates the playback status of the
disc or USB device.
Lights up when playing VIDEO CD
with PBC.