7
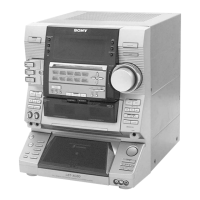
HCD-XG60/XG500
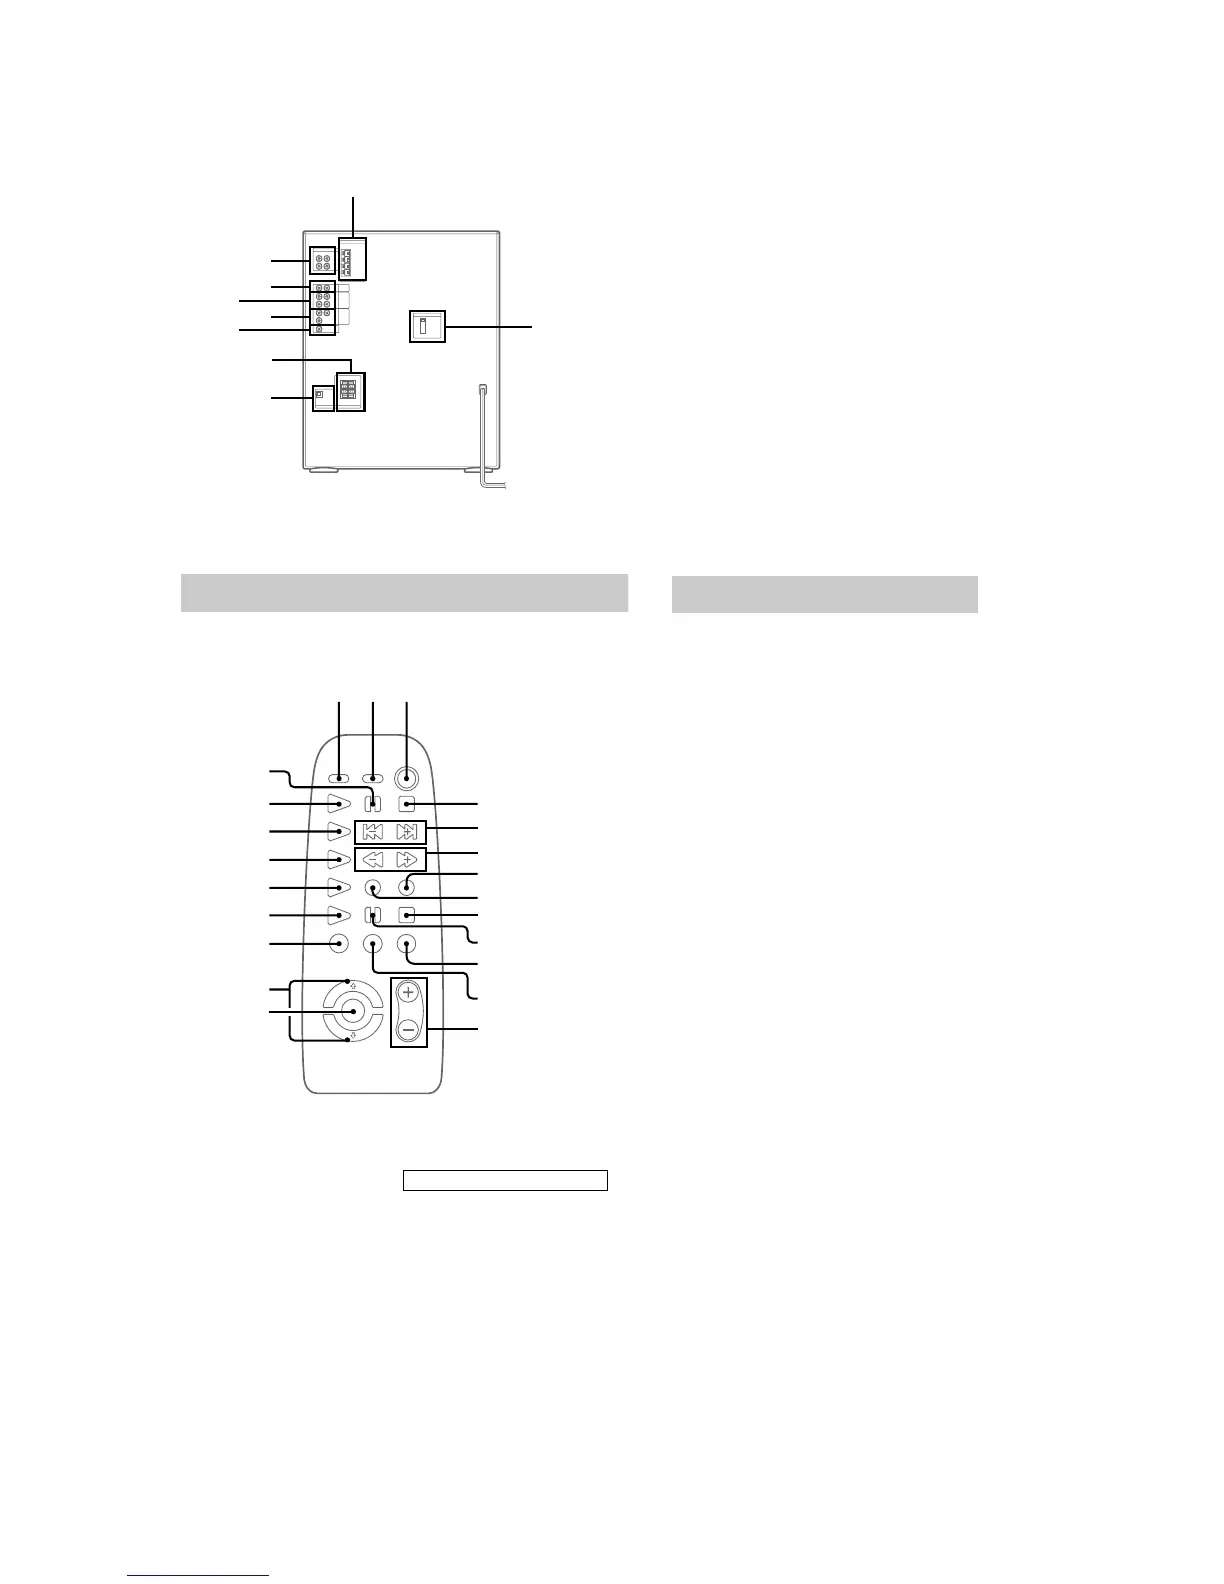
1 ANTENNA terminal
2 DJ MIX RETURN/SEND jack
(US, Canadian, AEP, UK Mexican models)
3 PHONO IN jack
4 MD IN/OUT jack
5 VIDEO/AUDIO IN jack
6 VIDEO OUT jack
7 FRONT SPEAKER terminal
8 CD DIGITAL OUT OPTICAL terminal
9 VOLTAGE SELECTOR switch
(120 V AC area in E, Saudi Arabia, Singapore, Argentina models)
– Rear Panel –
2
1
3
5
8
9
7
4
6
Setting the time
1
Turn on the system.
2 Press c/CLOCK SET.
When you set the time for the first time,
skip to the step 5.
3 Press v/V repeatedly to select SET
CLOCK.
4 Press ENTER/NEXT.
5 Press v/V repeatedly to set the hour.
6 Press ENTER/NEXT.
The minute indication flashes.
7 Press v/V repeatedly to set the minute.
8 Press ENTER/NEXT.
The clock starts working.
Tip
If you’ve made a mistake or want to change the time,
start over from step 1.
Note
The clock settings are canceled when you disconnect
the power cord or if a power failure occurs.
Remote control
AMS ./>, PRESET+/– 5
(9,13,14,15)
CD N wa (9)
CHECK 8 (10)
CLEAR 7 (10)
DECK A N ql (15)
DECK B N qk (15)
DISC SKIP 1 (9,10,17)
FILE SELECT ON/OFF qf (18)
FILE SELECT F/f qg (11)
FLASH qs (11)
FUNCTION qa
(7,9,10,16,17,23,24)
LOOP qh (11)
MD N qj
MD X 0
MD x 9
SLEEP 2 (21)
TUNER/BAND w;(12,16)
VOL +/– qd (9,13,15)
BUTTON DESCRIPTIONS
@/1 3
x 4
m/M 6
X ws
ql
qk
qj
qh
qg
qf
ws
wa
w;
6
7
8
9
q;
4
5
qd
qs
qa
123

 Loading...