R
rpittmanSep 6, 2025
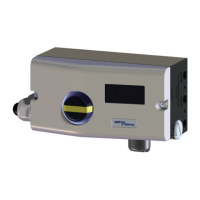
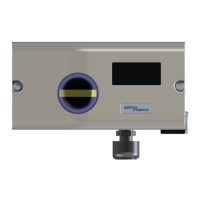
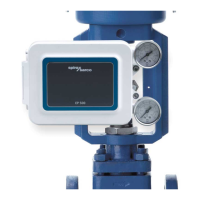
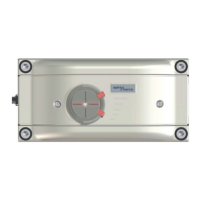
Why is ALARM 4 appearing on my Spirax Sarco SP7-20?
- AAndre MooreSep 6, 2025
If you receive ALARM 4 on your Spirax Sarco Valve Positioners, it indicates that controlling is inactive because the device does not operate in control mode or the binary input is active. To solve this, switch to control mode or switch off the binary input.