4 Graphical user interface (GUI)
STWLC38 (and other ST wireless charging devices) can be configured using the STCHARGE Wireless Power
Studio GUI (STSW-WPSSTUDIO). The GUI can also be used to control, monitor and program the device.
For more information, please see STCHARGE Wireless Power Studio User Manual.
4.1 Connecting STWLC38 to PC GUI
Step 1. Connect the board to a PC by plugging a USB-C cable into the connector J1.
Make sure the STWLC38 I²C pins are connected to the USB-C connector. This can be done by
shorting the appropriate signals (SDA, SCL, INT) on header P3.
Step 2. Power on the STWLC38 before connecting to the GUI, this can be done in one of the following ways:
Step 2a. Place it onto a power transmitter. The device operates in Rx mode.
Step 2b. Switch it into DC mode by connecting a DC power supply to the STWLC38 VOUT pin. The
voltage must be no higher than 3 V.
Step 2c. Switch it into DC mode by connecting the STWLC38 vout signal to the VBUS pin of the
converter board.
Note: Please note that the Rx registers will be available only if the device is operating in Rx mode, DC
mode is mainly used for updating patch and configuration file.
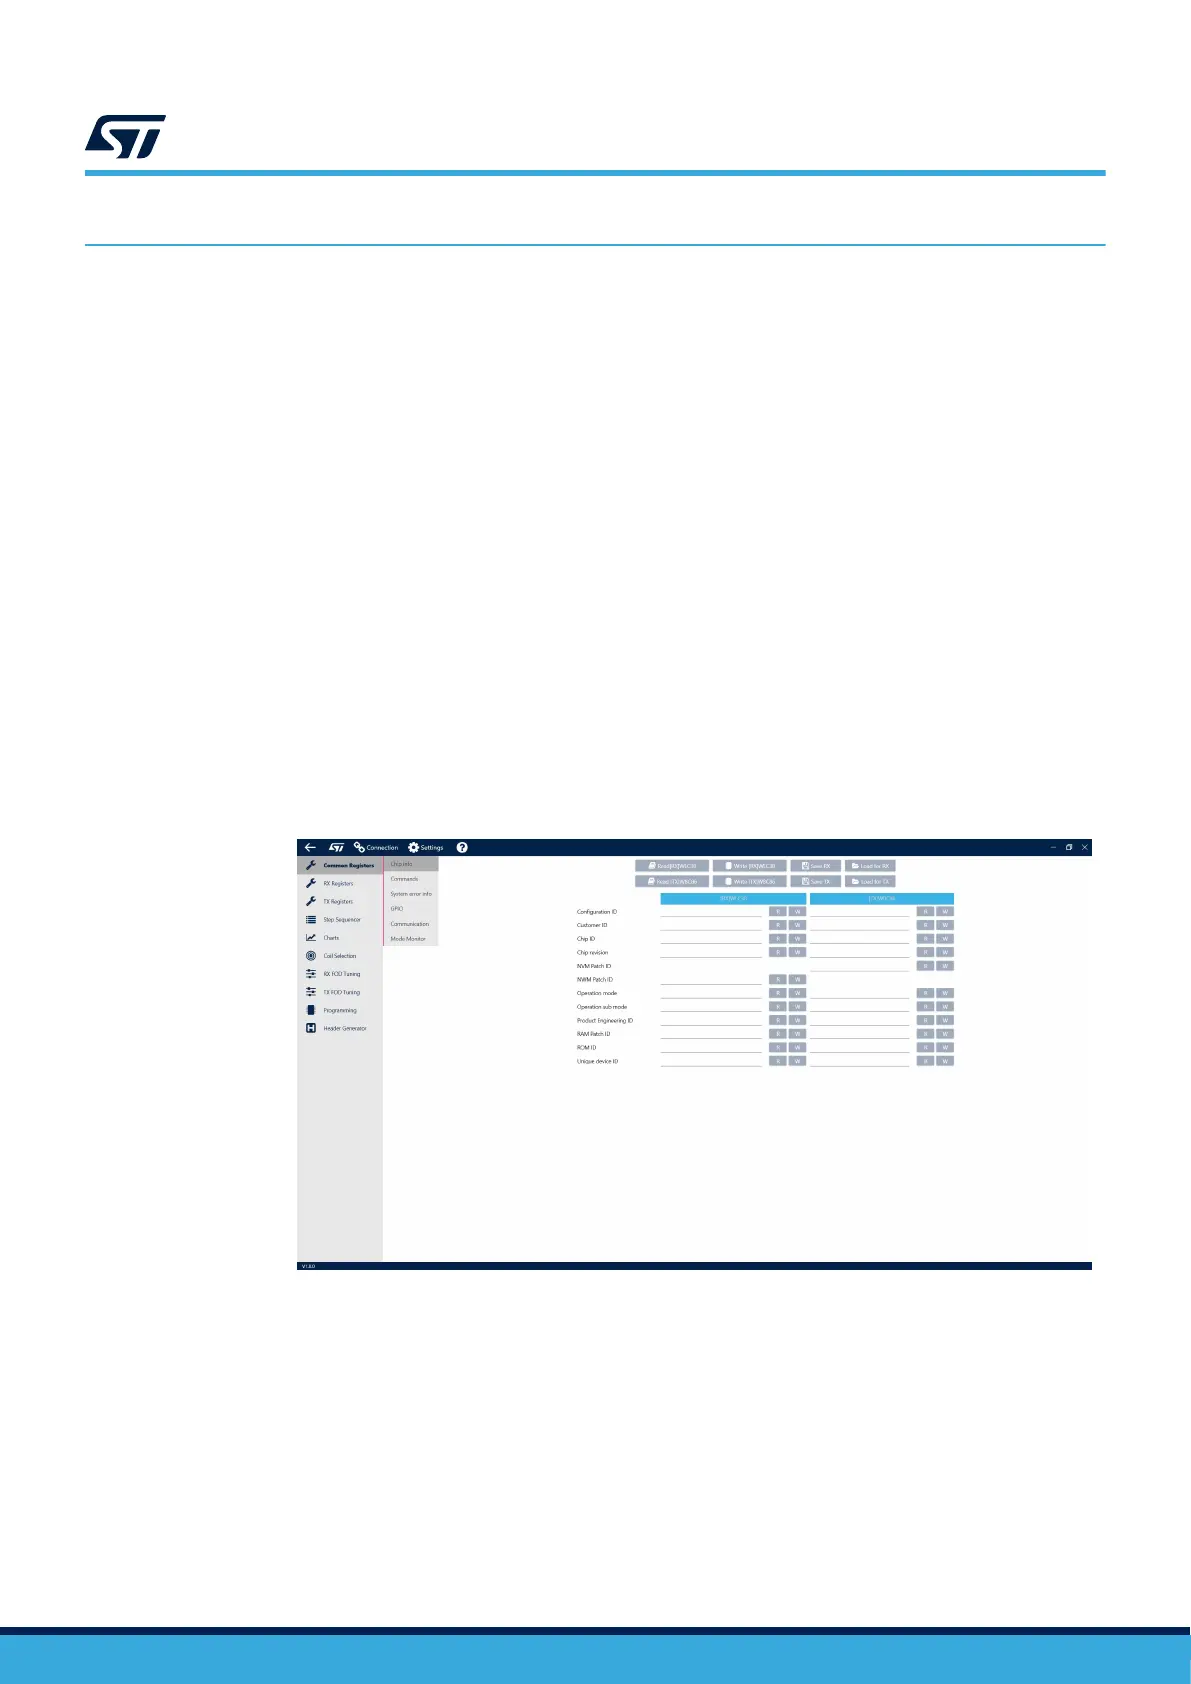
Step 3. Power up the board and open the GUI on your PC. Click the [Connection] button in the top menu.
Up to two devices can be connected at a time. This allows the user to control both Rx and Tx at the
same time).
Figure 5. PC GUI main screen
UM3154
Graphical user interface (GUI)
UM3154 - Rev 2
page 7/81