Maintenance, Service, and Repair
Transaxle - SS-536, SS-546, MX-600
Page 8
Assemble
Notes: When pressing bearings, do not press against or support the outer race as this will damage the
bearing.
All snap rings should fit tightly into their grooves. If a snap ring is loose, then it must be replaced.
Do not hit any shaft or component with a hard metal hammer or punch.
Pre-lube all bearings, seals and o-rings before assembly.
1. Thoroughly clean all components as well as the
inside of the housing.
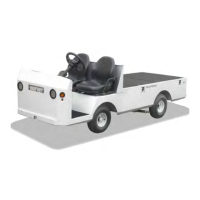
2. Press new bearings onto the input shaft and
differential case.
3. Insert new o-rings into both sides of the intermediate
shaft bore, the input shaft bore and the intermediate
shafts.
4. Install the input shaft into the housing and install
the snap ring.
5. Insert the intermediate shaft into the housing and
support in place.
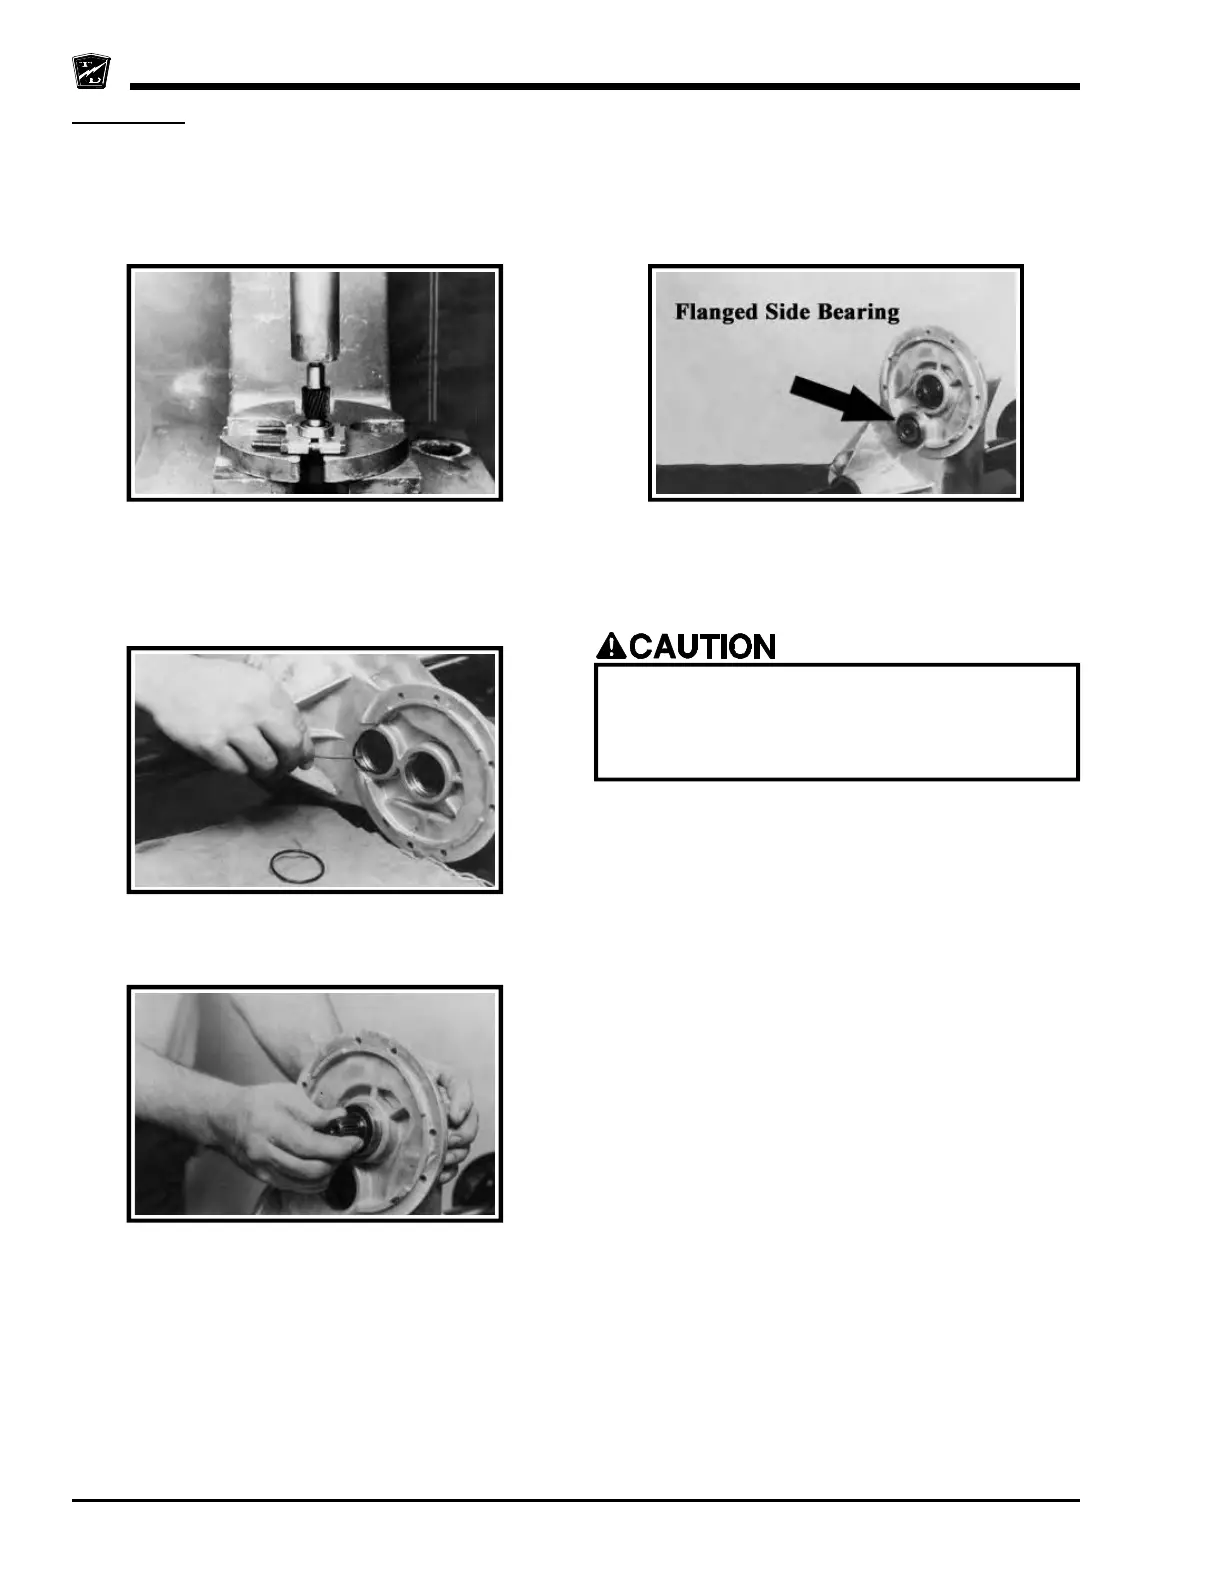
6. Insert the flanged side bearing into the bearing bore.
Press in just past the snap ring grove and install the
snap ring.
7. Repeat the above step for the opposite bearing.
8. Thoroughly clean both sides of the intermediate
bore. All contaminates must be removed.
9. Apply Loctite #RC 609 to both sides of the
intermediate bore and install new bore plugs. Drive
the bore plugs until they are firmly seated against
the snap rings.
10. Install the final drive gear onto the differential
housing. Tighten the nuts to per torque listed in the
Hardware Torque table at the end of this section.
11. Install the differential assembly into the drive housing
and install the bearing caps. Tighten the cap bolts
per torque listed in the Hardware Torque table at
the end of this section.
Note: The bearing caps are marked for
identification and must be installed in their
original locations.
12. Place a small bead of non-acidic silicone sealant to
the bottom flange of the housing.
NOTE: The sealant bead should be on the inside of
the cover plate mounting holes.
13. Install the cover plate. Tighten the bolts per torque
listed in the Hardware Torque table at the end of
this section.
14. Install the axles using new axle seals. Refer to Rear
Axle section for information on installing the axles.
15. Fill with oil.
Use a hard wood dowel the same diameter as
the bearing bore to drive the bearing into place.
Do not drive against the inner race as this will
damage the bearing.