Maintenance, Service, and Repair
Front Axle Page 8
1. Make sure the key-switch is in the “OFF” position, then remove
the key.
2. Place the forward-reverse switch in the center “OFF” position.
3. Set the park brake.
4. Place blocks under the rear wheels to prevent vehicle movement.
5. Disconnect the main positive and negative cables at the batteries.
Always use a lifting strap, hoist, and jack stands, of adequate capacity
to lift and support the vehicle. Failure to use lifting and support devices
of rated load capacity may result in severe bodily injury.
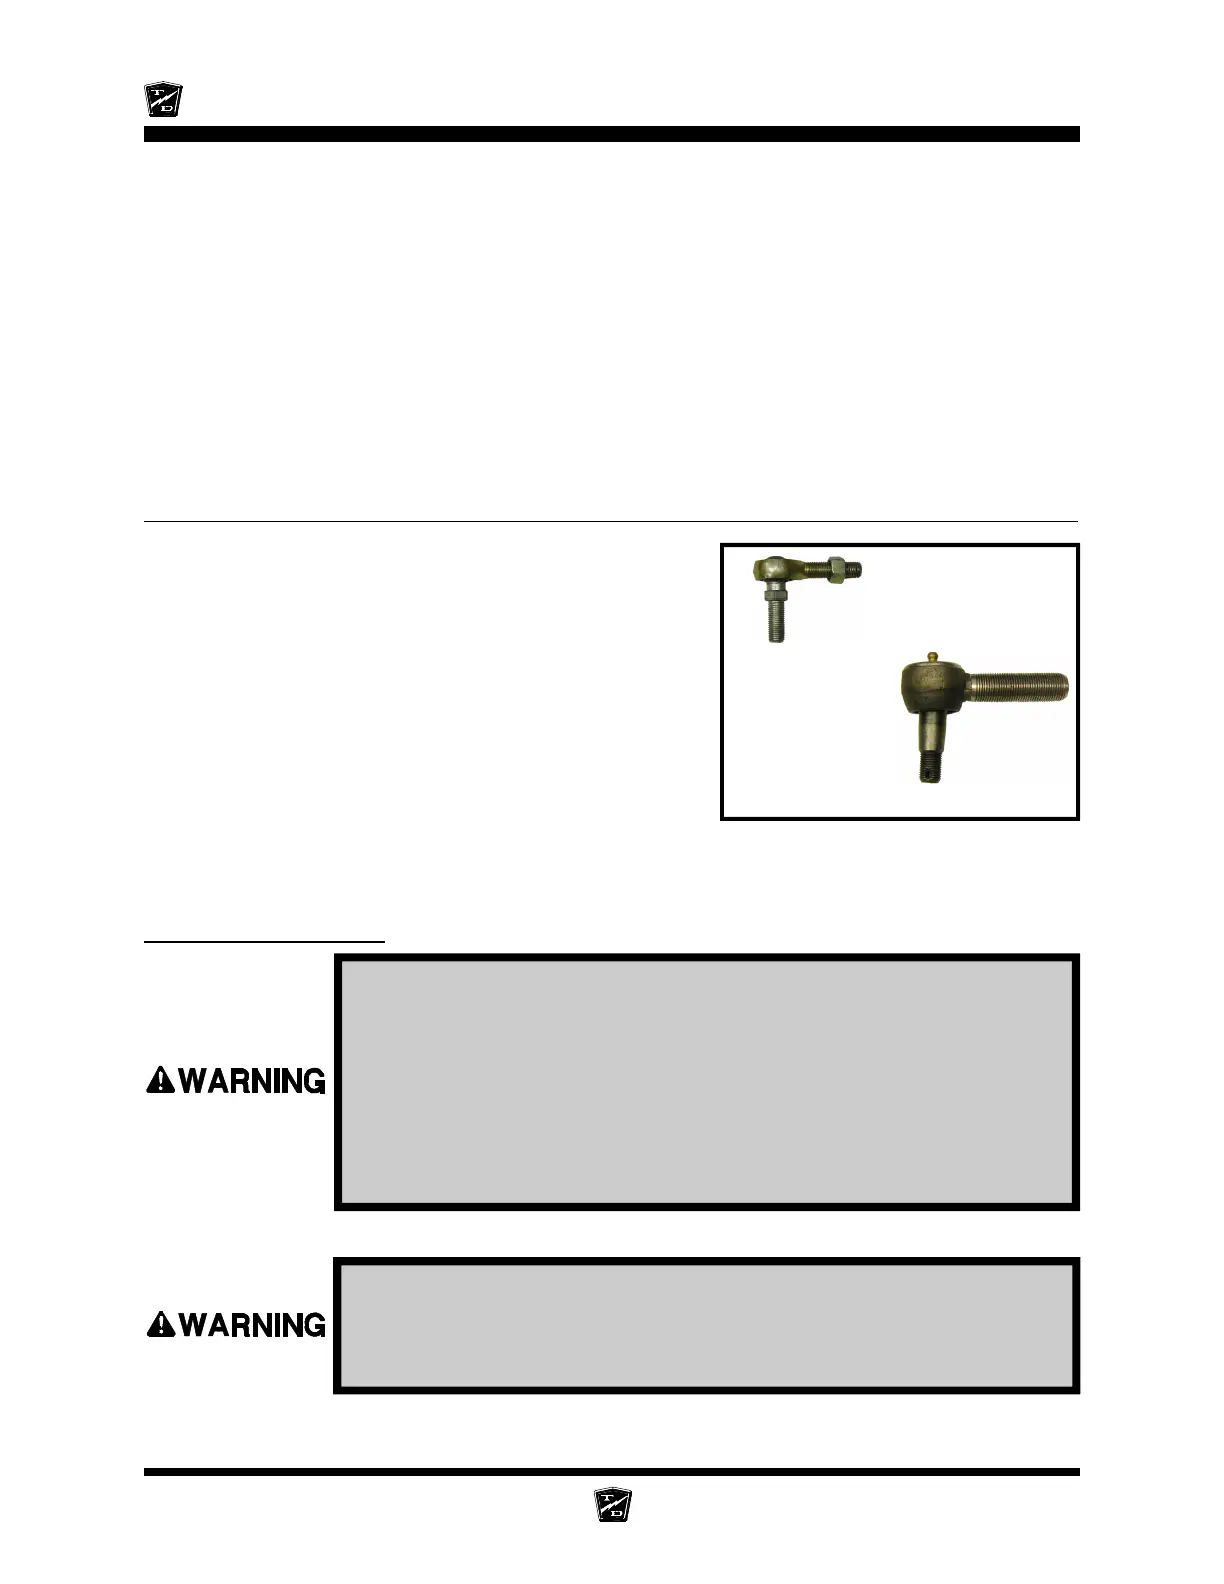
Rod End
Ball Joint
REPLACE THE BALL JOINTS, TIE RODS, AND DRAG LINK
This section will refer to two different types of ball joints.
One type is has a grease fitting and a tapered shaft where it
is installed on the steering arm or pitman arm. The second
cannot be greased and has a straight shaft. See the
illustrations to the right. Depending on the configuration of
your vehicle, it may be equipped one or both types of ball
joints.
In this text:
The first type will be referred to as a “Ball Joint.”
The second type will be referred to as a “Rod End.”
NOTE: If a rod end or ball joint is worn out, we
recommend replacing all of the ball joints
and/or rod ends as a set.
Replacing a Rod End
6. Raise the front of the vehicle and support with jack stands.
13. Install the hub dust cap.
14. Reinstall the brake body and the tire/wheel assembly.
NOTE: Refer to the Brakes section for information regarding the
installation of the brake body.
15. Lower the vehicle.
16. Reconnect the main positive and negative cables at the batteries.
17. Remove the blocks from behind the wheels.
18. Release the park brake and test drive the vehicle.