Maintenance, Service, and Repair
Brakes
Page 8
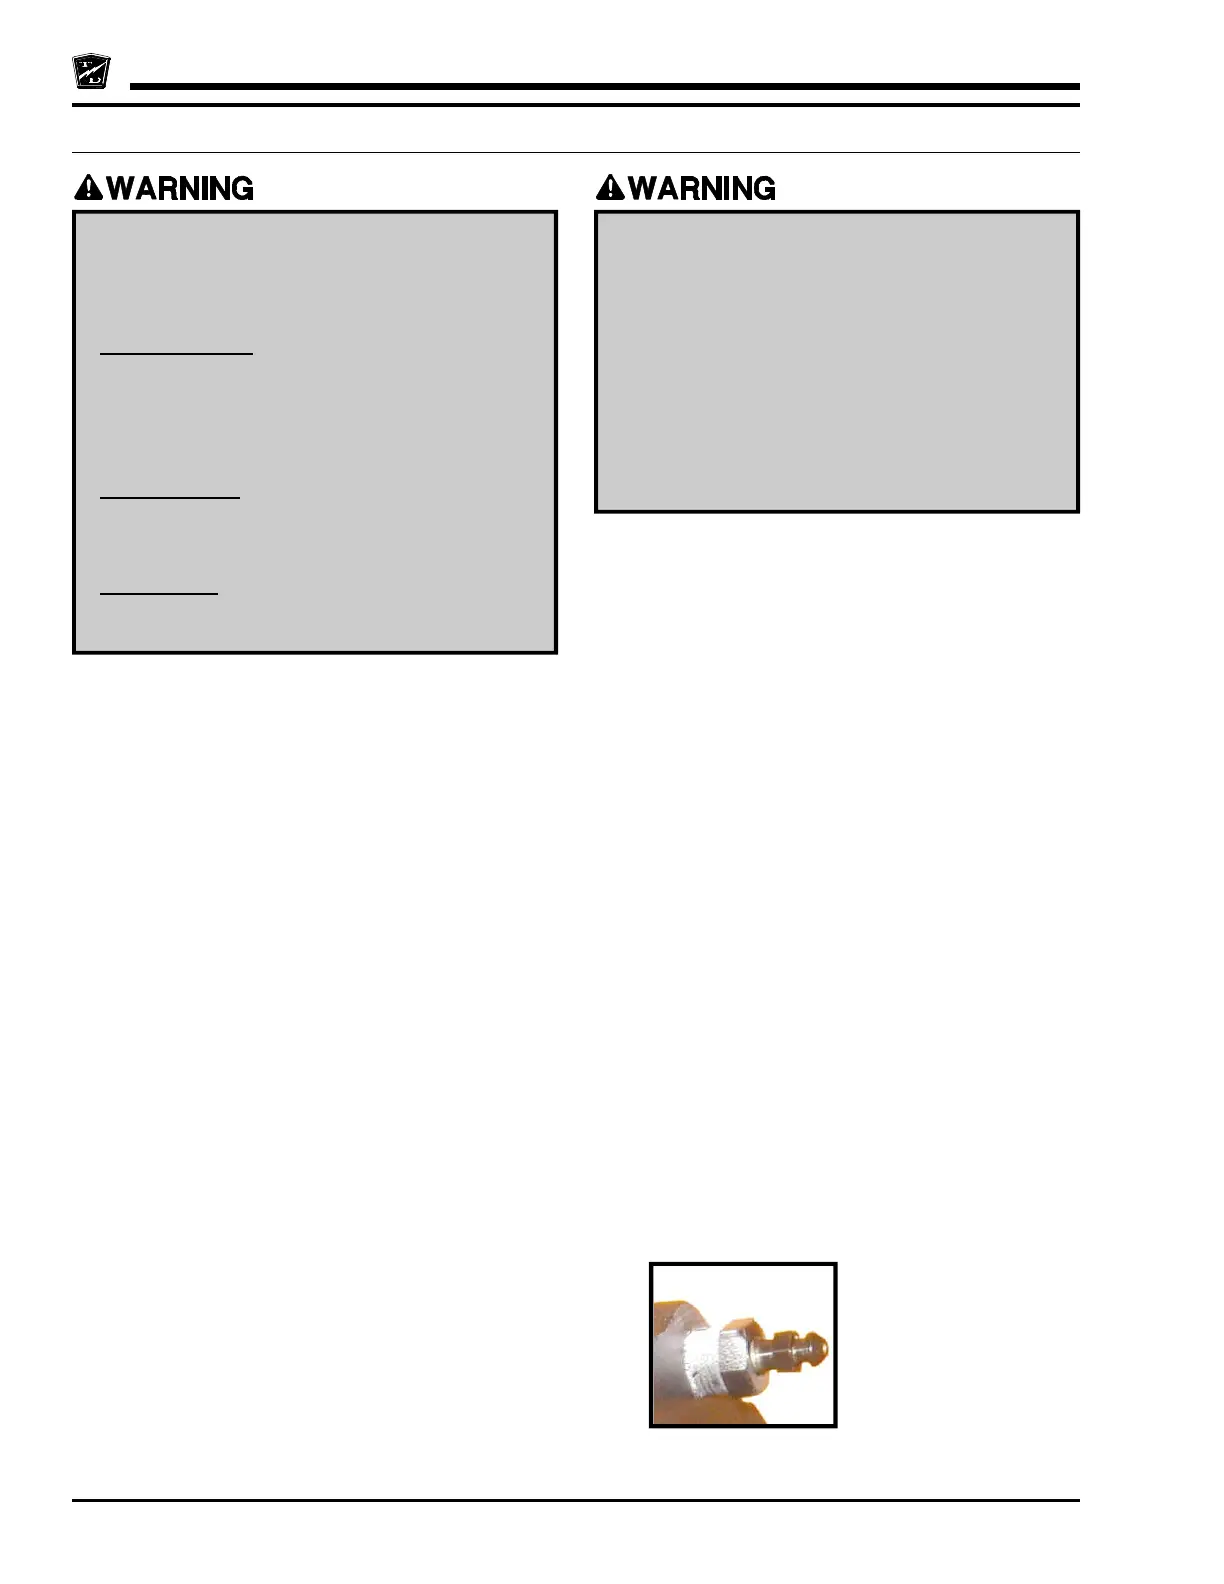
Typical bleeder
valve
BLEED THE BRAKE SYSTEM
Do not ingest brake fluid or allow contact
with skin or eyes. Always wear protective
clothing and a face shield when working
with or around brake fluid.
SKIN CONTACT
Flush area immediately with water for
several minutes. If a rash or skin irritation
develops, get medical attention
immediately.
EYE CONTACT
Immediately flush the eye with water for
15 minutes and call physician.
INGESTION
Get medical attention immediately.
• Only use DOT 3 brake fluid from a new
sealed container.
• DOT 3 brake fluid is corrosive and will
damage paint finishes.
• Dispose of brake fluid in accordance with
local state and federal regulations.
• Read and follow all warnings on the
brake fluid container.
NOTE: Hydraulic brakes are optional. Start this
procedure at the wheel furthest from the
master cylinder, then work toward the wheel
closest to the master cylinder.
6. Thoroughly clean the area around the master
cylinder cap and remove the cap.
7. Add brake fluid from a new sealed container to
the master cylinder. Fill to 1/4” from the top of the
master cylinder chamber.
8. The master cylinder fluid level will drop as the
brakes are bled. Periodically check and fill the
master cylinder during this procedure. Do not allow
the fluid level in the master cylinder to drop too
low as this will allow air into the brake lines.
9. Attach a clear hose to the bleeder valve on the
brake cylinder that is to be bled. Route the hose
into a clear container for waste brake fluid.
10. Pump the brake pedal a few times and then press
and hold light pressure to the brake pedal.
11. Open the bleeder valve on the hydraulic brake
body.
12. Depress the foot pedal to the floor and then close
the bleeder valve. Do not release pressure on the
brake pedal until the bleeder valve is closed.
13. Slowly release the foot pedal, allowing it to return
to its released position.
NOTE: Check and fill the master cylinder frequently
during the bleeding process. Do not allow the
fluid level in the master cylinder to drop low
enough to allow air to enter the brake lines.
If air enters the brake lines during the bleeding
process, then you will have to start again from
the beginning.
14. Repeat the above steps until you are sure that all
of the air is expelled from the brake line. Any air
bubbles that can be seen in the clear hose attached
to the bleeder is an indication that there is still air
in the brake lines.
15. Repeat this process with each of the other wheels.
NOTE: When finished, top off the master cylinder
with fluid. See Check Master Cylinder
Fluid for information on filling the master
cylinder.
16. Reconnect the main positive and negative cables
at the batteries.
17. Remove the blocks from behind the wheels.
18. Release the park brake and test drive the vehicle.