iCNC PERFORMANCE
5-30 NESTING Manual 0-5399
5.8.3 Groups
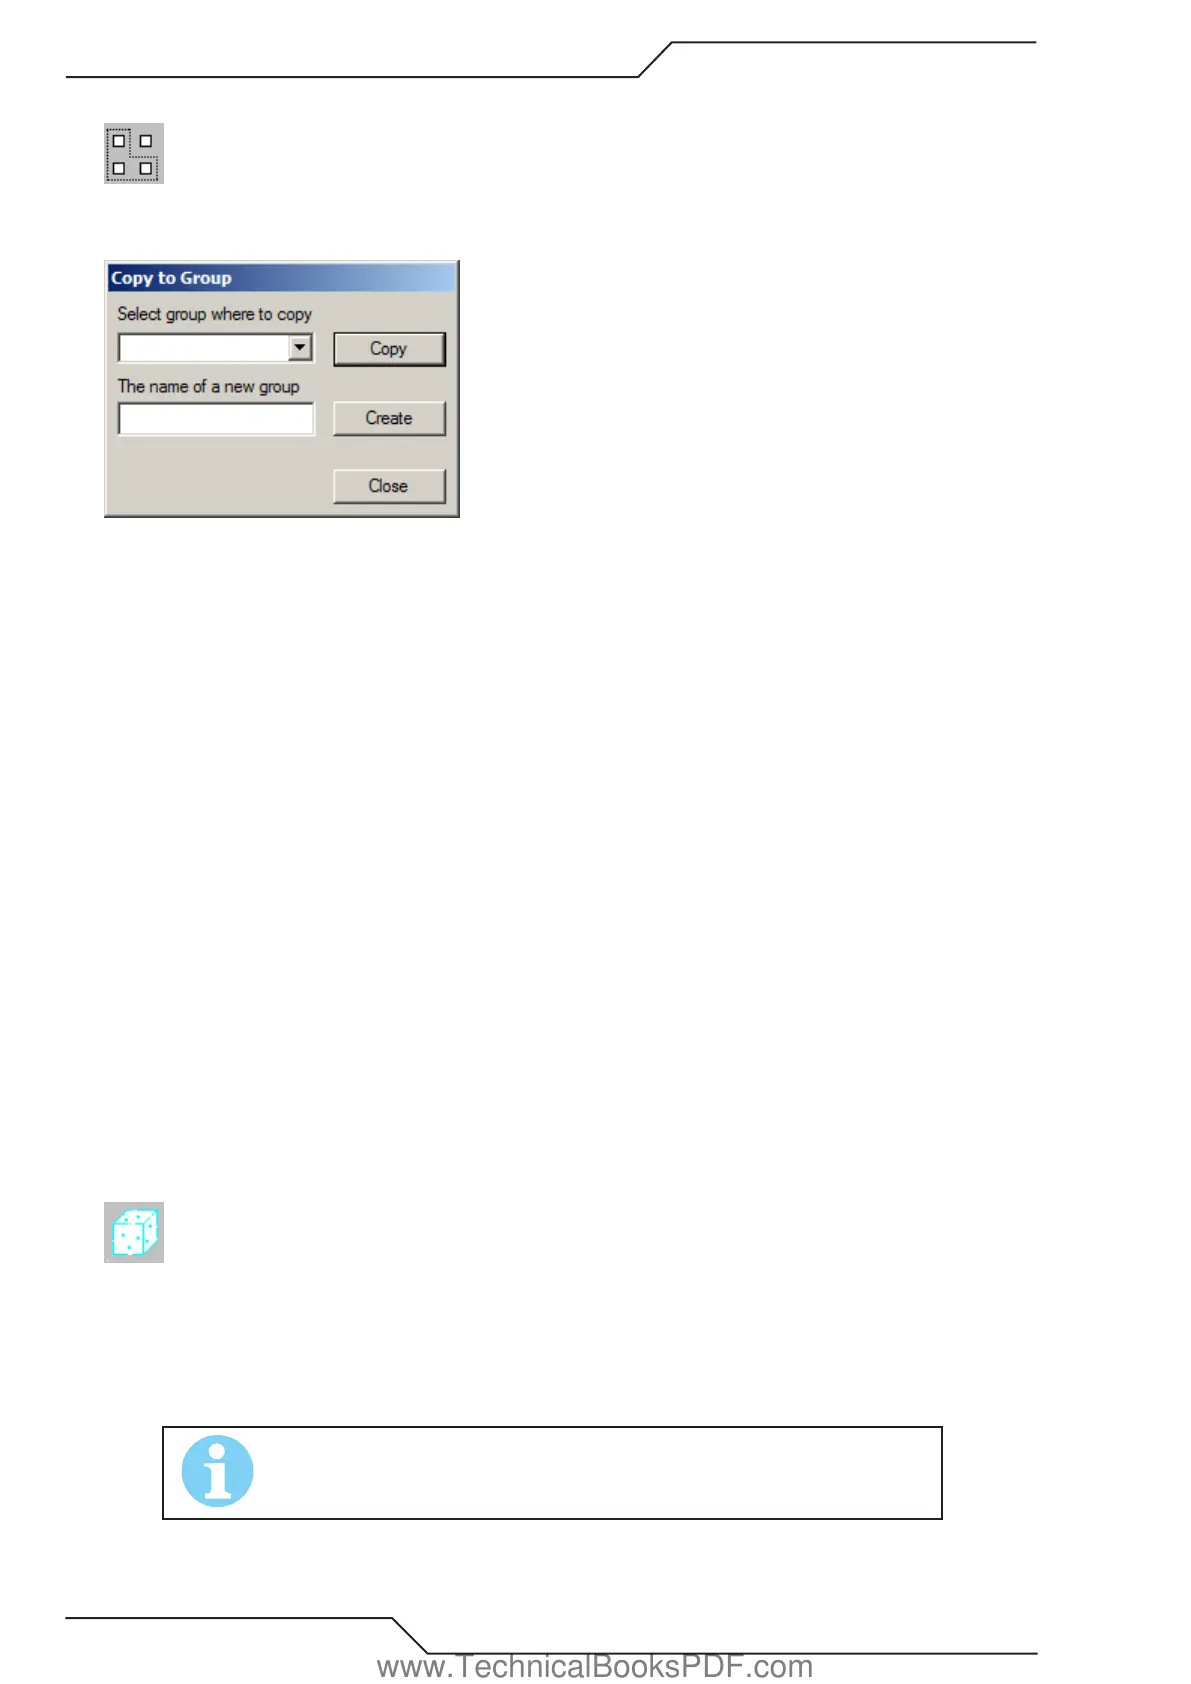
This tool allows you to copy shapes to nesting groups. Nesting group is a group of parts, which all move and autonest together like
a single shape. When this tool is active the dialog below is visible.
When this tool is active, you can select (and unselect) shapes by clicking on them or drawing a rectangle around them.
The list Select group where to copy shows all possible groups where you can copy shapes. Actually this list contains all geometries
from the geometry window and you can later turn them to groups (see example below).
Copy button copies all the selected shapes to the group selected from the list.
If you want to create a new group, write its name to the field and choose Create. Now you can see the new group in the list and in the
geometry list window.
When you have copied all the shapes you want from this nesting, choose Close.
Please note that all other tools are disabled while this tool is active.
How to create a nesting group:
• Activate Groups tool.
• Create a new group (type its name to the text field labeled. “The name of a new group” and choose Create).
• Select the group you just created from the list Select group where to copy.
• Select the shapes you want add to your group (click all of them).
• Choose Copy.
• Close groups tool and activate your group from the geometry list (left click the name of your group in the list).
• Right click the geometry list and select Toggle Group On/Off from the pop-up dialog box. Now you can see an asterisk in front of
the geometry name. This means that this geometry is actually a group.
• Now you can manually move and rotate the parts in your group. Move them close to each other.
• When your group is ready, right click the geometry list again and this time select Copy to Nesting. Enter the number of groups you
want to nest and finally you have groups in your nesting!
5.8.4 Freeze
Use this tool to freeze parts for the duration of the automatic nesting process. Frozen parts do not change their position during au-
tomatic nesting process.
• Click the part you want to freeze. You will now see the parts highlighted in bright blue.
• To freeze multiple parts, draw a rectangle around the desired parts.
• To unfreeze a part, click it again.
NOTE!
Automatic nesting cannot nest inside holes of frozen parts. If you want to nest to
those holes, you should do it manually and then freeze the parts inside of them too.
www.TechnicalBooksPDF.com