iCNC PERFORMANCE
Manual 0-5399 NESTING 5-33
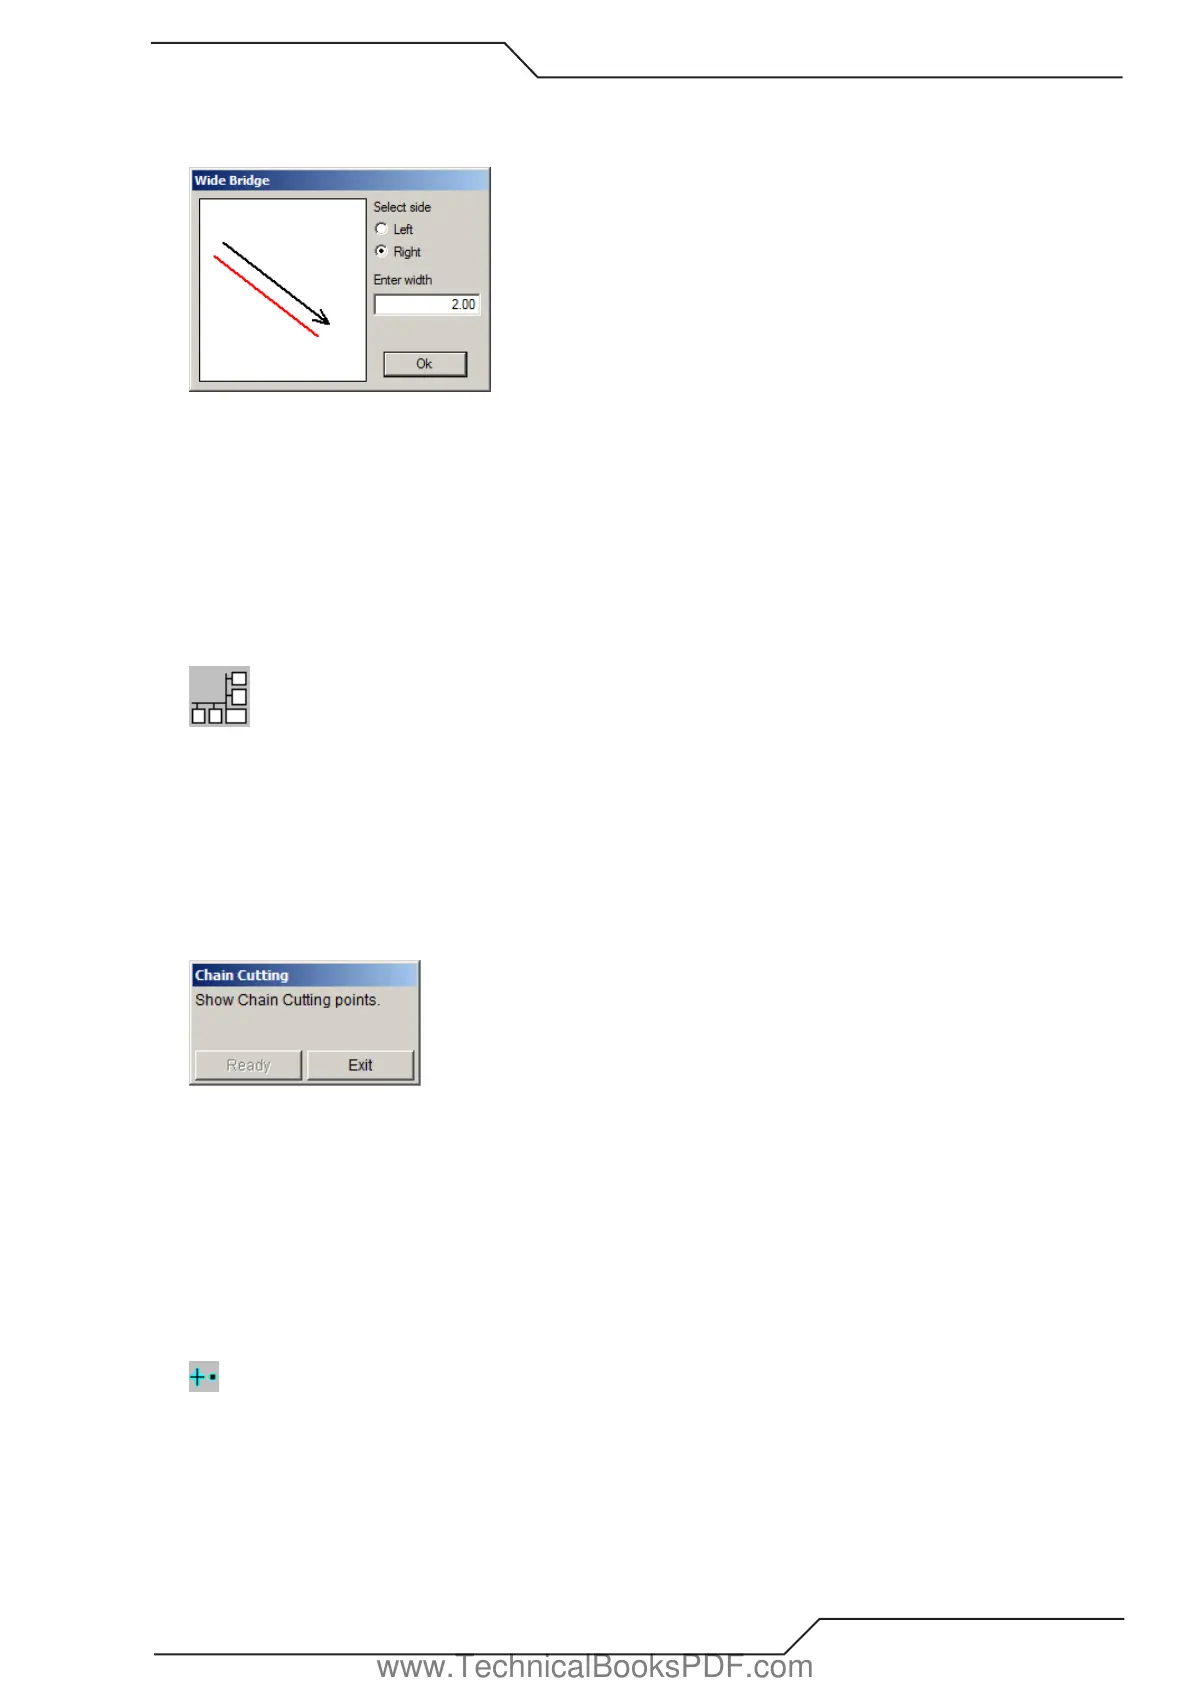
Wide Bridge
Wide bridge is like a normal bridge above, but it leaves a solid area between two profiles. You can create wide bridges just like normal
bridges. The only exception is that when you release the mouse button the window below appears.
• The black line represents the line you just drew. It is also the other side of the bridge. The red line is the other side. The wide bridge
will be created between these lines.
• Select the side of the red line: left or right.
• Enter the width of the bridge. If you enter a width that is less than 0.1 mm (0.004 inches), a normal bridge is created instead of a
wide one.
• Click “OK”.
Activate Wide Bridge feature in handling options.
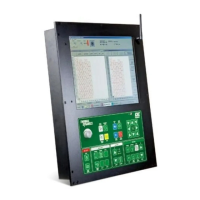
5.9.4 Chain Cutting
This tool is used to chain profiles together. This way you can cut several profiles with a single piercing.
Follow these steps:
• Click the point where you want the chain to begin. Now a “RUBBER BAND” follows your mouse movement and shows the route
of the chain.
• Move the mouse cursor to the next point you want the chain to go and click again.
• When you click a profile, it is added to the chain.
• Continue these steps until your chain is ready. Choose “READY” on the chain cutting dialog (see picture below).
• The chain is ready. If you want create a new chain, repeat the procedure above.
Special cases:
• If the profile has a leadin or leadout, the chain automatically goes to the beginning of the leadin and continues from the end of the
leadout.
• If the profile is not closed, the chain automatically goes to the beginning of the profile and continues from the end of it.
5.9.5 Add Transferline Point
A new transferline point can be added by clicking the left mouse button. The new transferline point will be the last in the cutting order.
The cutting order can be changed by the Change Cutting Order tool.
www.TechnicalBooksPDF.com