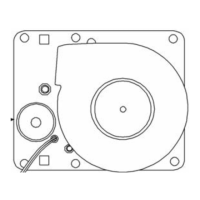
Electronics Section
Expanded descriptions for some of the components indicated in Figure 5-8
follow.
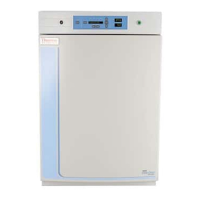
Power Switch - Located beneath the control panel. The outer door must
be open to access the switch.
RS 485 and Remote Alarm Contacts - Connectors and auxiliary wire
through port
CO
2 manifold and supply tank connectors - Part of the Gas Guard sys-
tem, a factory installed option.
Humidity sensor (optional)
Analog output board - 4-20 mA, 0-1 Volt, 0-5 Volt
1. Turn off the incubator’s power switch and unplug the power cord.
2. Remove the two screws from the front of the cabinet top and the two
screws in the uppermost corners of the back panel.
3. Slide the top about an inch to the rear and lift it off.
Note There are small locking tabs in the back which will be bent if the top
is lifted off without sliding it first to the back.
s
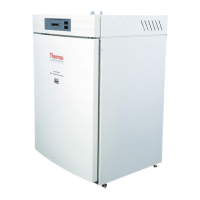
Model 310 Series DH Incubator 5-9Thermo Scientific
Section 5
Routine Maintenance
Major Components
Fuse Voltage Manufacturers Part #
Amperage
Rating
Rupture Speed
IEC Letter
Code
115 VAC ACC BUSS GMC - 1.0A 1.0 Amp Time-Lag T
230 VAC ACC BUSS BK-GMC-500ma 0.5 Amp Time-Lag T
24 VAC Door Heat Schurter 034.3124 5.0 Amp Time-Lag T
Table 5-1. Fuses
Replacing the Power
Fuses (cont.)