4.1 Connecting a Power or Energy Sensor
4 Operating the PM100D
4.1 Connecting a Power or Energy Sensor
The PM100D supports all Thorlabs ‘C-Series’ photodiode, thermal and pyroelectric
sensors. These can easily identified against older versions of Thorlabs power or
energy sensors by their red connector housing. The console will not recognize
sensors from the ‘A’ and ‘B’ series. Please contact Thorlabs for upgrading of old
sensors with ‘C-Series’ connectors.
To plug or remove a sensor slightly press the two bolts in the connector housing.
Sensors can be ‘hot-swapped’ to the console, after recognizing a new valid sensor
the type and calibration data will be downloaded to the console in less than 2
seconds and the unit is ready to operate with the new sensor.
The PM100D also supports custom detectors, please refer to chapter 4.2.2 for the
console measurement settings and chapter 7.4 for the connector pin-out.
4.2 Controlling the PM100D
4.2.1 Navigating the Menus
Each measurement screen contains eight soft buttons arranged in 2 rows at the
bottom of the graphics display. These can be controlled by the four navigation
(STWX), and the enter/edit (OK) key. An interactive help text above shortly
describes shortly the function of each selected button.
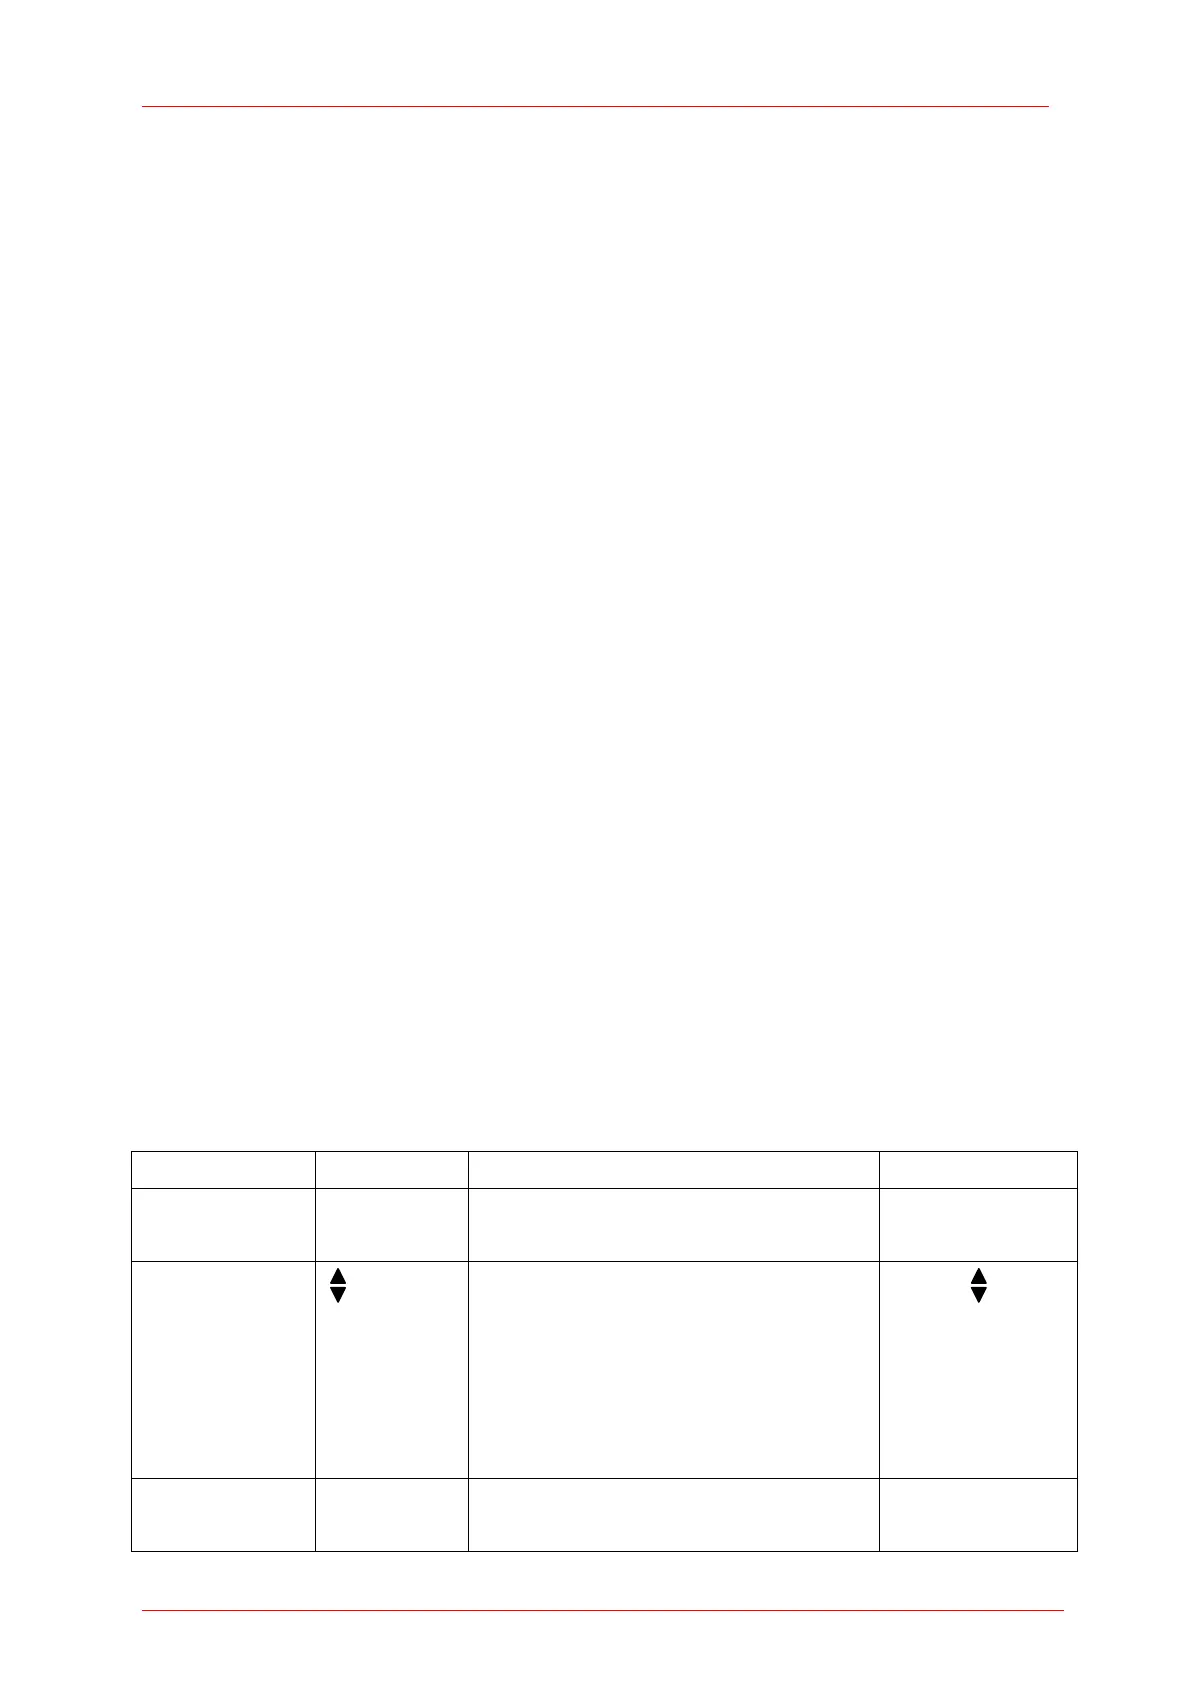
The soft buttons may be configured with the following functions:
Type Indicator Function when pressing ‘OK’ Example
Menu
X
Shows a sub menu, by rearranging
the soft button labels
Meas Config X
Ring Control
Scrolls up and down the ring with
the up and down navigation buttons.
The changes are valid immediately.
A blinking button frame indicates
that the control is active.
Confirm with ‘OK’
Range
Function key Label in
capitals
Proceeds the described function RESET
15