4.2 Controlling the PM100D
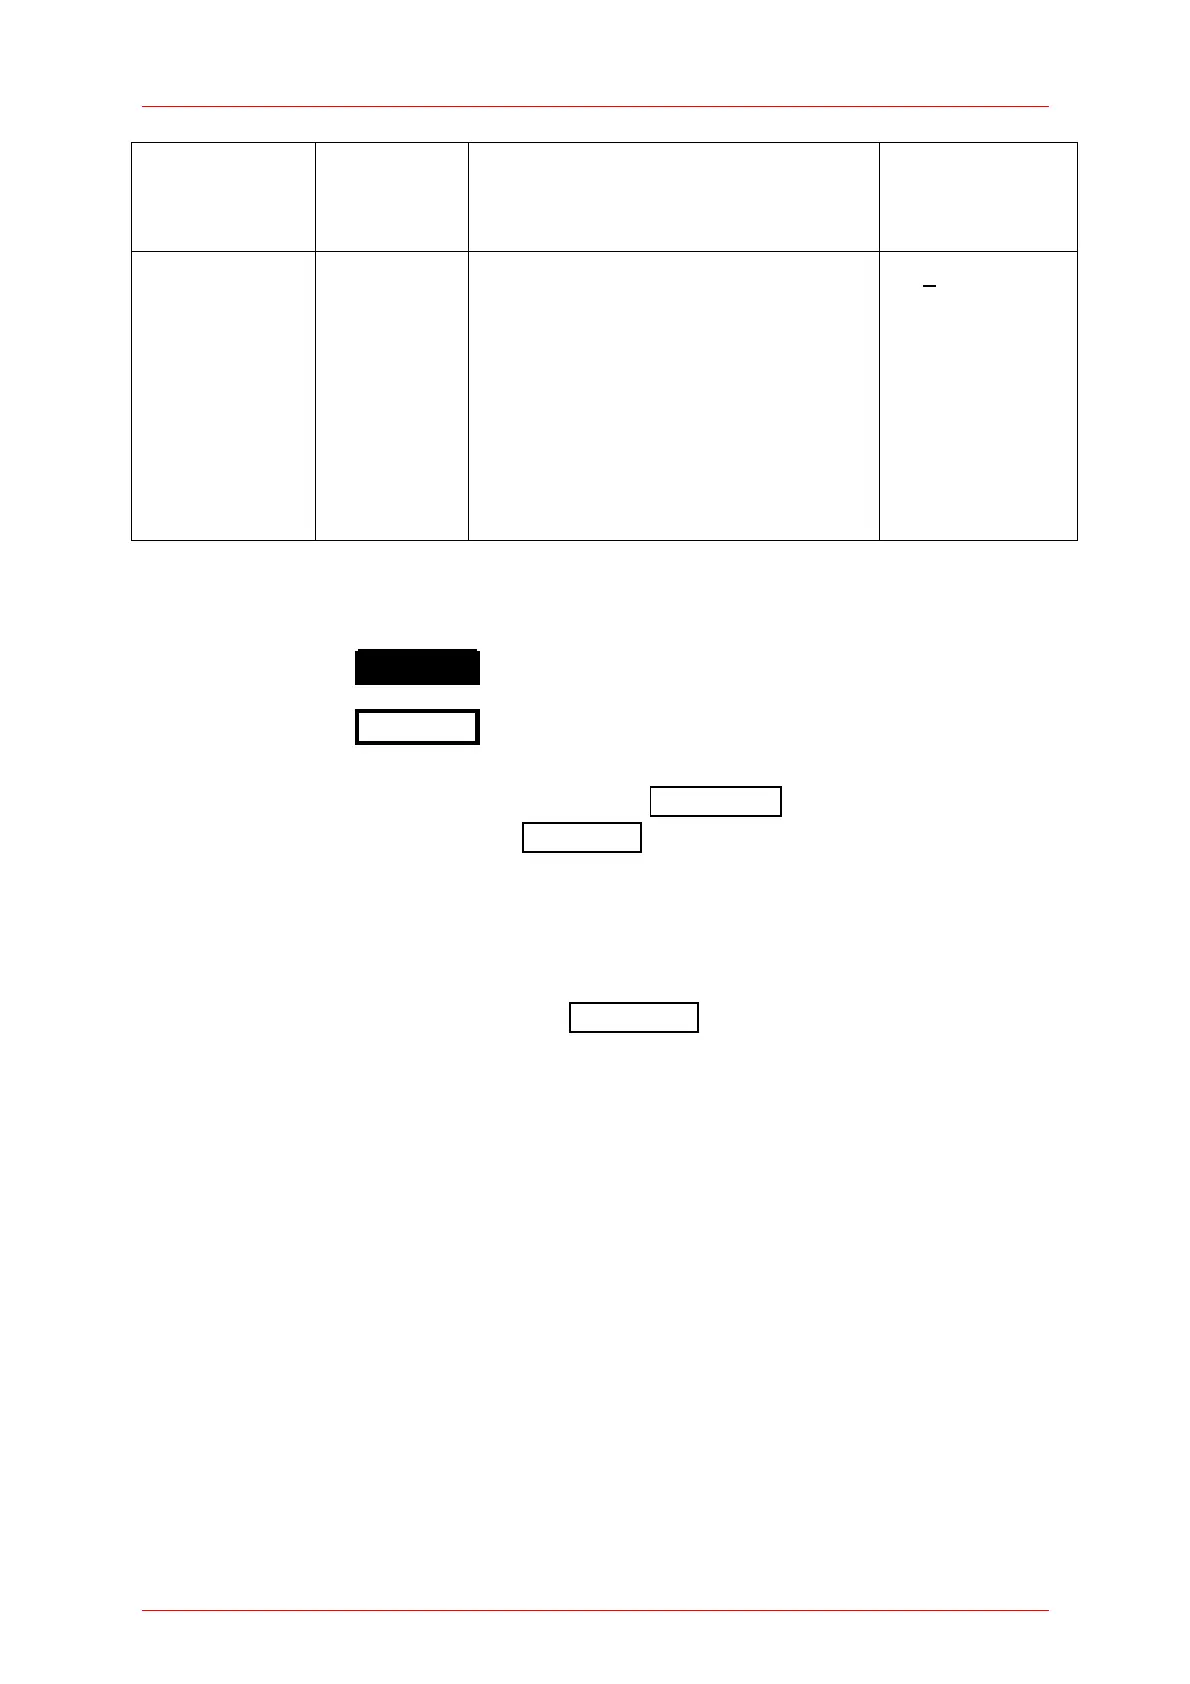
Radio button
3
Selects the function of the pressed
key. The active key gets the
‘checked’ mark (3)
3 W
Numeric Key label
contains a
number
The button goes in the ‘edit’ mode.
This is indicated by a blinking frame
and one digit with a blinking
underline. With the WX buttons
navigate the digit to change; with
the ST keys increment or
decrement the digit.
Confirm with ‘OK’
1.550µm
Button Appearance
Focus: Text Negative .
Edit Mode: Blinking frame .
All sub menus can be left by navigating to the EXIT button at the down right
soft button location or to any empty … e …… button, and pressing the OK key.
4.2.2 System Settings
To enter the system settings press the System Menu X button that is located at the low
right soft button position in the top level measurement screens. The following sub
menus will appear:
- Measurement Settings
Remote state PM100D can be switched back to local mode
Line filter Sets the unit to the local line frequency 50Hz/60Hz
to avoid aliasing effects
Default sensor Sets the PM100D in a mode to measure photo
current, thermal voltage with custom detectors, or
the peak voltage from a custom pyroelectric detec-
tor. See chapter 7.4 about connecting custom
detectors.
- Console Settings
Language User interface language setting
Backlight Switches the LCD and key backlight on and off
16