53
OBJECTIVE OPERATIONS
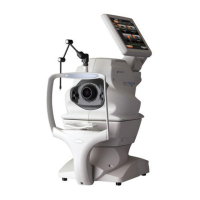
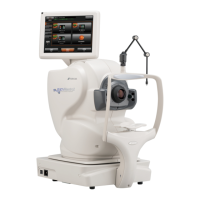
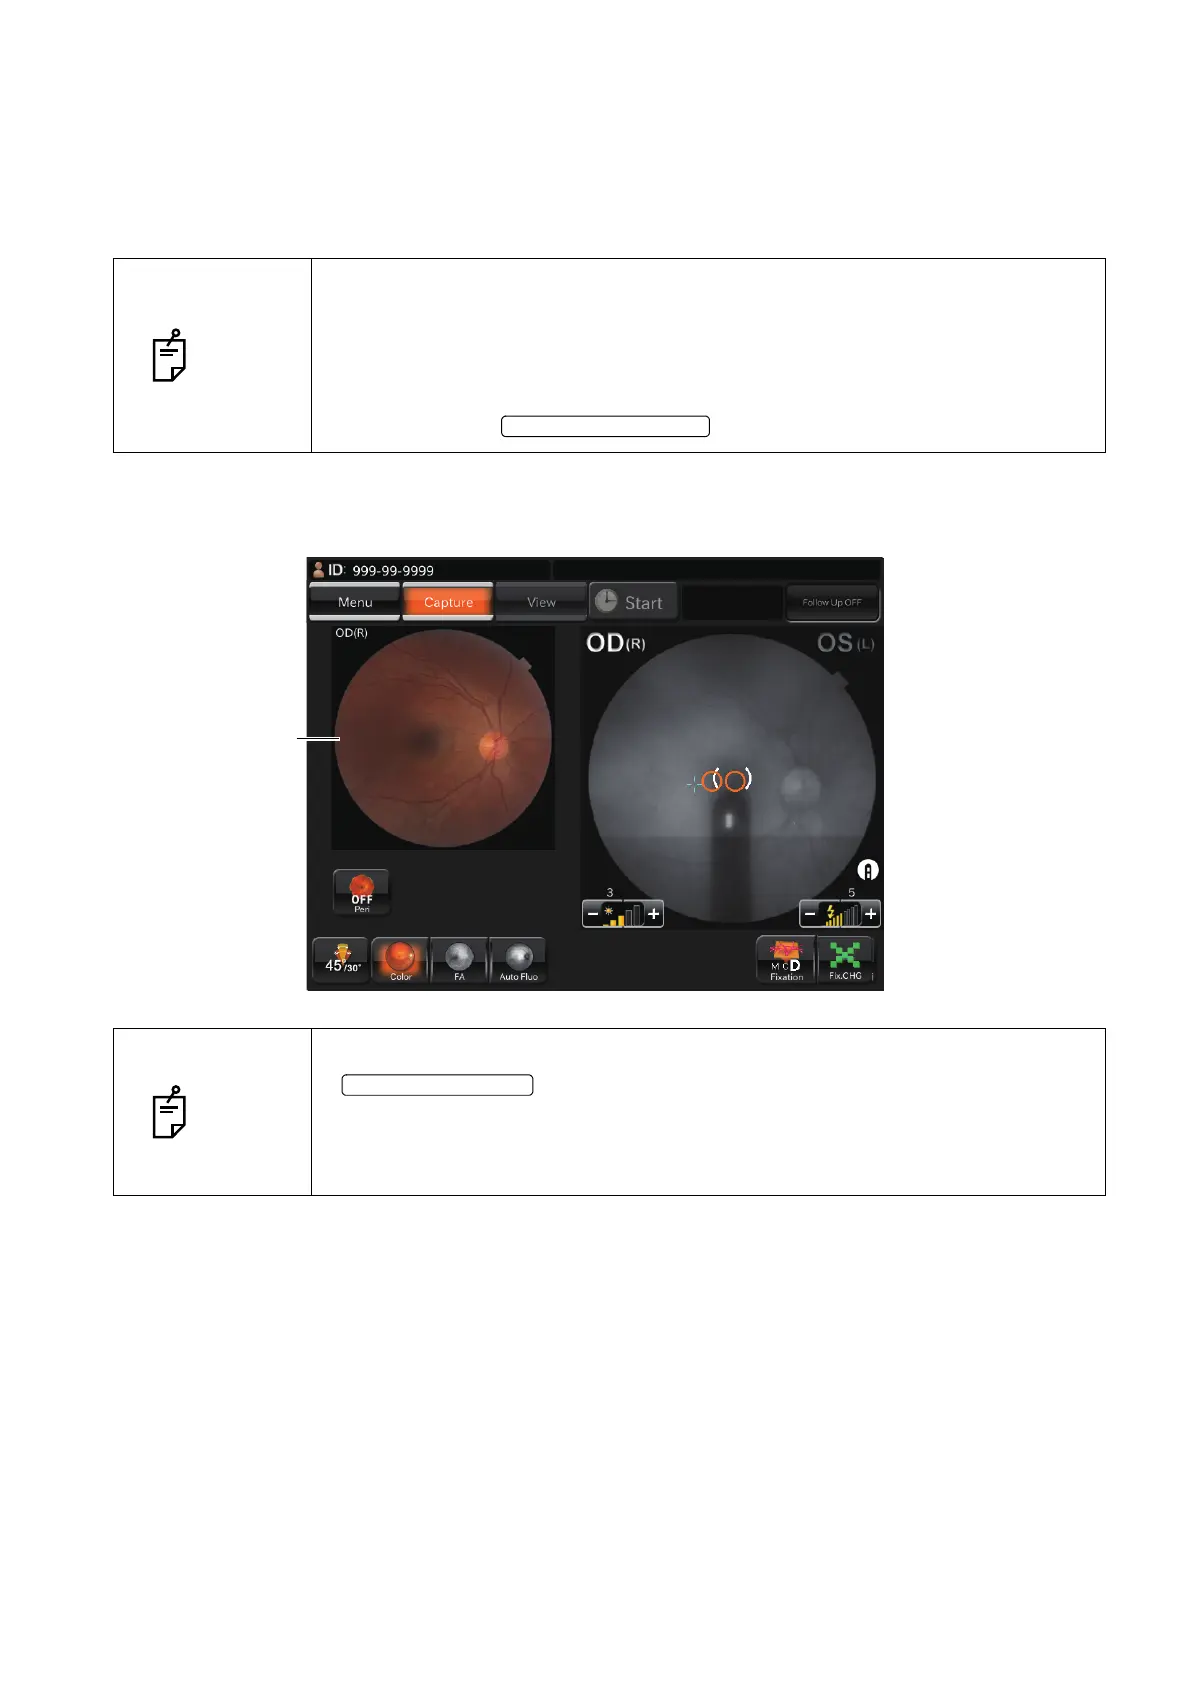
10 When the positional relation between the instrument body and the patient's eye is proper for pho-
tography after putting the alignment bright spot into the ( ) scale, the color fundus photography is
automatically done by the auto shoot function. Ask the patient not to blink and not to move his/
her eyes during photography.
11 Each time you take a picture, the photographed image is displayed on the preview area at the left
side of the screen.
NOTE
• If the patient blinks right before the color fundus photography, the automatic
blink detection function stops the photography. Start the procedure again from
alignment and take a picture.
• When the auto shoot function is OFF or when the diopter compensation lens
is set to others except "0", the instrument does not take a picture automati-
cally. Press the to take a color picture of fundus.
NOTE
• If the light intensity of the photographed image is not correct, touch the
on the photography screen to adjust the light intensity.
Then, repeat alignment and photography. Refer to "Setting the flash level" on
page 40.
• Take a picture by repeating Procedure 1 - 11 if necessary.

 Loading...