TK 61753-2-MM-EN
119
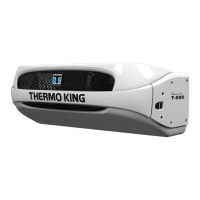
Figure 64. Check Bleed Hole Diameter
1. Number 43 Drill Bit
Piston Bleed Orifice Check
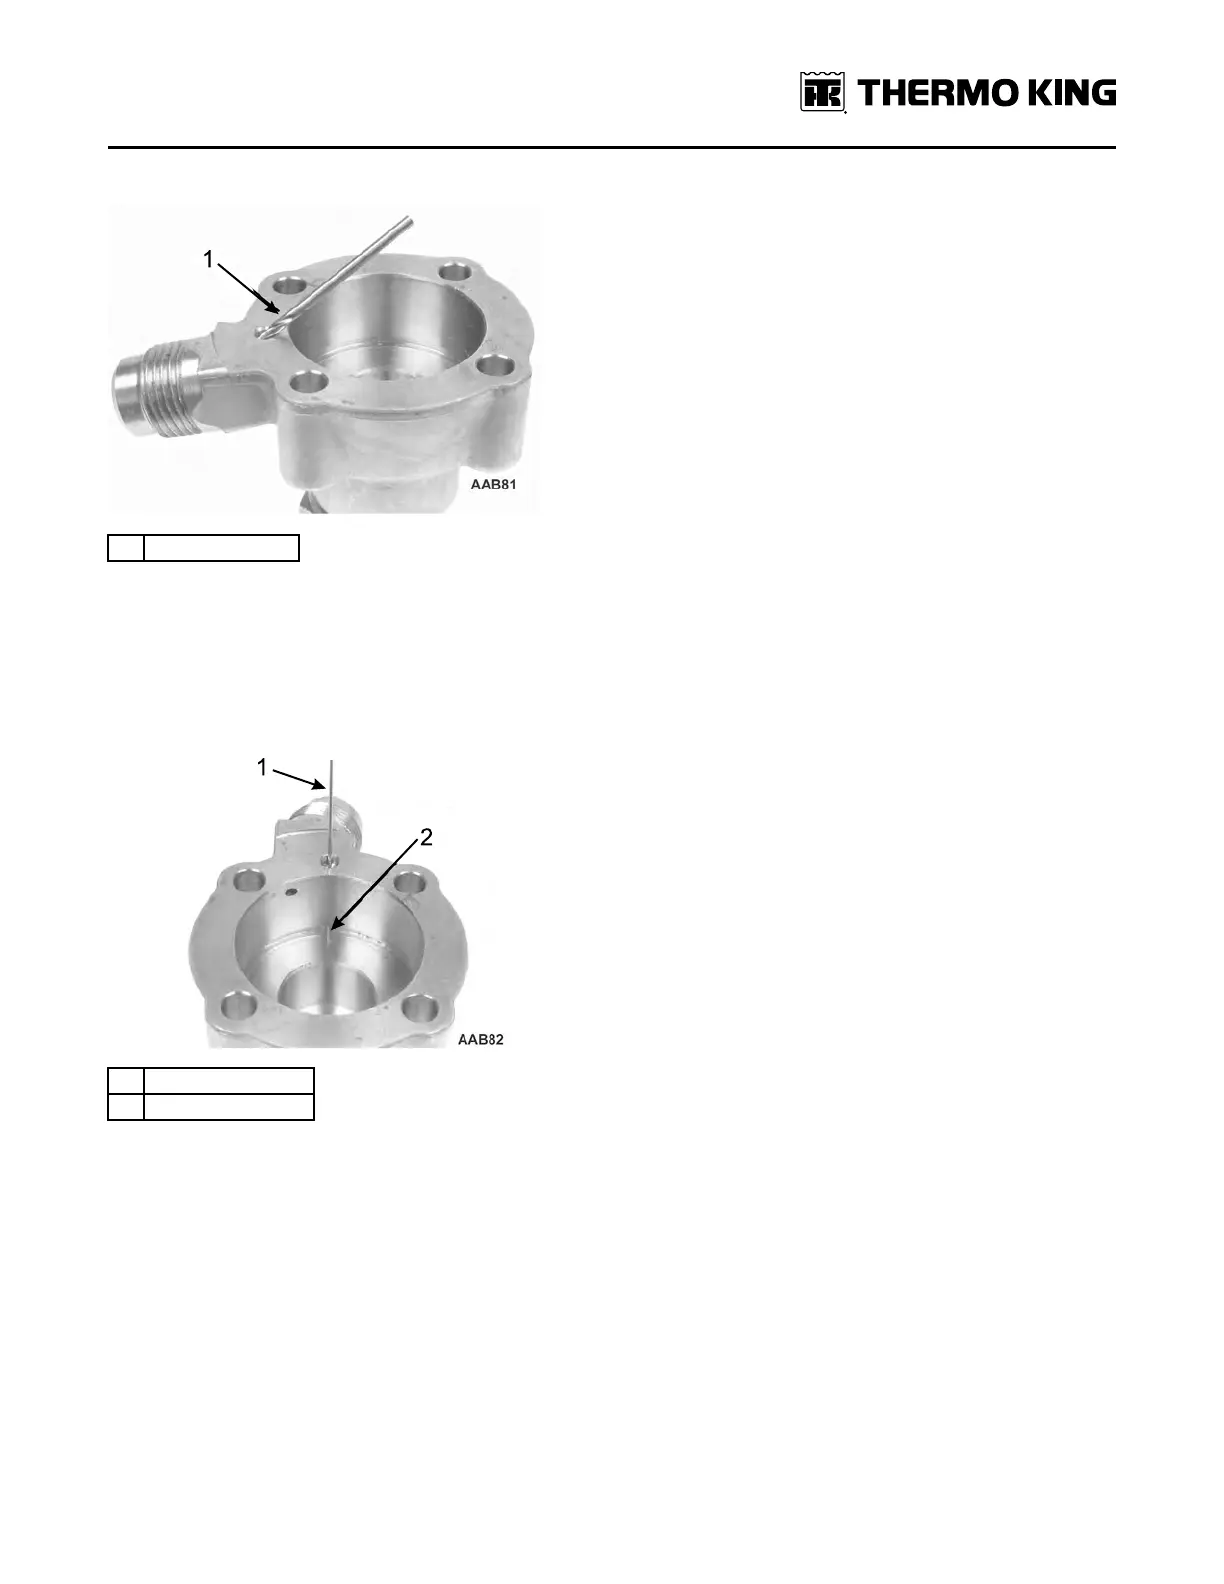
1. Use a number 66 (0.033 in. [0.84 mm]) drill bit to check the orifice in the bleed hole from the gasket surface to the
groove in the bottom of the piston bore.
2. Carefully check to see that the drill projects down into the groove and that there are no burrs at the end of the hole
in the groove. Do not enlarge this hole.
Figure 65. Check Piston Bleed Orifice
1. Number 66 Drill Bit
2. Check for Burr Here
Check Valve Piston Check
1. Reassemble the end cap using a new check valve piston, spring, stem, and snap ring (Kit P/N 60-163).
2. Leave the stem back seated against the snap ring. Use a paper clip bent into a 90 degree angle to push the check
valve piston back in its bore. Verify you can feel the piston working against the spring.
3. With the piston pushed all the way back in its bore, use a strong light to look down the 2.26 mm (0.089 in.) hole
towards the back of the piston and determine how much of the end of the hole is covered by the piston. If the piston
covers more than three-quarters of the hole replace the end cap.
NNoottee:: When front seating a condenser bypass check valve DO NOT over-tighten the stem. Excessive torque will
deform the piston and the deformed piston can increase the hole blockage.
Seat (Center Section) Orifice Check
There are three 0.84 mm (0.033 in.) holes located in the three-way valve seat (center section). Only one is used
depending on how the valve is configured.
RReeffrriiggeerraattiioonn SSeerrvviiccee OOppeerraattiioonnss

 Loading...