- 38 -
The printing and cutting processes are misaligned
Please carry out printing after cutting. If there is any misalignment when printing after cutting, please output using
register marks.
Register marks created with Adobe Illustrator or FineCut cannot be used. Only Trotec dedicated register marks
are valid. For more details, please refer to the Trotec JobControl guide.
Printing after cutting
1. Create the cut data. ( P.16 "Create the data using Adobe Illustrator")
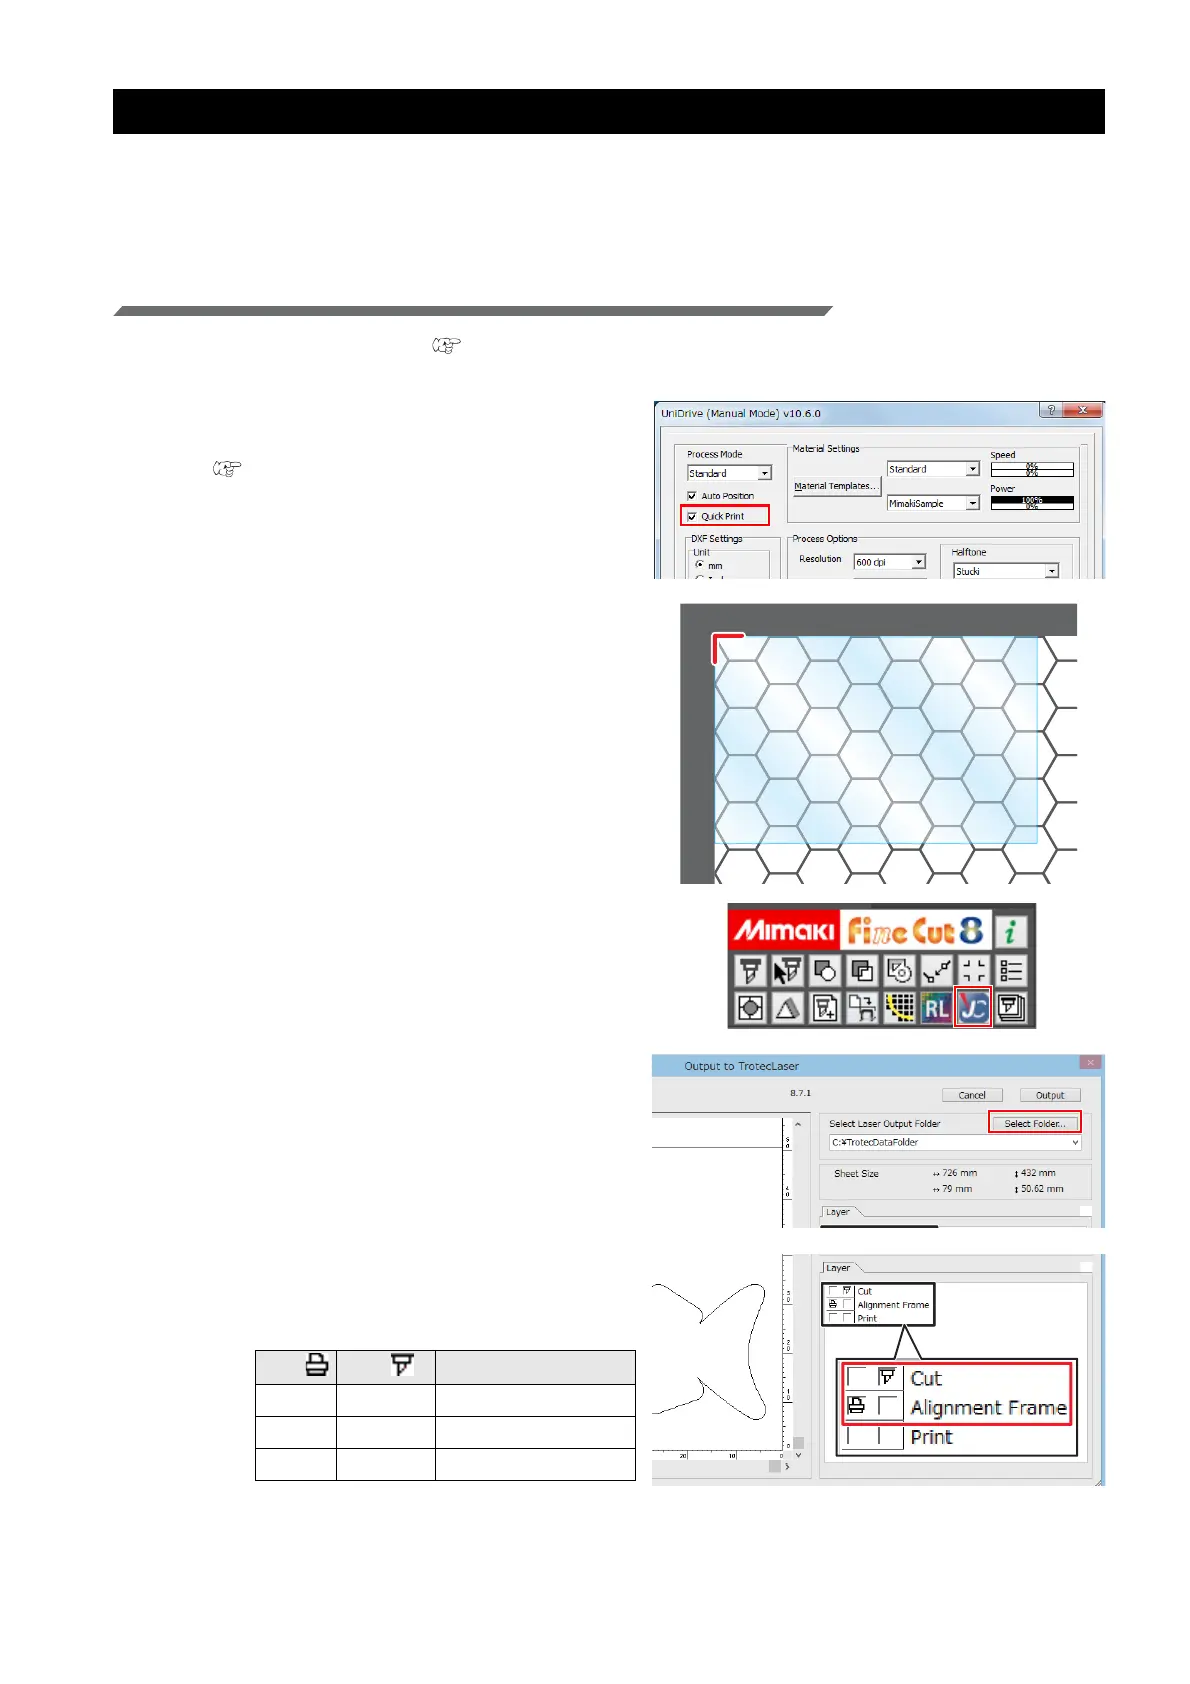
2. Check the Trotec UniDrive [Quick Print]
check box.
• P.12 "Check or uncheck the [Quick Print]
check box."
3. Start laser cutting.
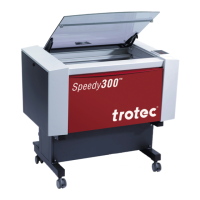
(1) Set the media on the Trotec Speedy Laser
Engraver.
• Set the media so that it is aligned with the
upper left corner of the laser cutter surface.
(2) Adjust the height.
(3) Click the [Output to TrotecLaser] button on the
FineCut menu.
(4) Set the laser output folder.
(5) Set it to print/cut on the [Layer] tab.
• Set Cut to ON for the cut layer, and set Print
to ON for the alignment frame layer.
Print Cut Layer
-ONCut
ON - Alignment frame
--Print
 Loading...