- 9 -
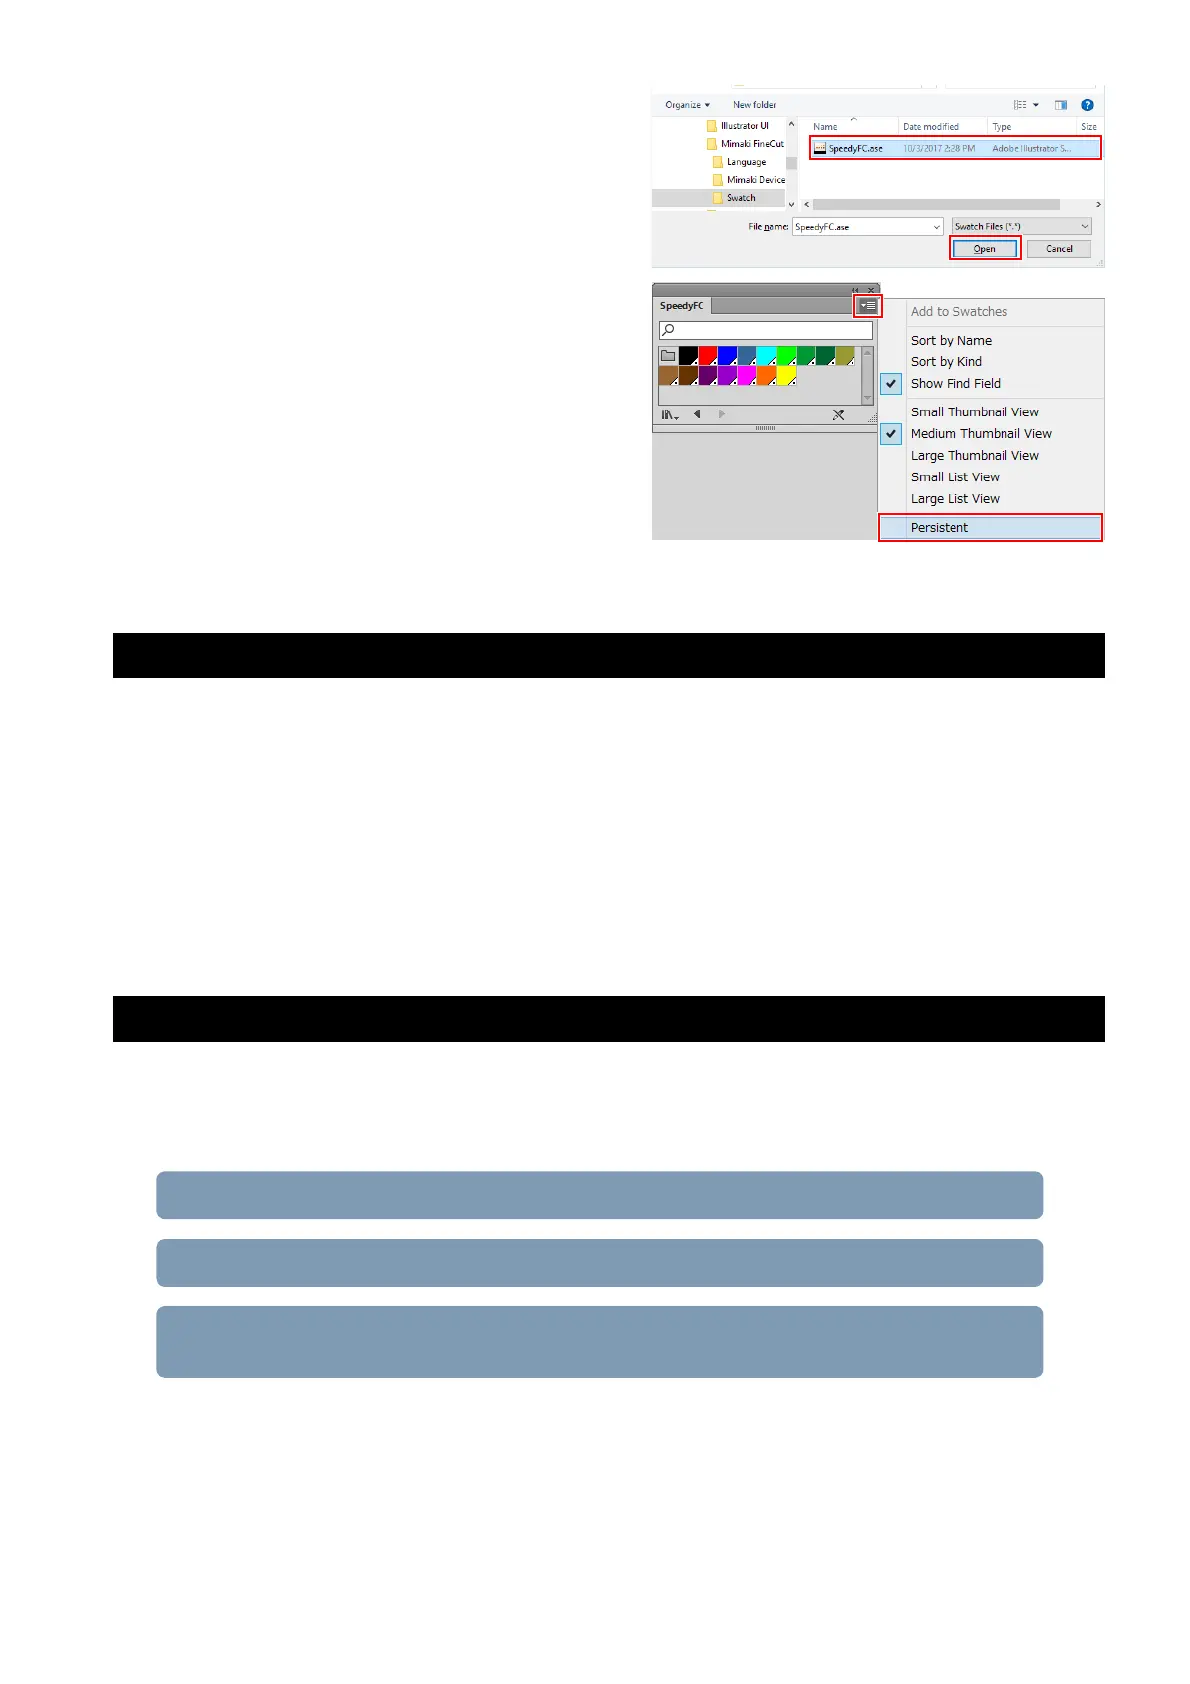
(3) Select "SpeedyFC.ase" in "[Adobe Illustrator
plug-in folder]\Mimaki FineCut\Swatch” and
then click [Open].
• The Trotec Color “SpeedyFC” color swatch is
then displayed.
(4) Select [Persistent] from the menu on the upper
right of the displayed color swatch.
• The Trotec color swatch will automatically
come up each time Adobe Illustrator is
launched.
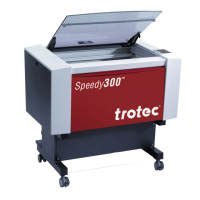
3. Installing the Trotec software/driver
1. Connect the Trotec Speedy Laser Engraver to the LaserCut PC via a USB cable.
2. Turn on the power to the Trotec Speedy Laser Engraver.
3. Install Trotec Job Control on the LaserCut PC.
• Trotec Engraver will also be installed at the same time.
• For more details, please refer to the Trotec JobControl operation manual.
4. Install Trotec UniDrive on the LaserCut PC.
• For more details, please refer to the Trotec UniDrive operation manual.
4. Configure the Trotec software
Create a conversion folder to be designated as the laser cut data output destination for Fine Cut. All data con-
tained within the conversion folder is automatically sent to Trotec JobControl.
• Conversion folder creation procedure
1. Set the cutting conditions (Trotec JobControl) (P.10)
2. Creating a cutting conditions parameter file (Trotec UniDrive ) (P.11)
3. Associate the conversion folder with the cutting conditions parameter file (Tro-
tec UniDrive) (P.13)
 Loading...