Step 3: Assembling the X and Y motor Assembling the frame 17
To assemble the Y motor, perform the following actions:
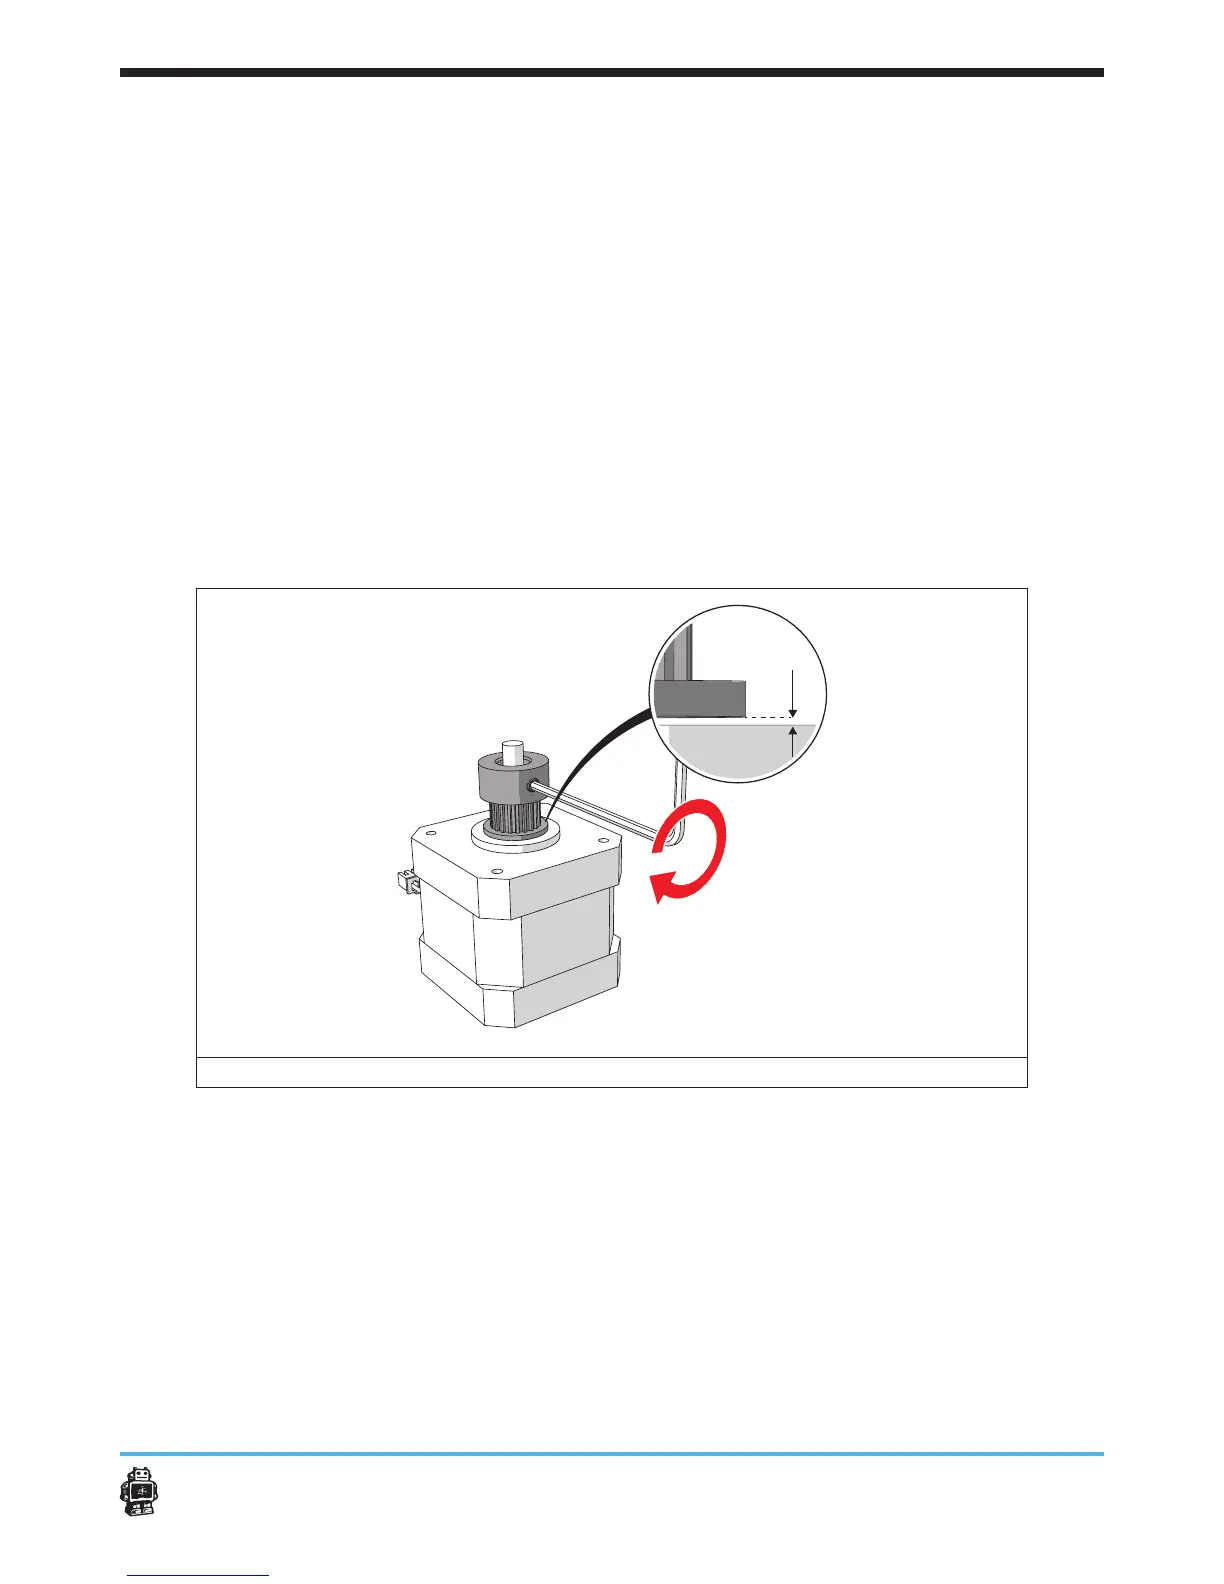
1. Place the pulley (5mm internal diameter) on the Y motor, see image 9.
When placing, make sure to keep a distance of 1-2mm between the
pulley and the Y motor.
2. Place the timing belt around the pulley, see image 10.
3. Attach the Y motor on the LEFT panel with Y motor engraved on the
inside,
see image 11.
5 Notice: Do not attach the X motor and Y motor too tight. The X motor
and Y motor must be able to move up and down.
5 Notice: Place the X motor and Y motor in position that the wires face
down in direction of the text.
4. To assemble the X motor repeat action 1-2.
5. Make sure to attach the X motor on the BACK panel with X motor
engraved on the inside.
image 9: placing the pulley on the Y motor axis
 Loading...


