Step 3: clamp assembly Assembling the material feeder76
7 x
16 x
3 x
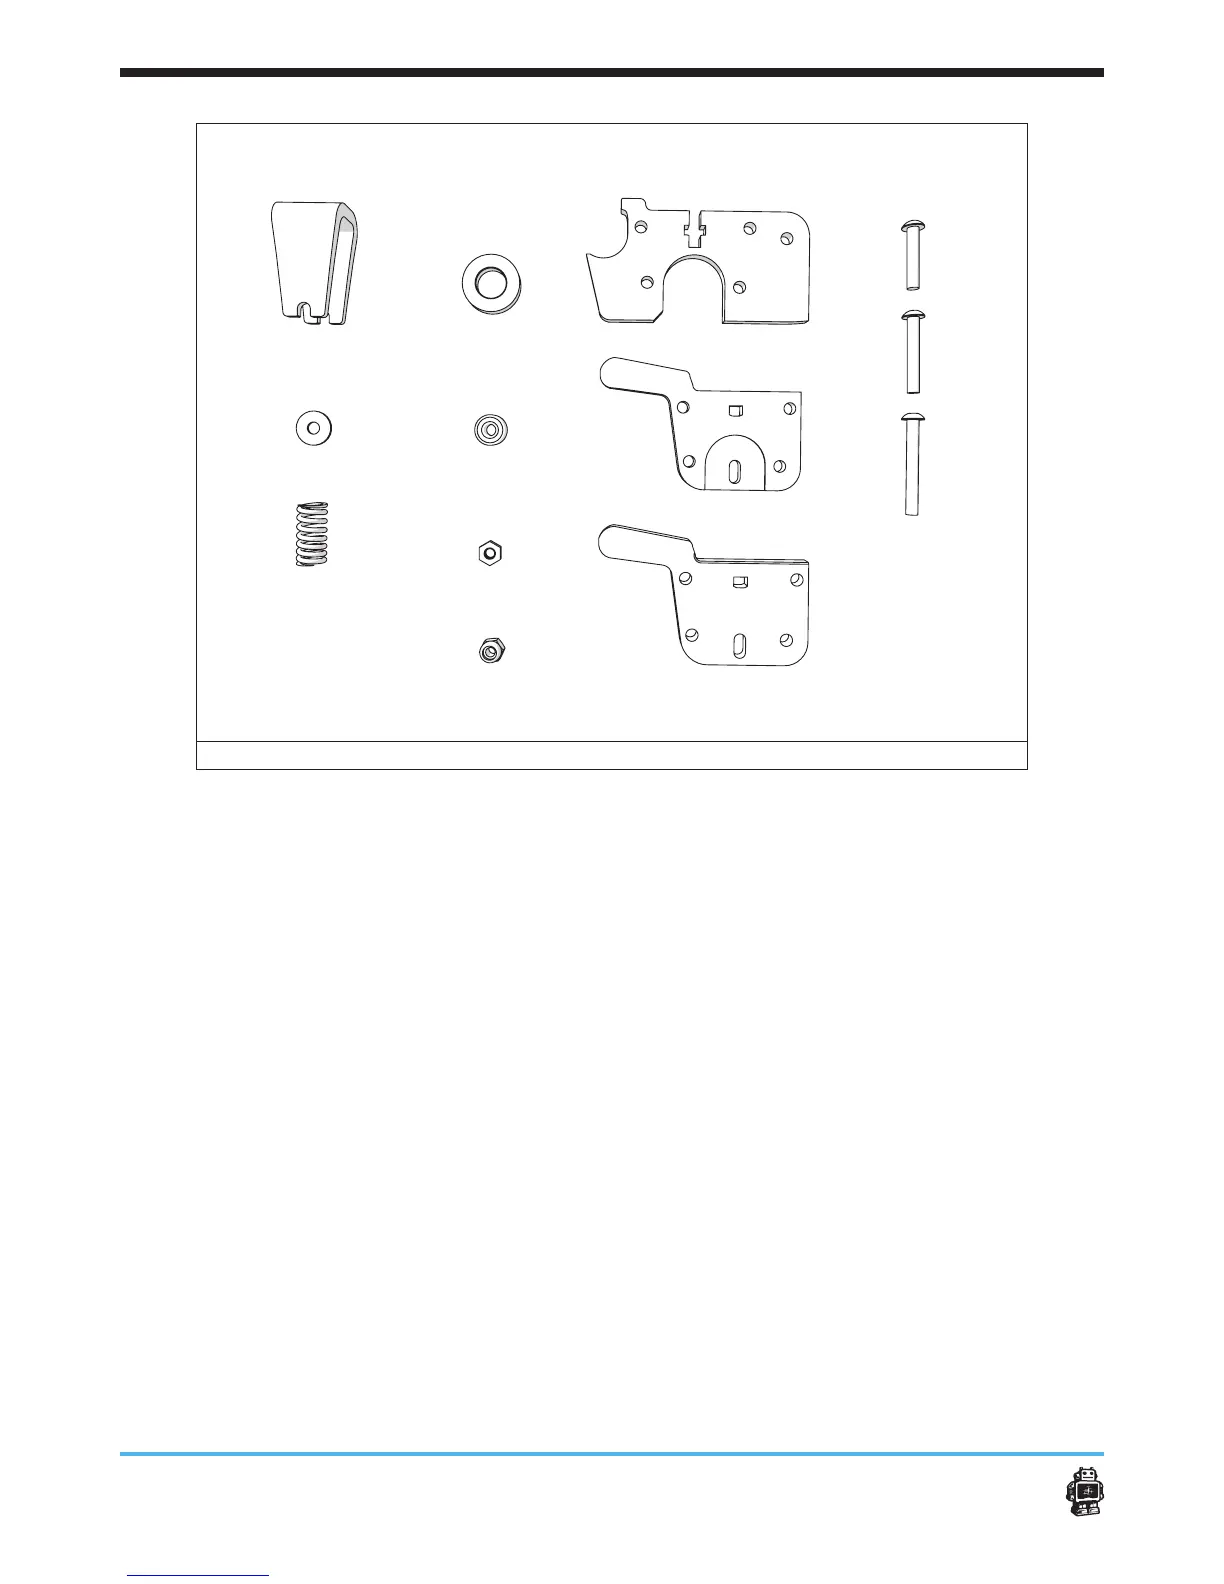
image 93: parts needed for this step
To make the clamp assembly, perform the following actions.
1. Push the ball bearing 8mm in the black wheel, see image 94.
Tip: use a piece of reduntant wood to apply more force if needed.
2. Place a hex nut 3mm in the T-slot of the mounting plate, see image 95.
(for action 3-5 see image 96)
3. Place the black wheel (with ball bearing 8mm) in the mounting plate.
4. Place two side parts over the mounting and attach the parts together.
Use four bolts M3 x 16mm and four lock nuts.
5 NOTICE: mind the orientation.
5. Place ONE bolt M3 x 20mm through the ball bearing 8mm and tighten
loosely.
Use ONE lock nut.
A B C D
E F G
H
I
J
K
L
M