2. Install Uponor Control System
Uponor Control System
Uponor recommends following the process described below to
guarantee the best possible installation results.
Stage Description Page
1 Prepare for installation 14
2 Install controller antenna 15
3 Attach controller to wall 15
4 Connect components to controller 16
5 Optional: connect heating/cooling input 16
6 Optional: connect pump management 17
7 Connect controller to AC power 17
8 Test actuators 18
9
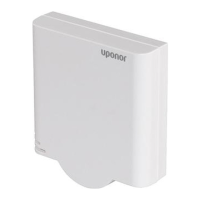
Optional: connect Thermostat T-54 Public to
external sensor
19
10 Register thermostats in controller 21
11 Install Thermostat with display T-75 21
12 Install Thermostat T-54 Public and T-55 22
14 Test communication 22
15 Complete controller installation 22
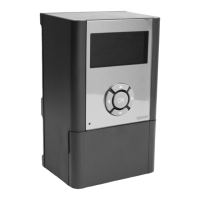
Uponor Interface I-75/76
Follow the process described below to install the Uponor
Interface I-75/76.
Stage Description Page
1 Attach Interface I-75/76 to bracket 23
2
Wire Interface I-75/76 to Controller
C-55/56
23
3 Optional: connect multiple controllers 24
4 Use navigation keys 25
5 Set language 25
6 Set time and date 25
7 Access Installer level 26
8 Optional: set controller IDs 26
9 Optional: set pump management 26
10 Display actuator status 27
11 Set exercise schedule 27
12 Optional: activate cooling management 27
13
Optional: heating/cooling in separate
systems (Controller C-56 only)
27
14 Complete Interface I-75/76 installation 28
15
Optional: room by-pass
(Interface I-76 only)
28
16
Optional: auto-balance
(Interface I-76 only)
28
17 Room check (Interface I-76 only) 28
18 Supply diagnostics (Interface I-76 only) 29
19
Optional: comfort setting
(Interface I-76 only)
29
13
UPONOR CONTROL SYSTEM – INSTALLATION AND OPERATION MANUAL
UK English