Quick start guide
This is a quick start guide to serve as a reminder for experienced installers. We strongly recommend reading the full manual
before installing the Uponor Control System.
Quick start guide
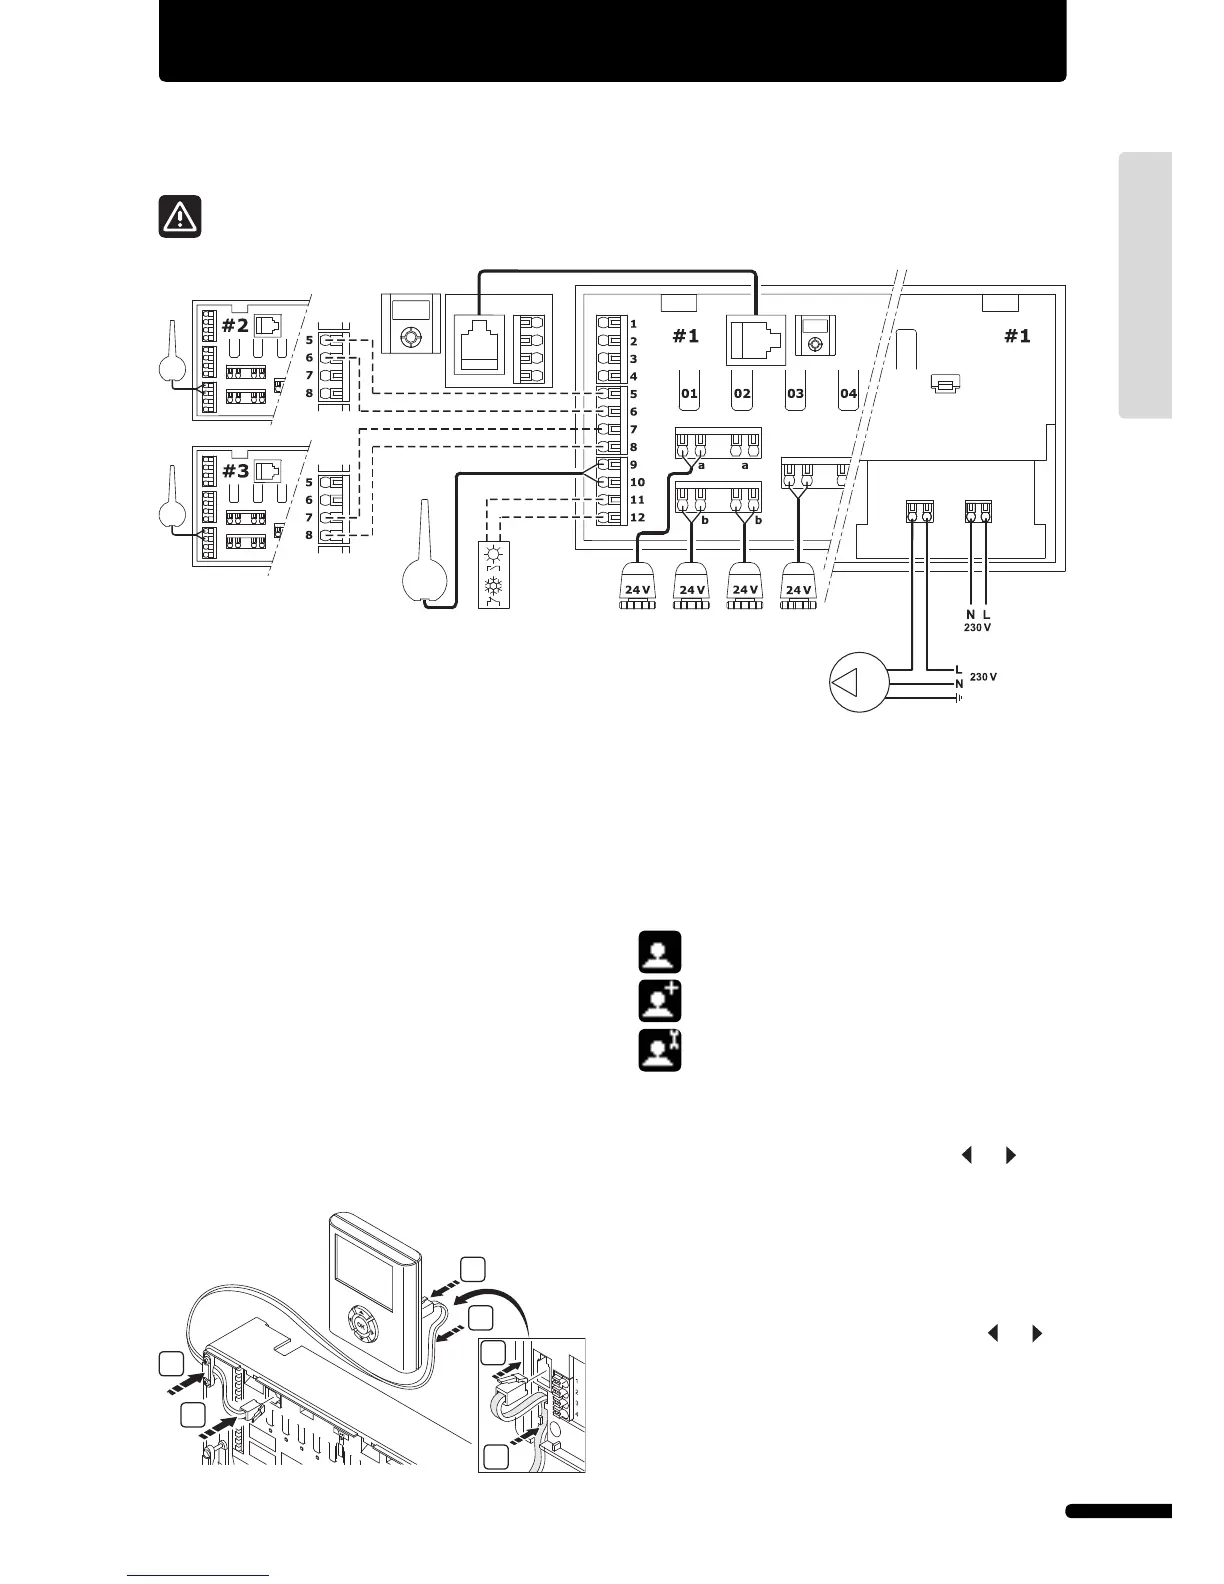
Install antenna
• Connect the antenna to terminals 9 and 10 on the controller
(non-polarized).
• Attach the antenna to a wall or the rear of the controller.
• If the controller is installed inside a metal cabinet, then
locate the antenna outside the cabinet.
Actuator installation
• Connect only one actuator for each channel. Channels 01
and 02 have double outputs (a and b) for two actuators.
• Ensure that each actuator is connected to the correct
channel so that the thermostats are controlling the correct
loops.
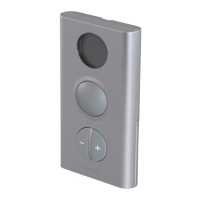
Uponor Interface I-75/76 installation
Using the 2 m RJ-9 connector cable:
• Connect the RJ-9 connector on the controller to the RJ-9
connector on Interface I-75/76:
Using the 15 m four-wire connector cable or similar:
• Connect terminals 1, 2, 3, and 4 on the controller to
terminals 1, 2, 3, and 4 on the Uponor Interface I-75/76.
(Wiring is polarized, so wire 1 on the controller must be
connected to 1 on the interface, and so on.)
Interface I-75/76 access levels
Uponor Interface I-75/76 has three access levels:
Basic
Advanced
Installer
The icons are visible only in Uponor Interface I-76. To go from
Basic to Advanced level:
1 On the Uponor screen, simultaneously press
and until
the Advanced display appears.
2 Press OK. The Uponor screen appears.
To go from Advanced to Installer level:
1 On the Uponor screen, select Main Menu > Settings >
System Parameters > Access level.
2 On the access level screen, simultaneously press
and
until the Installer display appears.
3 Press OK. The Uponor screen appears.
The system will automatically return to Advanced level after
10 minutes of inactivity.
1
2
3
4
3
4
3
UPONOR CONTROL SYSTEM – INSTALLATION AND OPERATION MANUAL
UK English