7
Install the storage shelf from the front of the rack.
8
Use two people to lift the shelf.
9
Slide the rear of the shelf into the front of the rails. Be sure that the shelf is
straight and even inside the rack. Do not force the shelf to fit.
10
Carefully push the shelf towards the rear of the rails.
11
Remove the cap from the left and the right sides of the front of the shelf, if they
are attached.
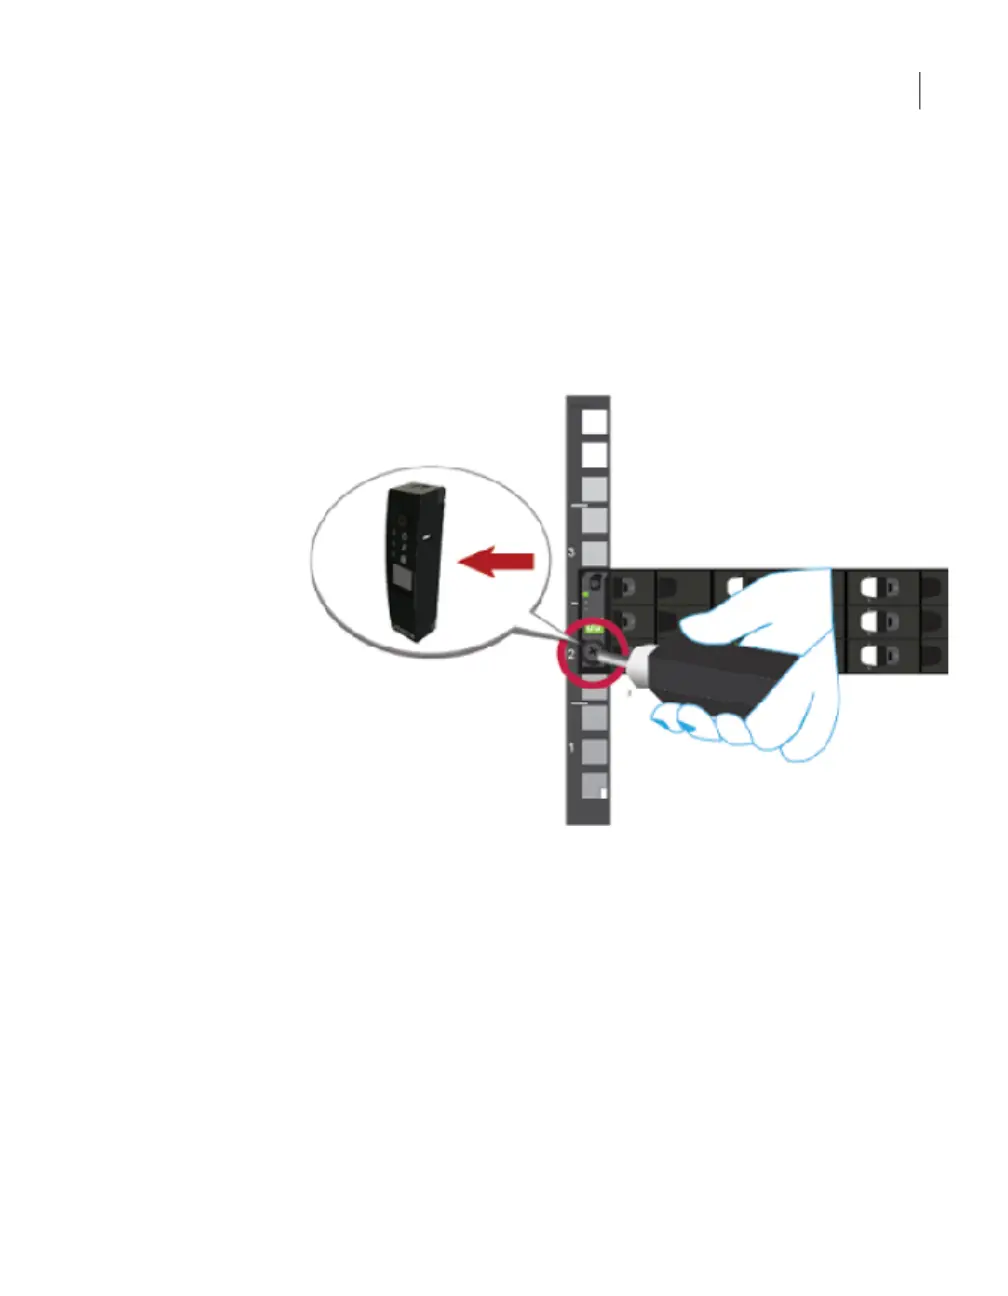
12
Insert one screw into the front of the rack, on both sides of the shelf.
13
Replace the end caps or attach the bezel to the front of the shelf.
Connecting the 2U12 shelves to an appliance or
other storage shelves
You can connect 2U12 shelves to an operational appliance or to existing 2U12 or
3U16 shelves. Use the details in the following topics.
Connecting a 2U12 shelf to an appliance that does not have any shelves
Connecting 2U12 shelves to an existing 2U12 shelf
Connecting 2U12 shelves to one existing 3U16 shelf
101Adding 2U12 storage shelves to an operational NetBackup 5230 Appliance
Connecting the 2U12 shelves to an appliance or other storage shelves

 Loading...


