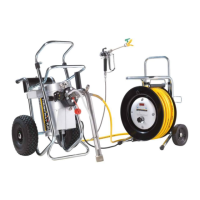
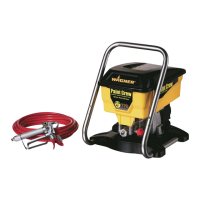
9.2 SUCTION FILTER AT THE RIGID SUCTION TUBE
Clean lters always ensure maximum volume,
constant spray pressure and problem-free
functioning of the unit.
Unit with suction system
1. Unscrew the lter (Item 1) from the suction tube.
2. Clean or replace the lter.
Carry out cleaning with a hard brush and a corresponding
cleaning agent.
9.3 HIGHPRESSURE FILTER
1. Switch the unit o – set the multifunction switch to
(OFF).
2. Open the high-pressure lter and clean the lter insert. To
do so:
3. Unscrew the lter housing (1) by hand.
4. Remove the lter insert (2) and pull out the bearing spring
(3).
5. Clean all the parts with the corresponding cleaning agent.
If compressed air is available – blow through the lter in-
sert and bearing spring.
6. When mounting the lter ensure that the bearing ring (4)
in the lter insert is positioned correctly and check the O-
ring at the lter housing for damage.
7. Screw on the lter housing by hand until it stops (a higher
tightening force only impedes later dismantling).
1
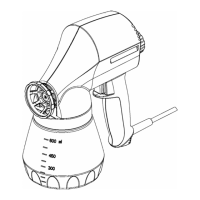
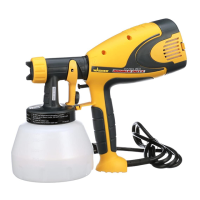
9.4 CLEANING THE AIRLESS SPRAY GUN
1. Rinse the Airless spray gun with a suitable cleaning agent
under lower operating pressure.
2. Clean the tip thoroughly with a suitable cleaning agent so
that no suitable coating material rests remain.
3. Do not store the tip in solvent because this reduces the
durability considerably.
4. Clean the outside of the Airless spray gun thoroughly.
Insertion lter in the Airless spray gun
Removal
1. Pull the protective bracket (1) forwards.
2. Screw the grip (2) out of the gun housing. Pull out the in-
sertion lter (3).
3. If the insertion lter is clogged or defective, replace it.
Installation
1. Slide the insertion lter (3) with the longer cone into the
gun housing.
2. Screw the grip (2) into the gun housing and tighten it.
3. Latch in the protective bracket (1).
1
2
3
CLEANING THE UNIT