 Loading...
Do you have a question about the WAGO 750 Series and is the answer not in the manual?
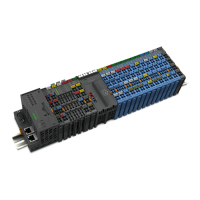
| Protection Class | IP20 |
|---|---|
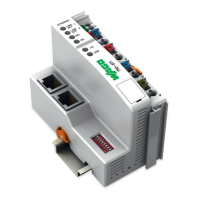
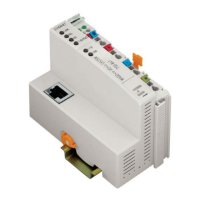
| Bus Couplers | PROFIBUS, CANopen, Ethernet |
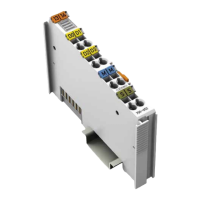
| Modules | Digital Input, Digital Output, Analog Input, Analog Output |
| Mounting | DIN rail mounting |
| Voltage Supply | 24 V DC (typical) |
| Communication Protocol | Depends on the bus coupler (e.g., PROFIBUS, CANopen, DeviceNet, Ethernet) |
| Digital Input Channels | Varies by module (e.g., 8, 16 channels) |
| Digital Output Channels | Varies by module (e.g., 8, 16 channels) |
| Analog Input Channels | Varies by module (e.g., 2, 4, 8 channels) |
| Analog Output Channels | 1, 2, 4 channels (depending on module) |
| Width | 12 mm, 24 mm (typical module widths) |
| Number of Channels | Varies by module type |
| Current Consumption per Channel | Varies by module type |