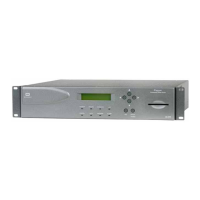
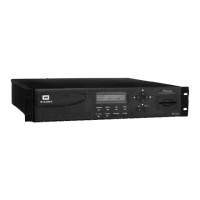
iPump User’s Manual
wegener.com 17 800009-01 Rev. A
Rack
Mounting
Your iPump is sized at 2 RU and will fit an EIA-standard, 19-inch-wide equip-
ment rack (See “Size” on page 12.).
a) First install angle brackets or cross-supports capable of supporting both
the unit and its connecting cables. Screw or bolt the supports securely
to the equipment rack.
b) Place the iPump on its supports and use four anchor screws or bolts and
nuts to secure the iPump's front brackets to the rack.
WARNING
The front brackets must be secured to the rack. If front brackets are left
unsecured, the unit may shift forward and fall from the rack during installation
or operation. Failure to secure the front brackets may result in personal injury
and/or damage to the equipment.
Desktop
Installation
To set up the iPump in a desktop environment, first attach the self-adhesive
mounting feet supplied with your unit. Peel of the backing and press one to the
bottom of the chassis near each corner.
Place the iPump on a flat surface where it will not be subject to spills or
impacts. Also route cables to the unit so that they will not be hit or pulled caus-
ing damage to the connectors or to the unit itself. Ensure a sufficient flow of
cool air (See “Reduced Air Flow” on page 16.) so that the unit's operating
ambient temperature range is not exceeded.
WARNING
Locate the iPump and its cables to avoid impacts, spills, and pulling cables
and to ensure sufficient air flow. Failure to locate the iPump in a proper
environment may result in damage to the equipment.