291357590000/00/03.12
Installation
2.2 Unpacking and Setting-up
the Printer
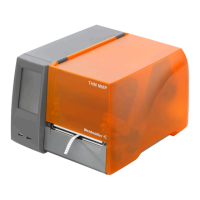
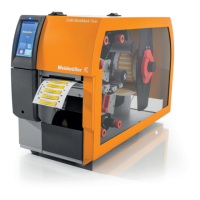
1 Lift the label printer out of the box and set it up on
a level surface.
2 Check label printer for damage which may have
occurred during transport.
3 Check delivery for completeness.
Contents of Delivery
• Label Printer
• Power Cable Type E+F
• Ink ribbon
• Cardboard Core
• Operator‘s Manual
• DVD with software M-Print PRO
®
, Windows driver
and documentation
• USB Cable
Please keep the original packaging in case
the printer must be returned.
When transporting the printer remove the
transfer ribbon and media.
NOTE
The device and printing materials will be
damaged by moisture and wetness.
Set up label printers only in dry locations
protected from splash water.
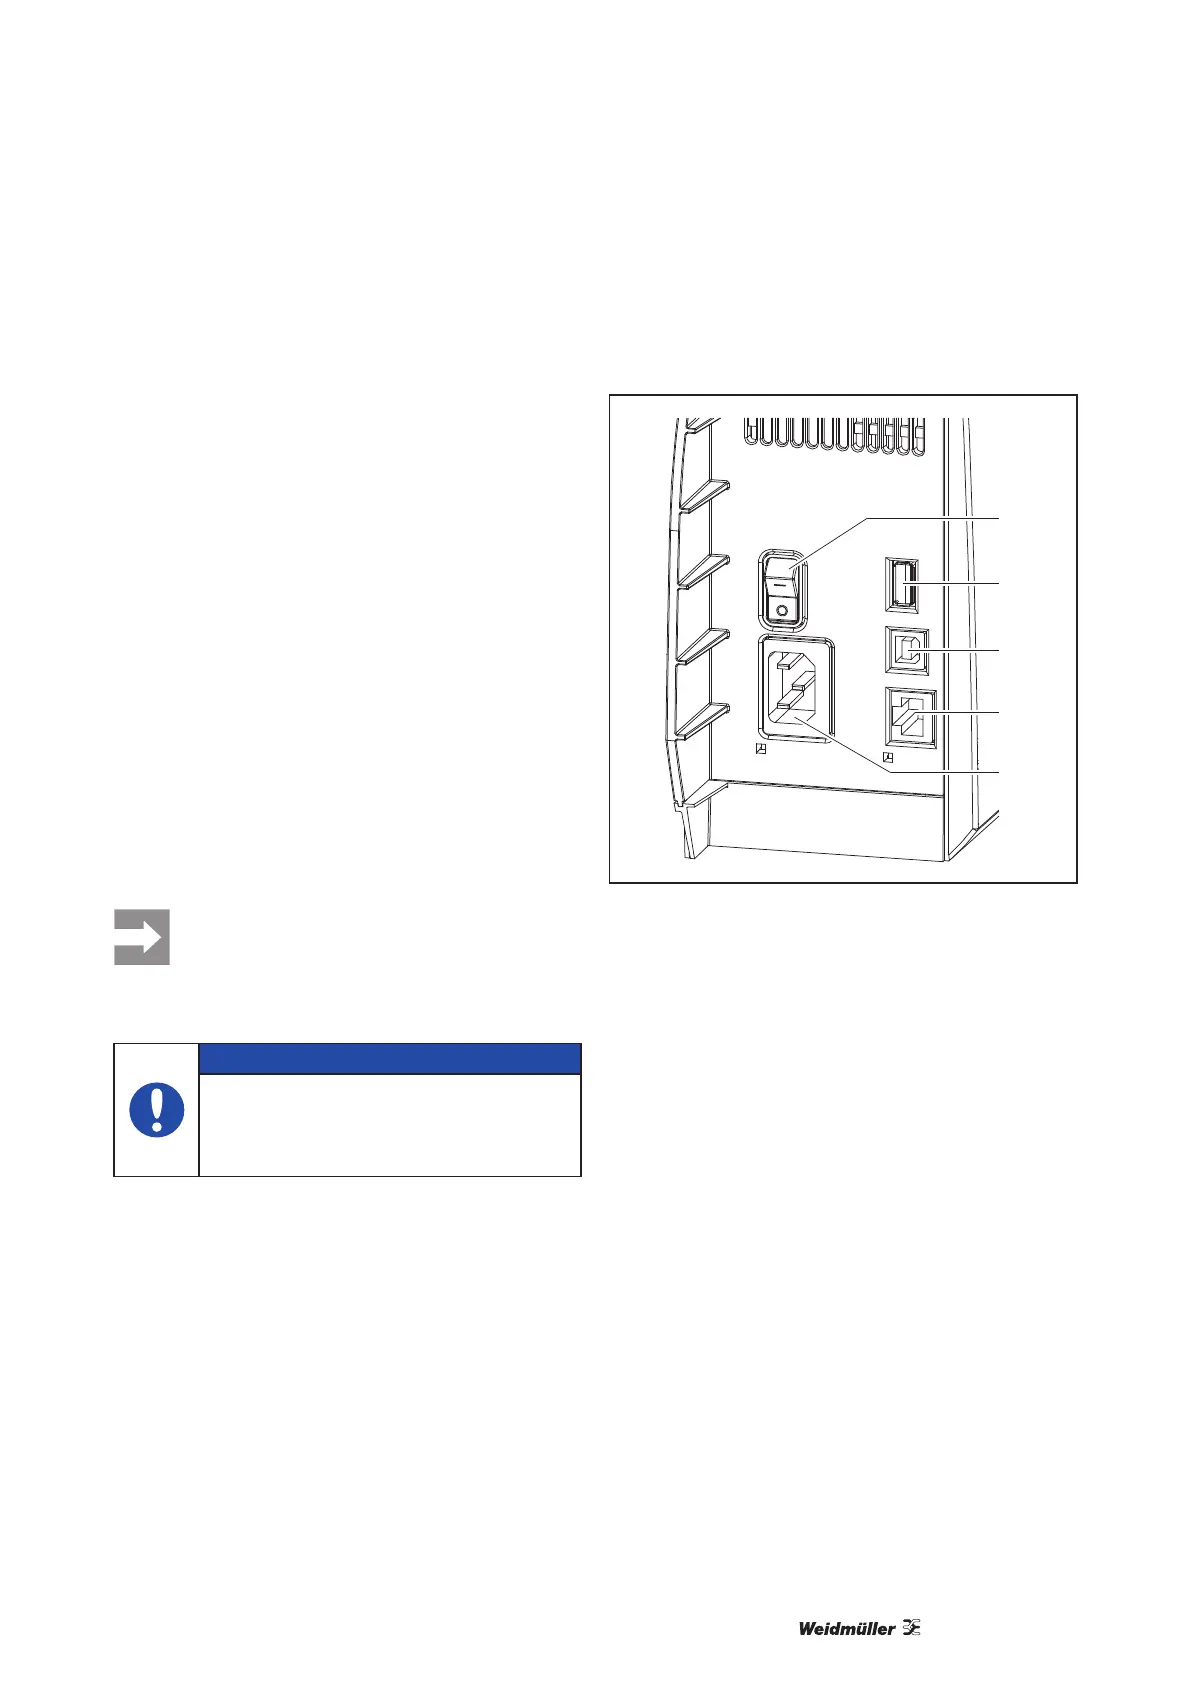
2.3 Connecting the Device
2
3
4
5
1
Fig. 4 Connections
1 Power switch
2 USB master ports for keyboard, scanner, memory
stick or service key
3 USB high-speed slave port
4 Ethernet 10/100 Base-T
5 Power connection jack
2.3.1 Connecting to the Power Supply
The printer is equipped with a wide area power unit
for a supply voltage of 100 V to 240 V.
1 Check that the device is switched off.
2 Plug the power cable into the power connection
jack (5).
3 Plug the power cable into a grounded socket.
 Loading...