2-S14
L3130 · L3430 · L3830 · L4630 · L5030, WSM
CLUTCH
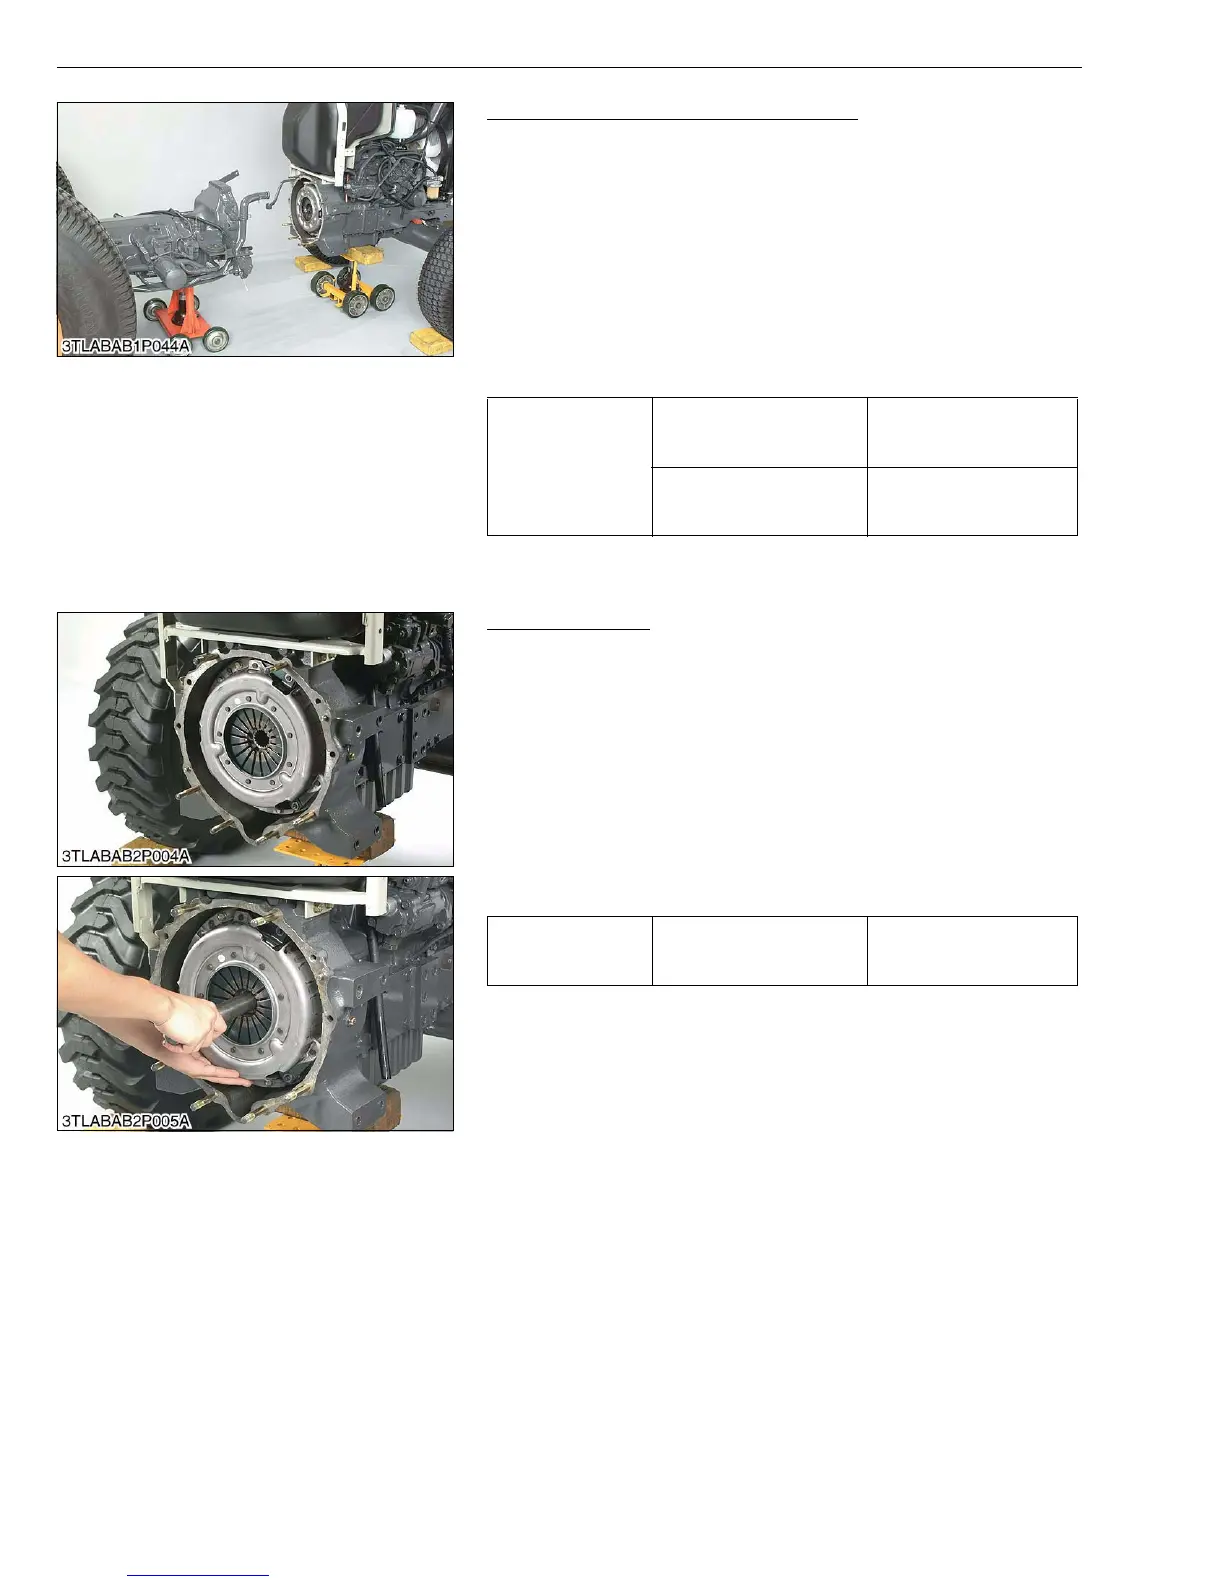
Separating Engine and Clutch Housing
1. Place the disassembling stand under the engine and clutch
housing case.
2. Remove the fuel tank support mounting screws.
3. Remove the engine and clutch housing mounting screws and
nuts.
4. Separate the engine and clutch housing while lifting up the tank
frame.
(When reassembling)
• Apply grease to the spline of clutch shaft.
• Apply liquid gasket (Three Bond 1211 or equivalent) to joint face
of the flywheel housing and clutch housing.
W1021830
(2) Removing Clutch Assembly
Clutch Assembly
1. Remove the clutch from the flywheel.
(When reassembling)
• Direct the shorter end of the clutch disc boss toward the flywheel.
• Apply molybdenum disulphide (Three Bond 1901 or equivalent)
to the splines of clutch disc boss.
• Install the pressure plate, noting the position of straight pins.
• Align the center of disc and flywheel by inserting the clutch
center tool. (See page G-47.)
• Do not allow grease and oil on the clutch disc facing.
W1019957
Tightening torque
Engine and clutch housing
mounting screw and nut
77.5 to 90.2 N·m
7.9 to 9.2 kgf·m
57.1 to 66.5 ft-lbs
Engine and clutch housing
mounting stud bolt
39.2 to 49.0 N·m
4.0 to 5.0 kgf·m
28.9 to 36.2 ft-lbs
Tightening torque Clutch mounting screws
23.5 to 27.5 N·m
2.4 to 2.8 kgf·m
17.5 to 20.3 ft-lbs