EasyManua.ls Logo

Wunder-Bar JoeTap NITCOM - Page 50

Default Icon
95 pages
Print Icon
To Next Page IconTo Next Page
To Previous Page IconTo Previous Page
Loading...
Page | 50
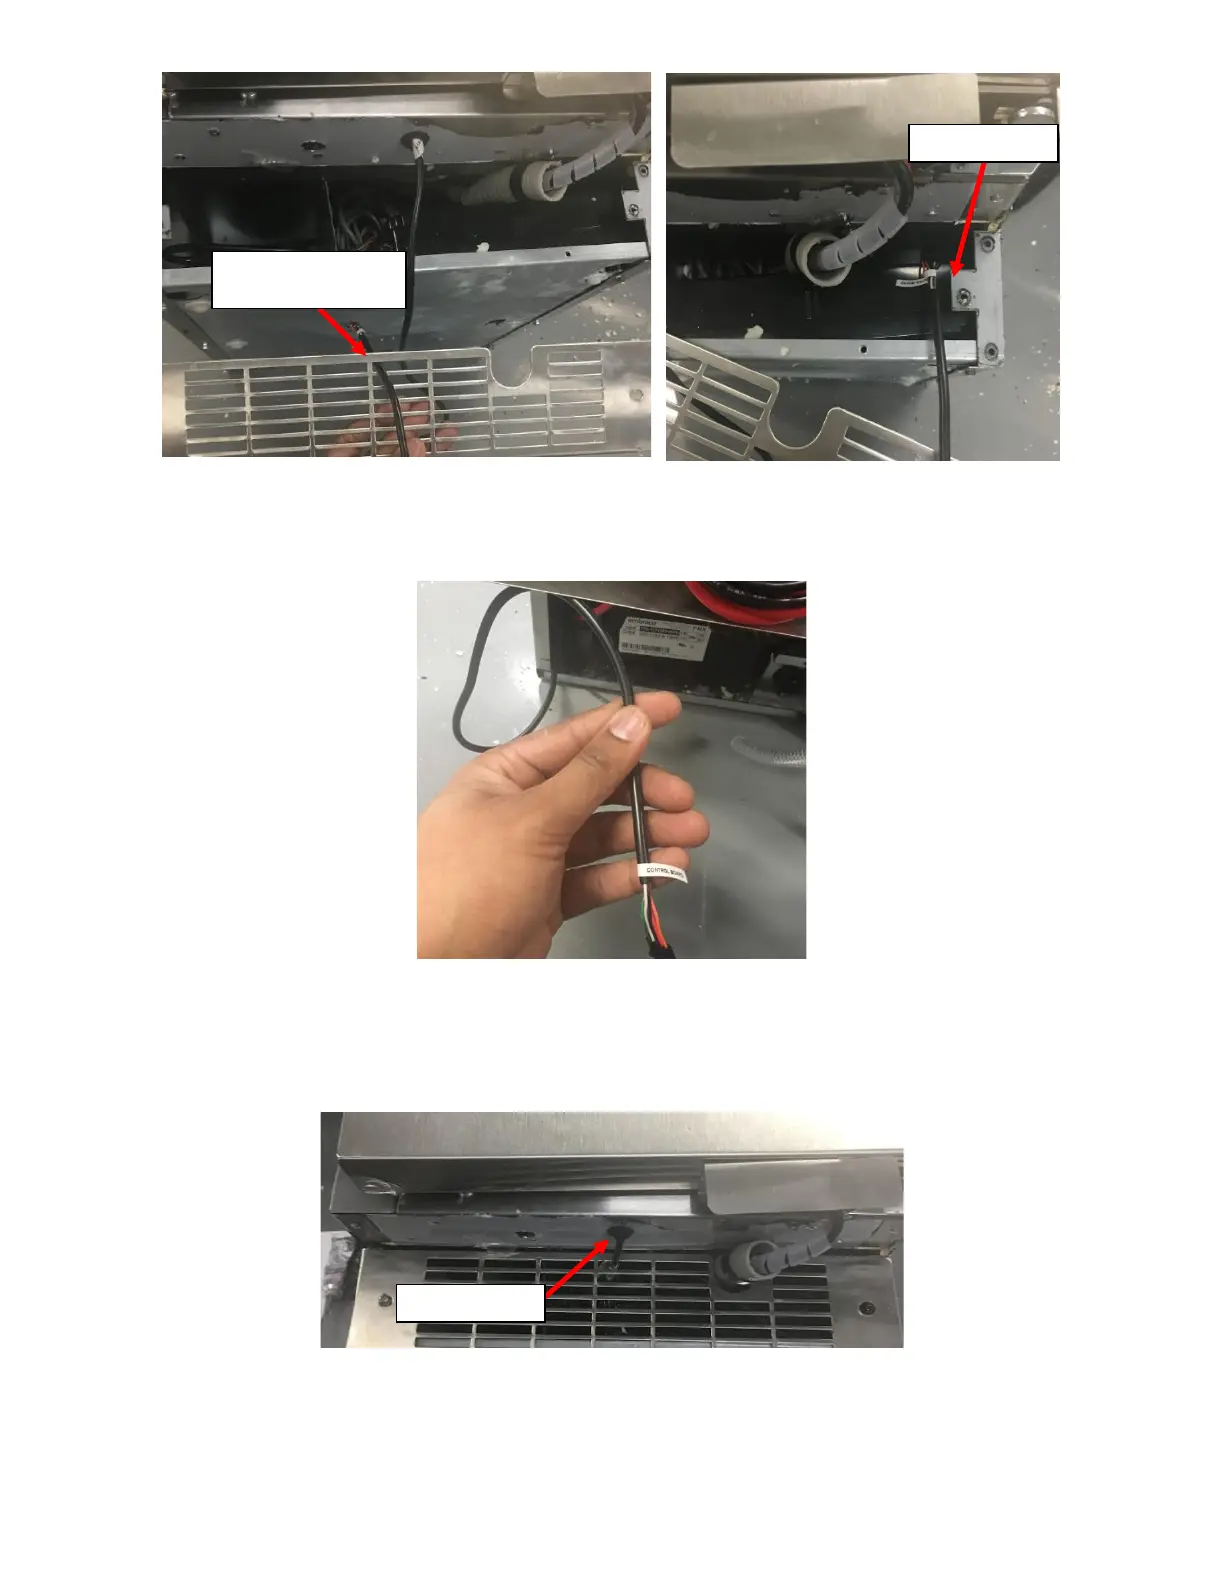
v. Fish the wire through the Fridge Cavity and pull the Connector on the UI Harness through the Rear of
the Fridge. See Figure 114.
vi. Re install the Front Grill.
vii. Pull the UI Harness from the rear of the NITCOM Fridge until there is no loose wire hanging in the front
of the NITCOM Fridge. See Figure 115.
h. Install the P-Clamp on the UI Harness.
i. Place the P-Clamp provided around the UI Harness between the Grommet and the Front Grill. See
Figure 116.
Route through Topmost
Middle Vent
Right-Side Cavity
Wire not hanging
Figure 113a: UI Harness routed through Front Grill.
Figure 113b: UI Harness routed through Right-Side
Cavity.
Figure 114: UI Harness routed through Right-Side Cavity.
Figure 115: UI Harness routed through Right-Side Cavity.

Table of Contents

Related product manuals