Page | 88
10. Locate the penetration point on the rear wall and remove the malleable putty sealing that hole. This putty will be
used again upon installation so do not discard it.
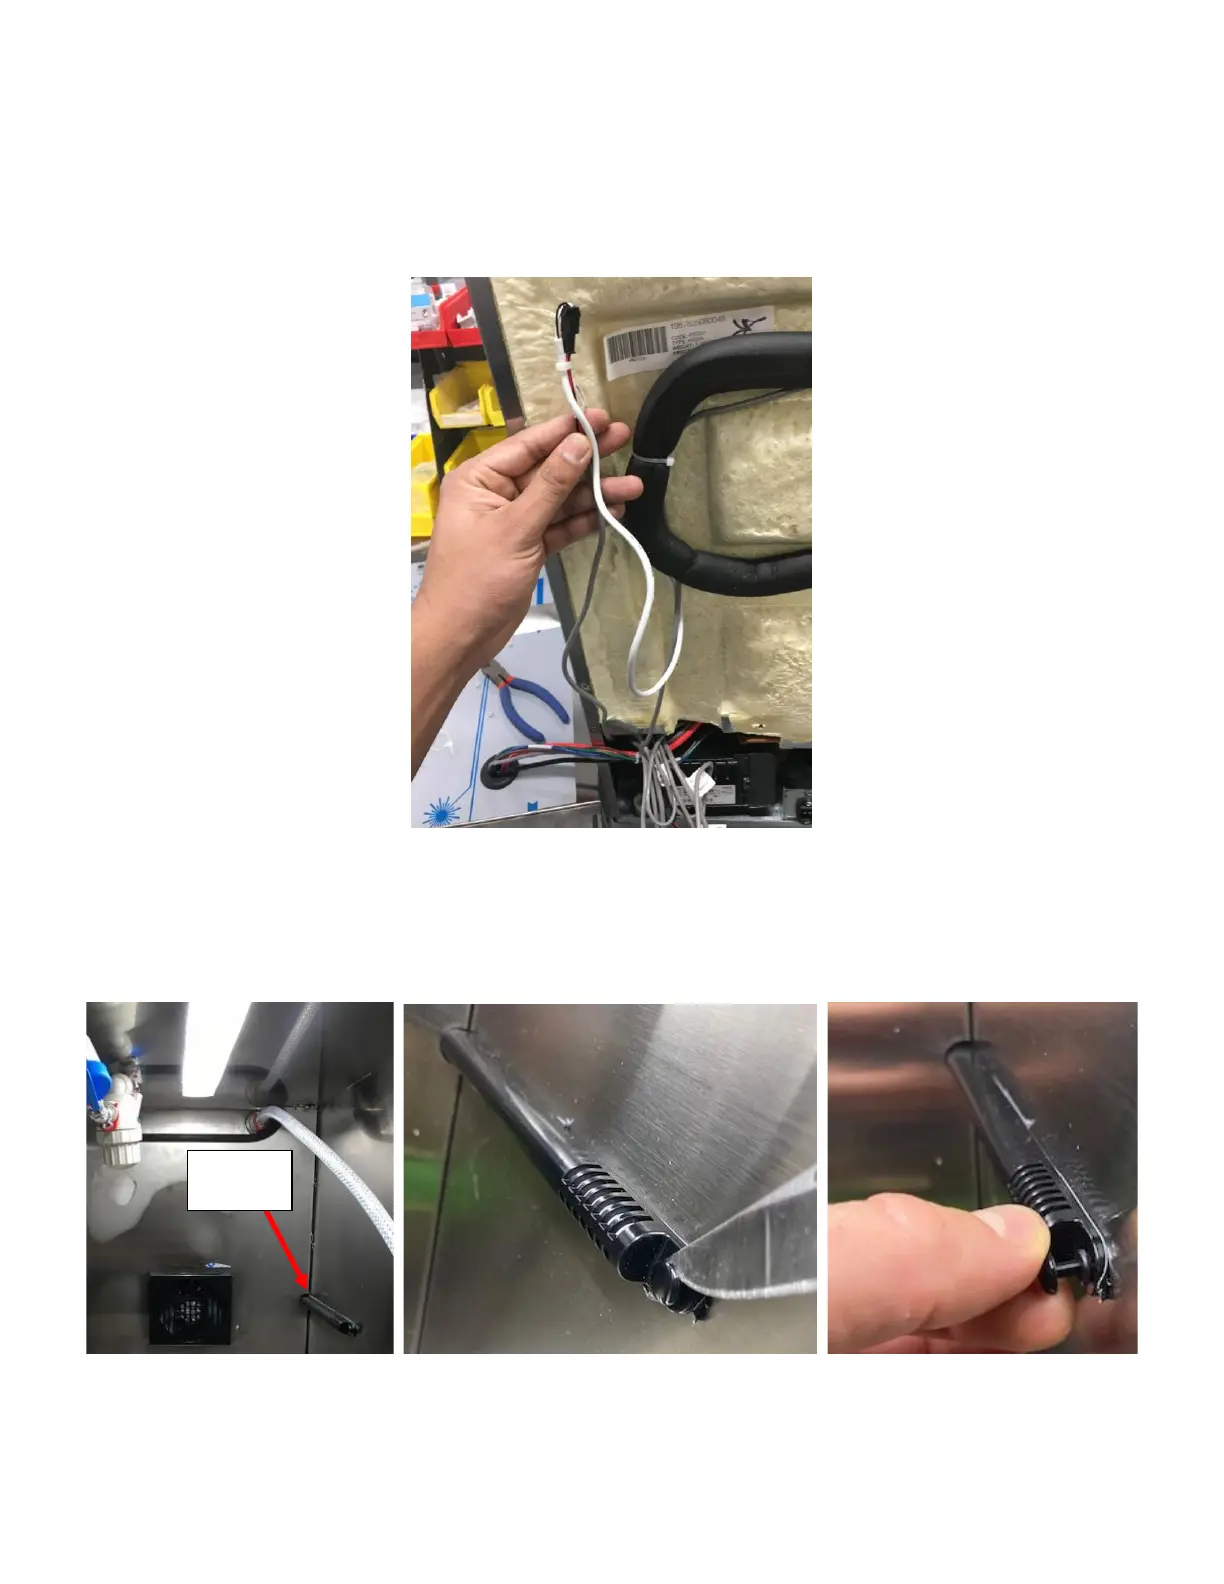
11. Locate and disconnect the Thermistor connector from the harness so the Thermistor may now be pulled out. Follow
along the White cable of the Thermistor, cutting any cable tie holding it in place along the way. The connection will
be in bundle above the compressor/inverter. Locate the connection and disconnect it so the Thermistor can be
removed. See Figure L11.
12. Remove the Black Plastic Thermistor Cover on the inner Right Wall. See Figure L12:
a) Utilizing a small flat screwdriver or knife, pry the plastic set-pin away from the refrigerator wall. See Figure L13.
b) Then use your fingers to completely remove the pin and pin sleeve. See Figure L14.
13. Remove the Thermistor from the cover so it can be fully removed. See Figure L15.