Page | 89
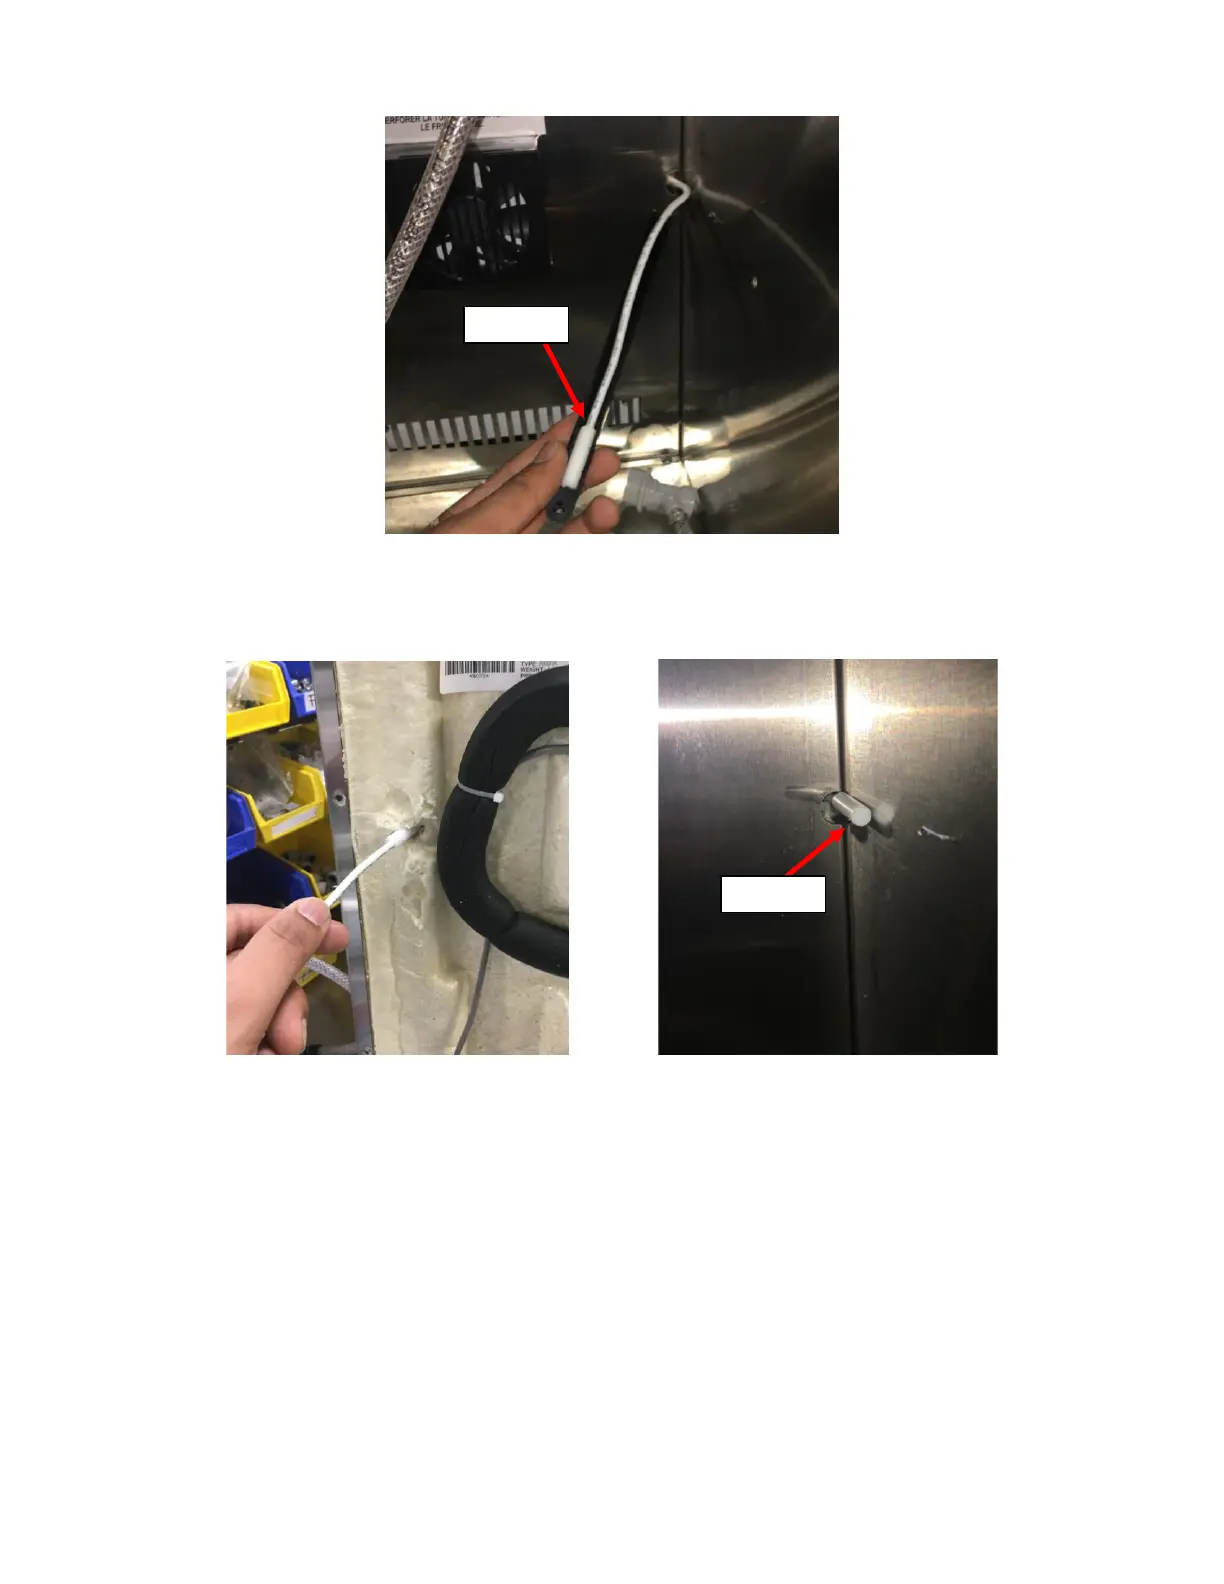
14. Pull the Thermistor until the entire length of the wire attached to it is removed. See Figure L15.
15. Insert the new Thermistor through the existing hole. Go around inside the Fridge and pull out enough length so it
can be reinstalled in its original position. See Figure L16 and Figure L17.
16. Insert the thermistor Bulb so it fits into the cover. See Figure L18.
17. Insert the back end of the Thermistor Cover into the semi-circle cutout in the Evaporator Cover and push the sleeve
in the hole in the Right Wall. See Figure L18.
18. Insert the pin in the sleeve to secure it in place. See Figure L19.