EasyManua.ls Logo

Wunder-Bar JoeTap NITCOM - Page 90

Default Icon
95 pages
Print Icon
To Next Page IconTo Next Page
To Previous Page IconTo Previous Page
Loading...
Page | 90
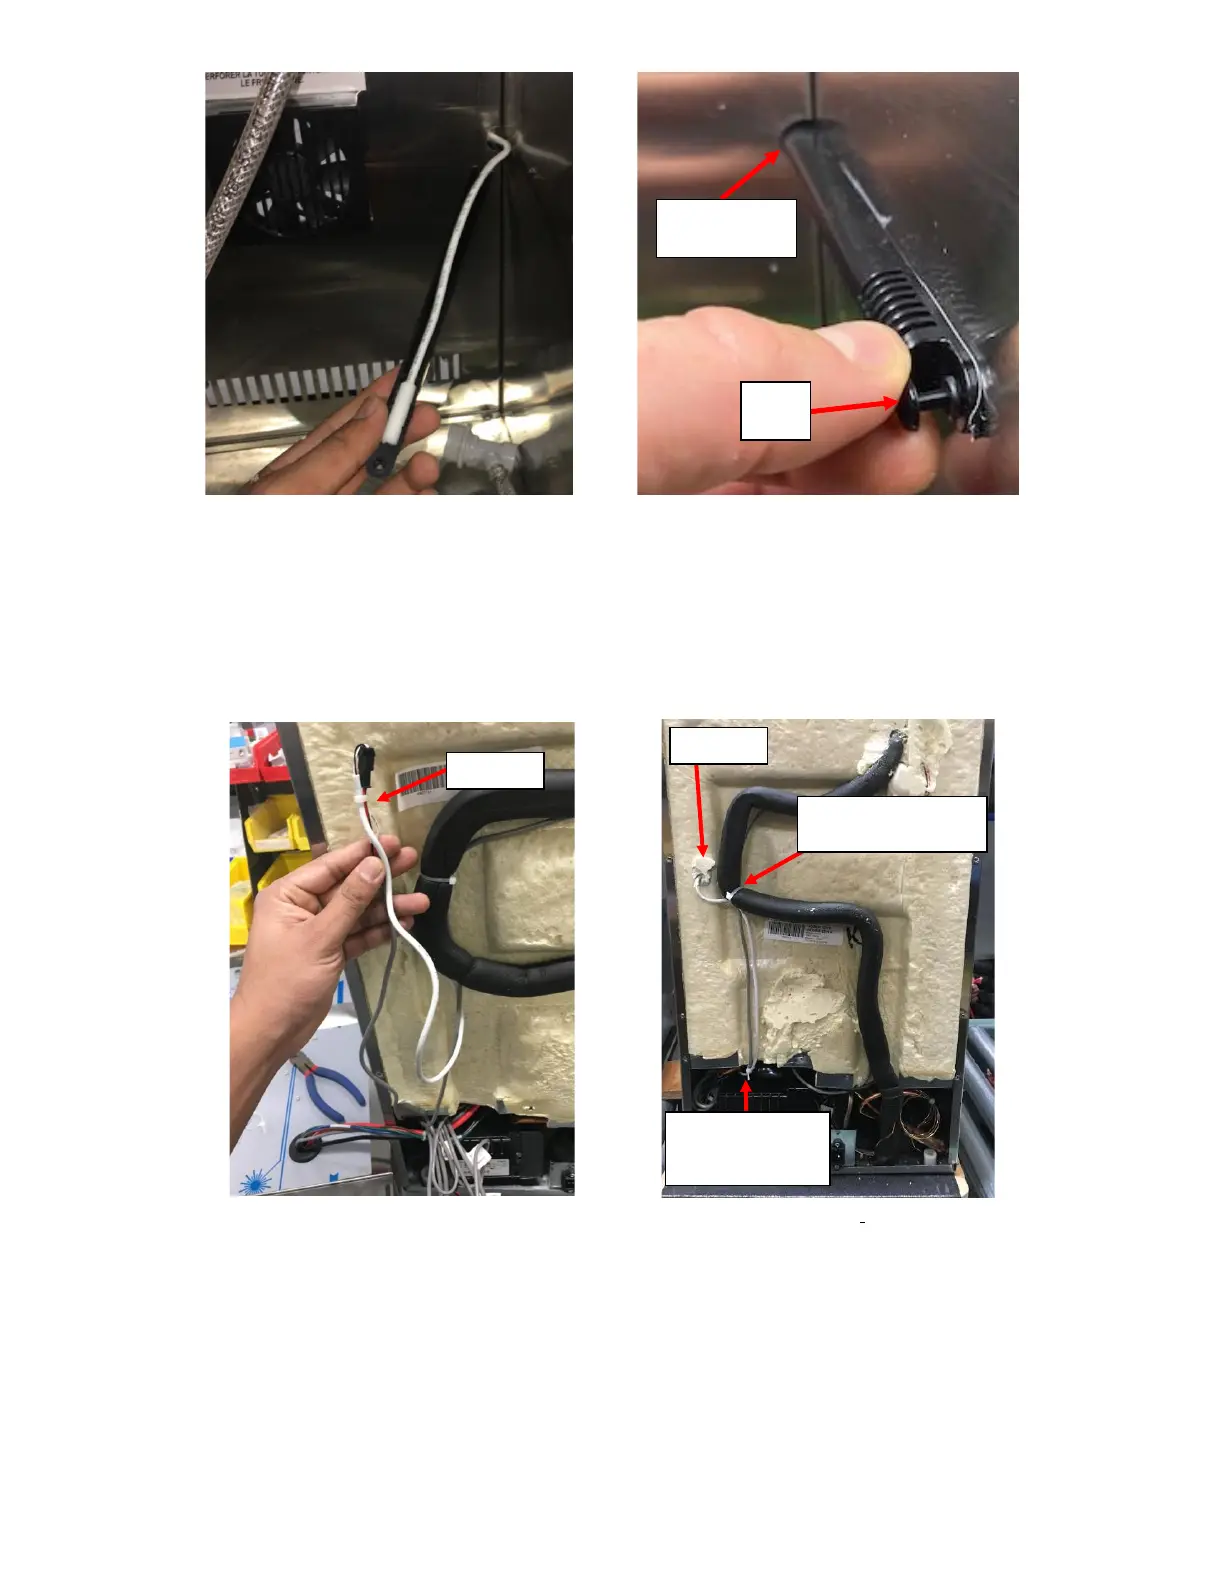
19. Connect the new Thermistor onto the existing harness and use cable tie to tie it together. See Figure L20.
20. Apply the putty removed to seal the penetration hole. If Putty is lost, use RTV Silicone. See Figure L21.
21. Use a Cable Tie to secure both the harnesses to the Insulated Copper Tubing and cut the Cable Tie to length using a
Cable Tie Cutter. Use another Cable Tie to secure the two harnesses together at the beginning of the foam cutout.
See Figure L21.
22. Roll the replacement UI Harness in a bundle with all the other loose wires and secure it in a bundle with the Cable
Tie supplied. See Figure L22.
Harness secured to
Insulated Copper Tubing
Figure L21: Cable Tie - 6" used to secure both
the harnesses to the Insulated Copper Tubing.
Secure the Harness
together at the
foam cutout
Figure L18: Thermistor inserted inside Thermistor Cover.
Figure L19: Insert Pin to secure.
Thermistor
Cover inside Slot
Insert
Pin
Seal Hole
Figure L20: Thermistor connected to harness
and cable tied together.
Cable Tie

Table of Contents

Related product manuals