162 7 Maintenance
Entering the Adjustment Values
Set the adjustment values that you have identified in the Color Registration Chart using the
control panel.
The values can be entered within the range of -9 to 9 in increments of 1.
Note
• By default, the adjustment values of all colors are set to "0" for both the fast scan and the slow scan.
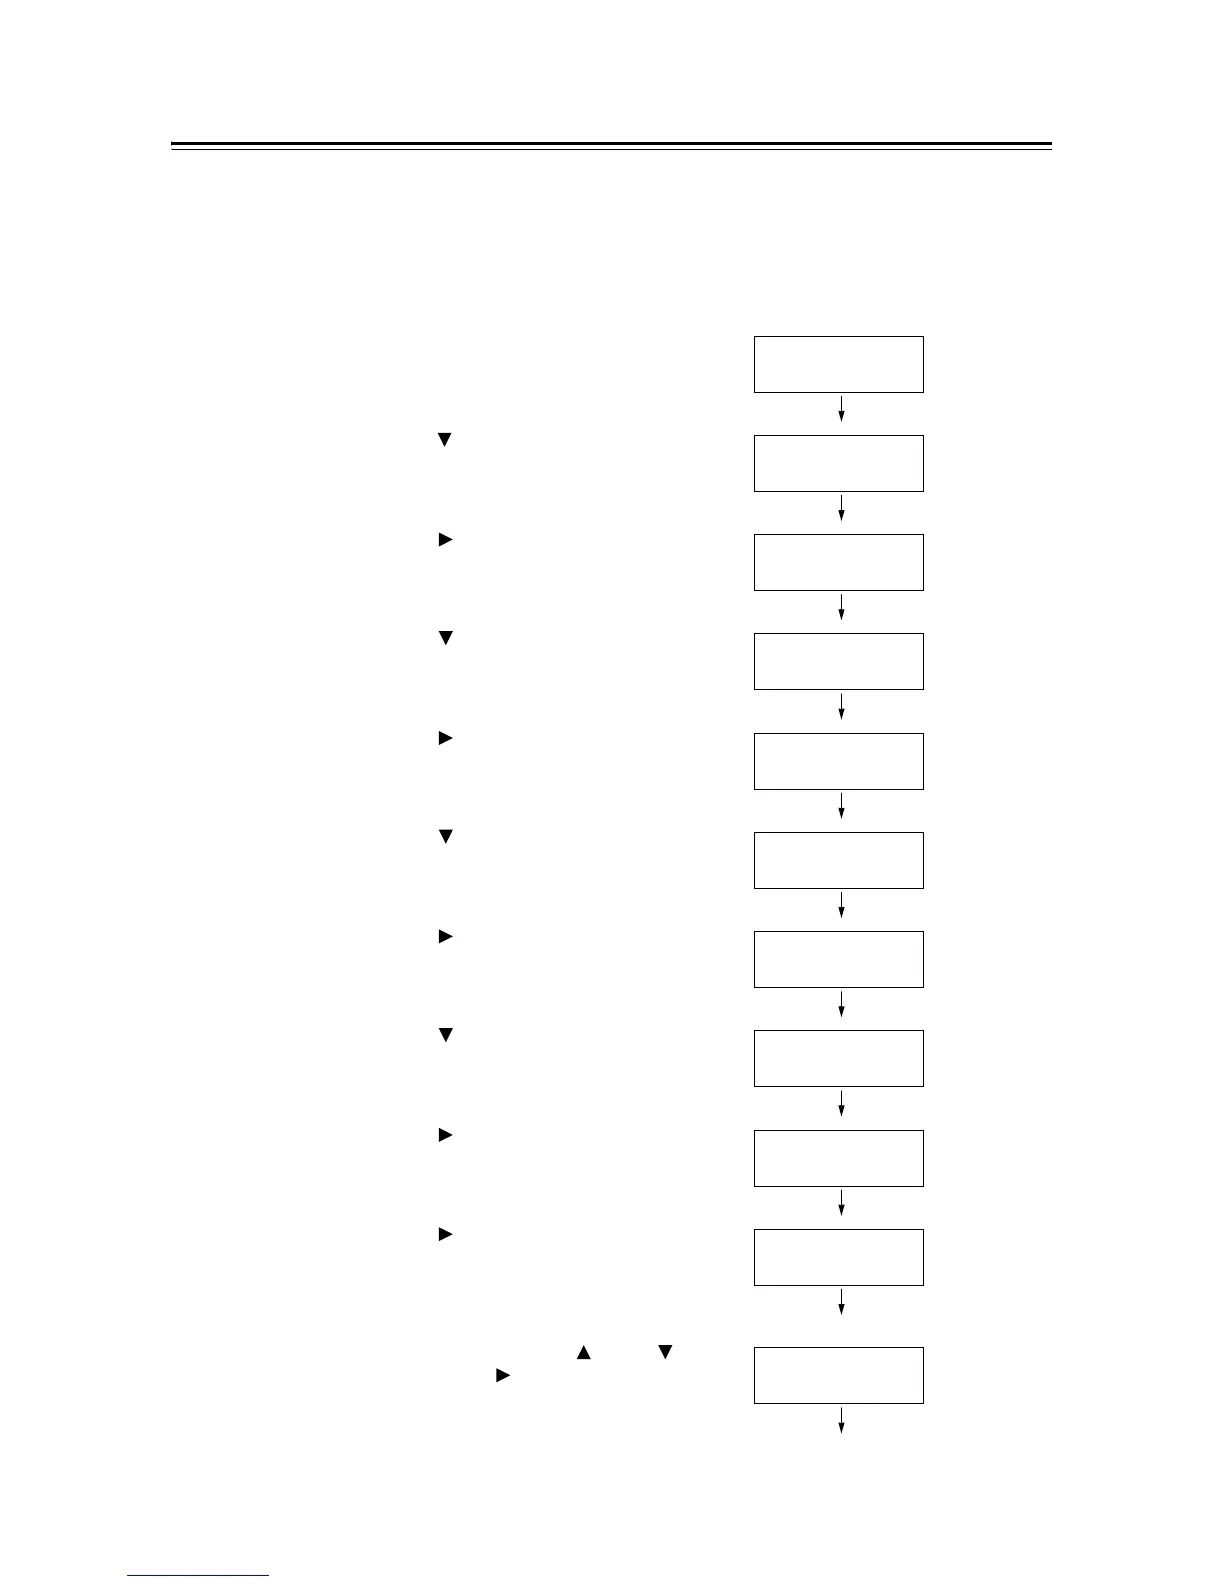
1. Press the <Menu> button on the control
panel to display the menu screen.
2. Press the < > button until [Admin Menu] is
displayed.
3. Press the < > or <Eject/Set> button to
accept the selection.
[Wired Network] is displayed.
4. Press the < > button until [Maintenance
Mode] is displayed.
5. Press the < > or <Eject/Set> button to
accept the selection.
[Adjust PaperType] is displayed.
6. Press the < > button until [Adjust
ColorRegi] is displayed.
7. Press the < > or <Eject/Set> button to
accept the selection.
[Auto Adjust] is displayed.
8. Press the < > button until [Enter
Adjustment] is displayed.
9. Press the < > or <Eject/Set> button to
accept the selection.
[Fast Scan] is displayed.
10. Press the < > or <Eject/Set> button to
accept the selection.
A screen that allows you to enter the
adjustment values for the fast scan is
displayed.
11. Enter the values using the < > and < >
buttons. Use the < > button to move the
curser.
(Example: M=+2)
 Loading...


