164 7 Maintenance
7.10 Adjusting the Image Transfer Voltage
When you get bad printing results such as having white spots on the printed image, spilling
toner out on the printout, or a bluish printout, adjust the image transfer voltage to solve these
printing problems.
The image transfer voltage can be adjusted for each paper type within the range of -6 to 6
in increments of 1. The default is “0”.
Use the following procedure to adjust the image transfer voltage.
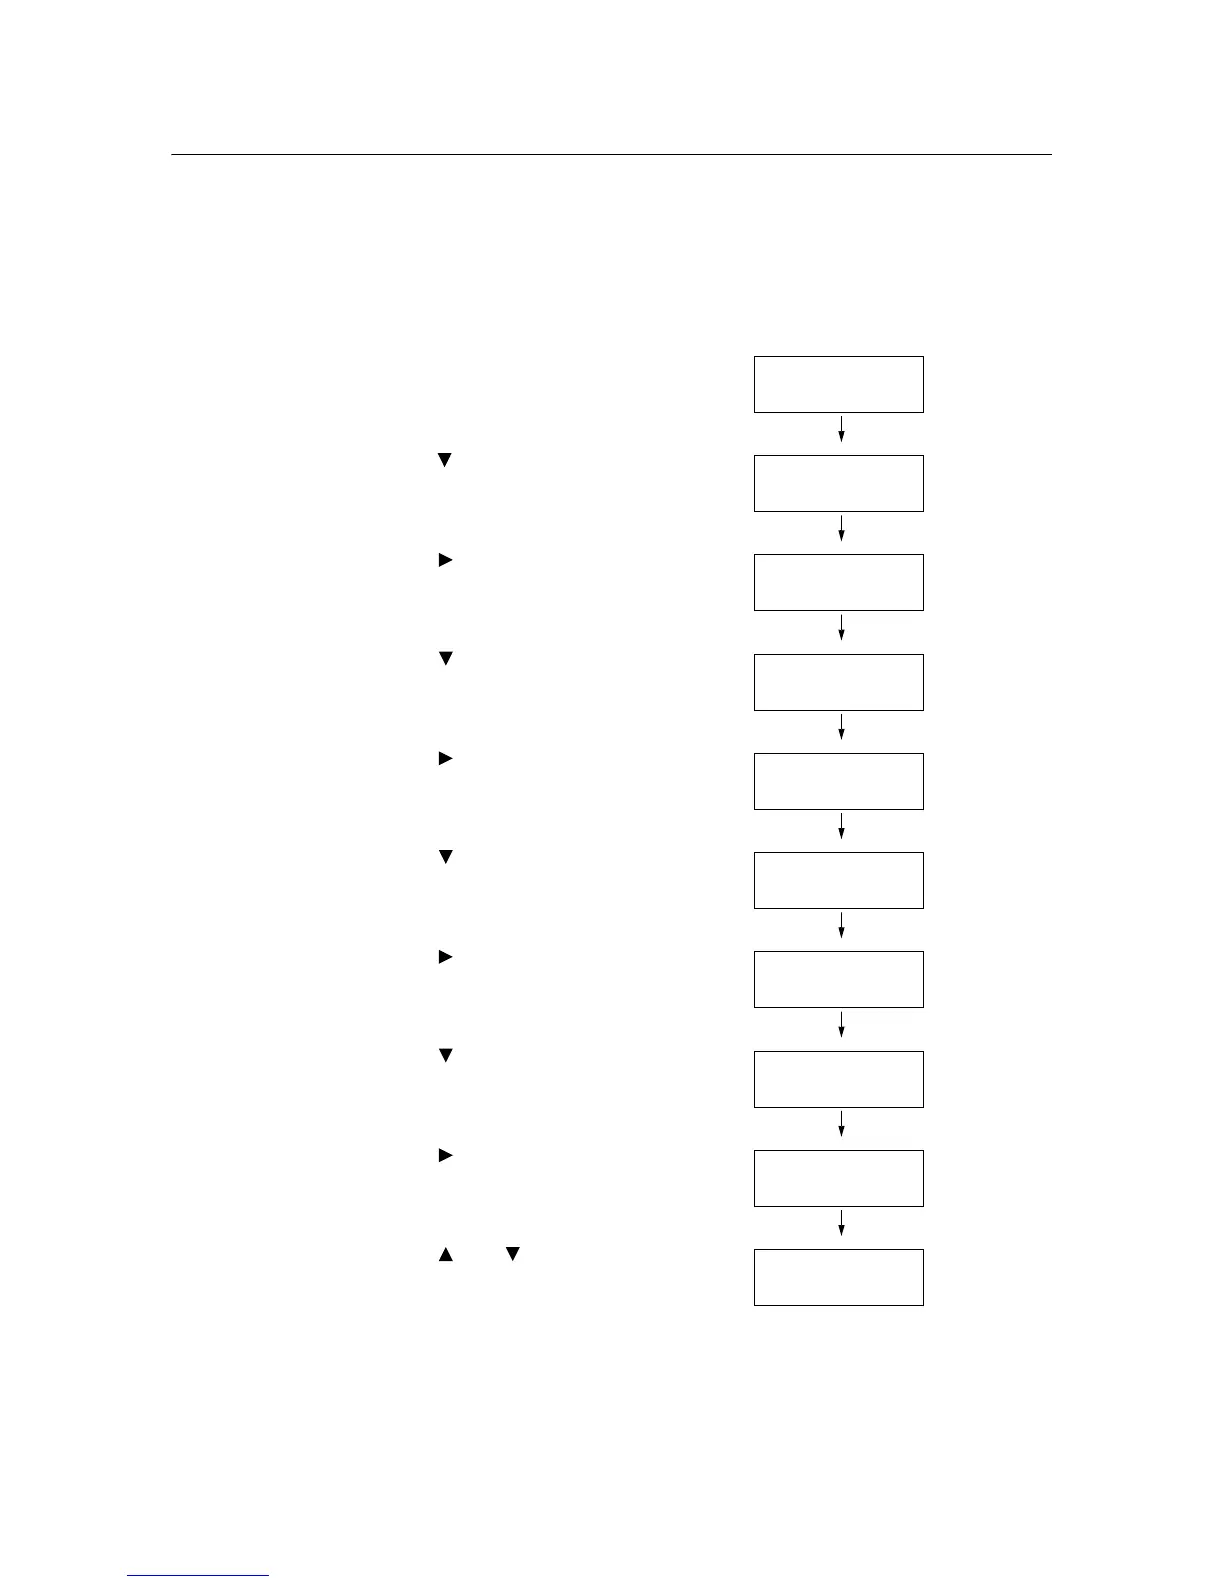
1. Press the <Menu> button on the control
panel to display the menu screen.
2. Press the < > button until [Admin Menu] is
displayed.
3. Press the < > or <Eject/Set> button to
accept the selection.
[Wired Network] is displayed.
4. Press the < > button until [Maintenance
Mode] is displayed.
5. Press the < > or <Eject/Set> button to
accept the selection.
[Adjust PaperType] is displayed.
6. Press the < > button until [Adjust BTR] is
displayed.
7. Press the < > or <Eject/Set> button to
accept the selection.
[Plain Paper] is displayed.
8. Press the < > button until the paper type
you want to set is displayed.
(Example: Recycled Paper)
9. Press the < > or <Eject/Set> button to
accept the selection.
A screen that allows you to enter the value
is displayed.
10. Press the < > or < > button to set the
value, then press the <Eject/Set> button.
(Example: 1)
11. Press the <Menu> button to return to the
print screen.
 Loading...


