g) Align the chart vertically (forward and back) so that the horizontal line is just
above the black square and aligned with the bottom edge of the Background
Plate.
4. Close the document cover and select Scan.
This will generate a scanned image that is stored on the press for later use. While the
scan is in progress, the UI displays a status screen.
The Auto Alignment Adjustment screen displays again when the scan is complete.
Notice that the bottom left of the UI displays: Scan Page(s): 1, indicating that one
scan is complete.
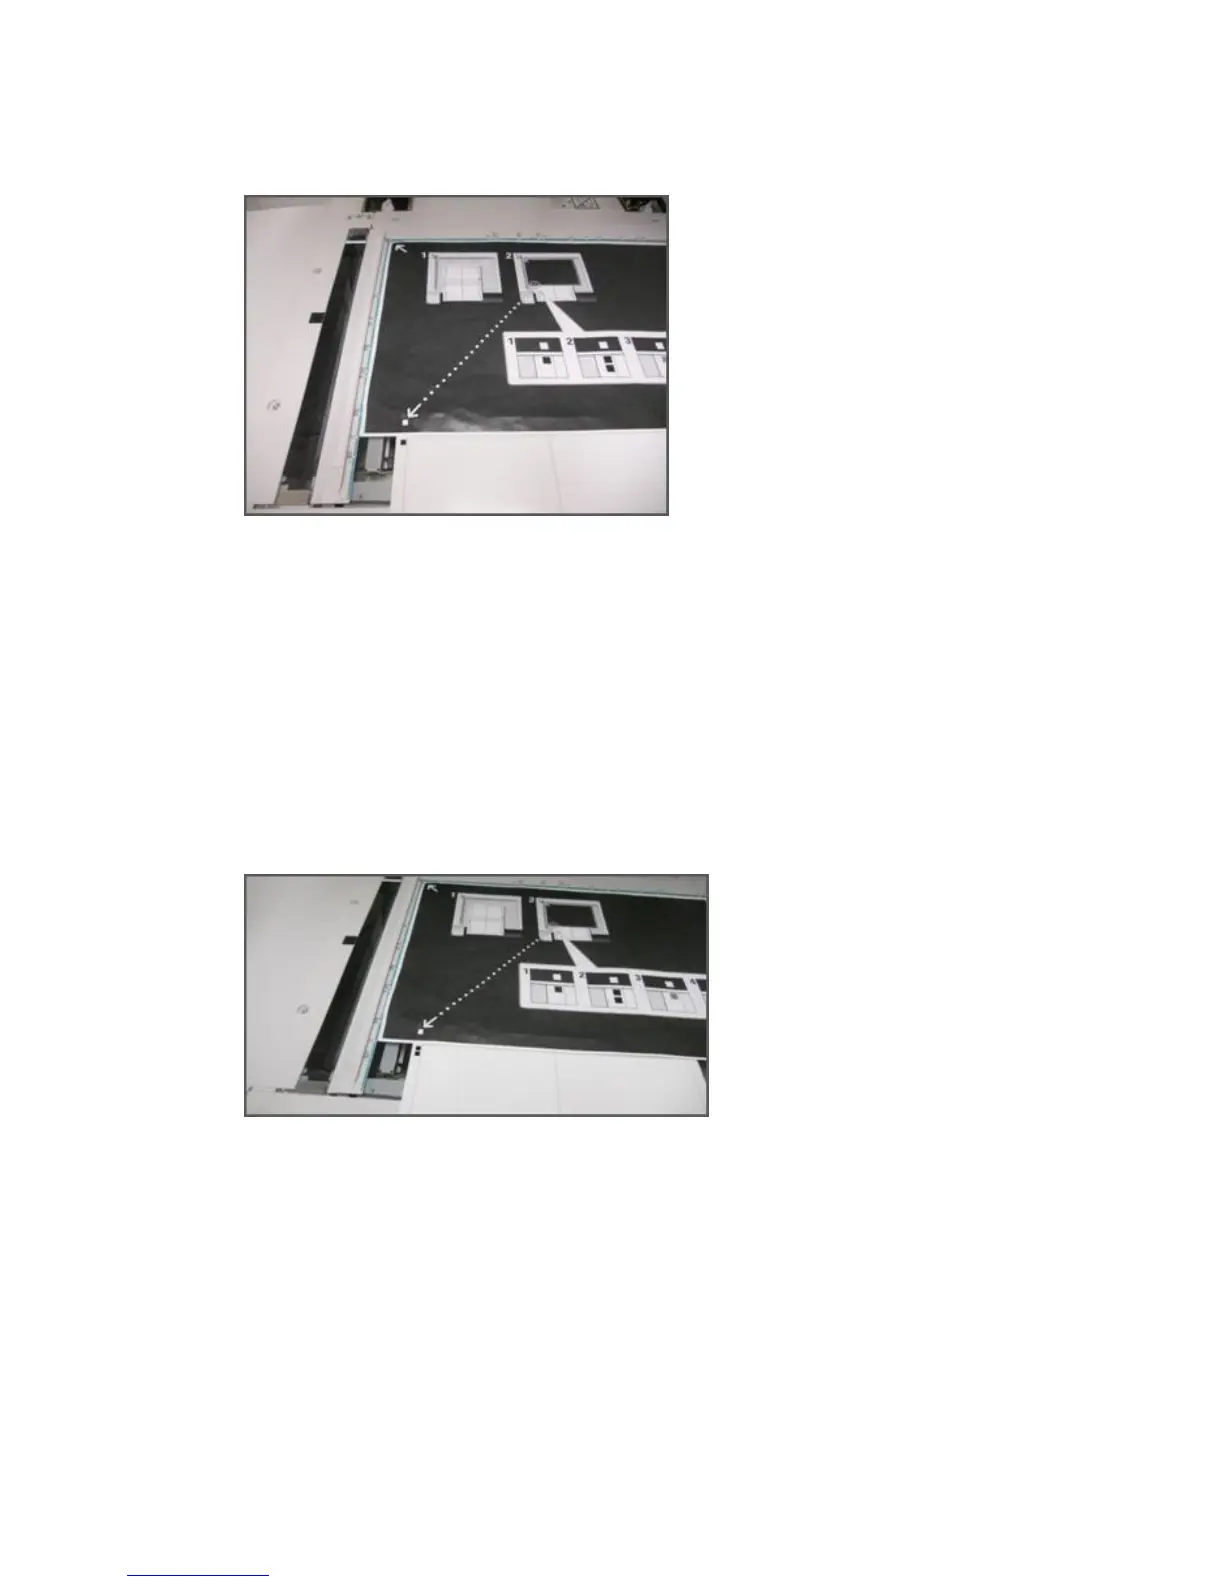
5. Slide the Alignment Adjustment Calibration Chart out from under the Background
Plate and rotate it 180 degrees.
Notice that the lower left-hand quadrant of the document now contains two black
squares in the margin.
6. Reposition the chart under the Background Plate as you did in Step 3, except that 2
black squares should be showing.
7. Close the document cover and select Scan.
Notice that the bottom left of the screen displays: Scan Page(s): 2, indicating that
two scans are complete.
8. Slide the Alignment Adjustment Calibration Chart out from under the Background
Plate and flip it over.
Xerox
®
Versant
®
80 Press5-6
System Administration Guide
Simple Image Quality Adjustment (SIQA)

 Loading...


