Notice that the lower left-hand quadrant of the document now contains one gray
square in the margin. Reposition the chart under the Background Plate as you did in
Step 3, except that one gray square should be showing.
9. Close the document cover and touch Scan.
10. Notice that the bottom left of the screen displays: Scan Page(s): 3, indicating that
three scans are complete.
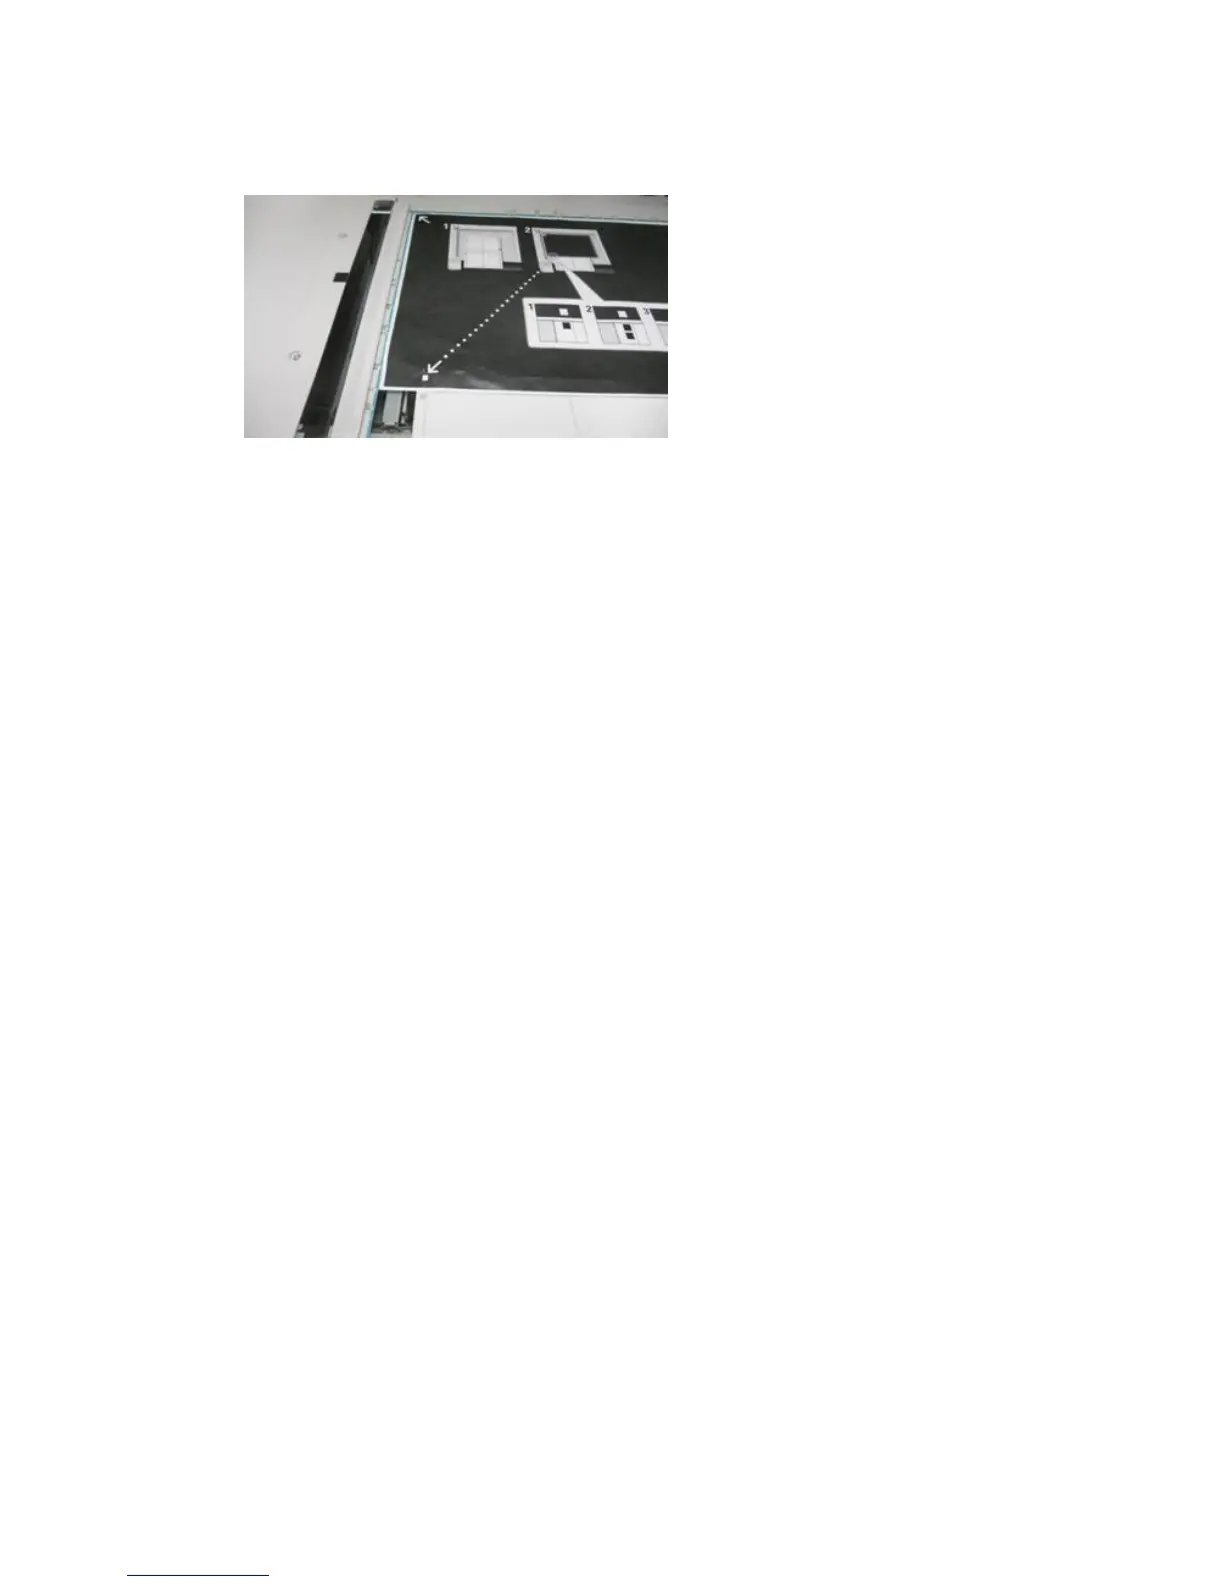
11. Slide the Alignment Adjustment Calibration Chart out from under the Background
Plate and rotate it clockwise 180 degrees. Notice that the lower left-hand quadrant
of the document now contains two gray squares in the margin. Reposition the chart
under the Background Plate as you did in Step 3, except that two gray square should
be showing.
12. Close the document cover and select Scan.
Notice that the bottom left of the screen displays: Scan Page(s): 4, indicating that
four scans are complete. Note also that the Start button is now visible.
13. Select Start.
14. Remove the chart and black background sheet from the scanner.
15. Select Confirm.
This completes the scanning of the Alignment Adjustment Calibration Chart. To
continue, go to Saving the Profile.
Related Topics:
Scanning the Targets
Saving the Profile
1. Choose one of the following:
• If the Document Feeder was used, select the line shown next to the blue checkmark
on the UI.
• If Document Glass was used, select an Available line (for example Type 1, as
shown). This will be the location for the saved adjustments.
2. Select Change Settings.
The profile opens for you to enter information.
3. Select the Name line.
4. Select Change Settings.
5-7Xerox
®
Versant
®
80 Press
System Administration Guide
Simple Image Quality Adjustment (SIQA)

 Loading...


