111
Maximizing use of the product
6
Configuring the product to
use IPv6
Before beginning conguration, register the connection
destination (provider) using IPv6 on the “Congure IPv6”
screen.
Note
If the provider is not registered, your IPv6 connecting operation
will result in an error.
For more details on the settings, click “Help” on the setup
screen and refer to the description displayed.
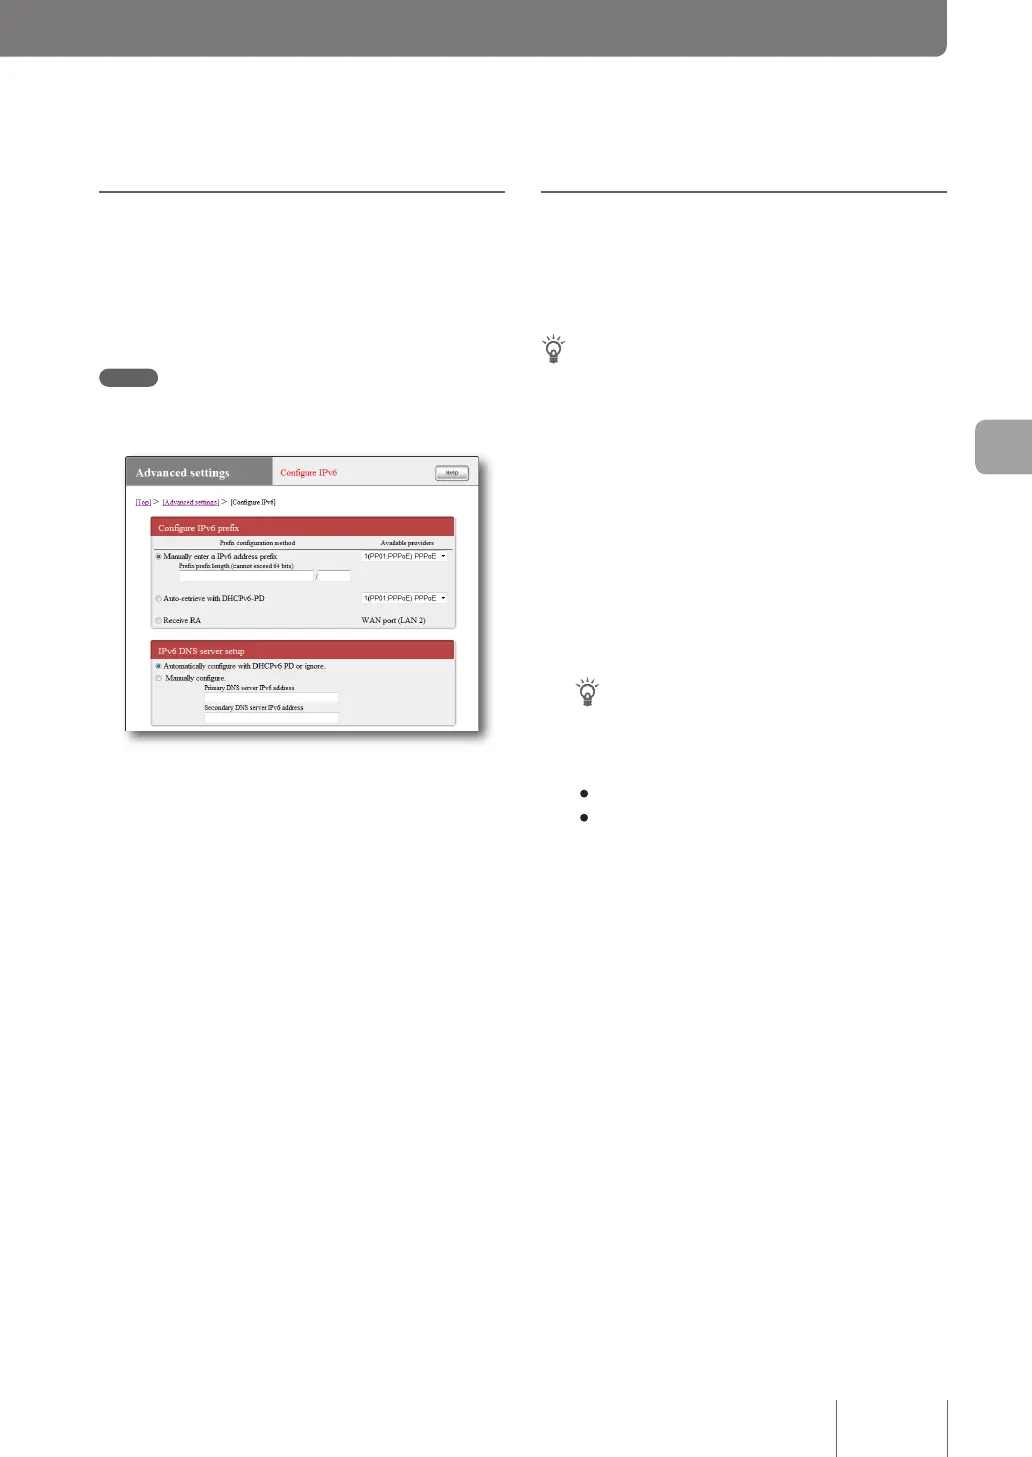
To open the “Configure IPv6” screen
From “Basic conguration page”, click the buttons on the
setup screen in the following order:
▶ “Advanced settings” in the top page
▶ “Congure” of “Congure IPv6”
Checking the IPv6
connection
Take the following steps to check whether the IPv6
environment has been correctly congured.
Tip
The product and a PC can be communicated with each other once
they are connected with a LAN cable. No particular settings are
required in the PC.
1
Checking the connection of LAN
From a PC connected to a LAN port, execute “ping6”
to the LAN1 address of the product.
If a response is returned, IPv6 has been congured
correctly.
Tip
The LAN1 address of this product is a prex address with
“1” is added to it.
Example: If the prex is “fec0:12ab::/64”,
• The LAN1 address is “fec0:12ab::1/64”.
• To execute “ping6” to the LAN1 address of the product,
enter “ping6 fec0:12ab::1” from the command prompt
of the PC and press the Enter key.
2
Checking the connection between LAN and
WAN
Execute “ping6” to the provider, view the special
website, or take other checking procedure specied
by the provider.