163
Annex
9
Changing the IP addresses of PCs
To change the IP address of the PC, take the following steps.
For Windows 7
1
Click the “Start” button, then click “Control
P
anel”.
2
Enter “Adapter” in the search field at the upper
r
ight
i
n
C
ontrol
P
anel,
a
nd
u
nder
“
Network
and Sharing Center”, click “View network
c
onnections”.
3
Right-click the connection that you want
t
o
c
hange.
F
rom
t
he
s
hort
c
ut
m
enus
t
hat
appear, click “Properties”.
4
Click the “Network” tab.
5
In the “This connection uses the following
i
tems”
fi
eld,
c
lick
t
o
s
elect
“
Internet
P
rotocol
Version 4 (TCP/IPv4)”, and then click
“
Properties”.
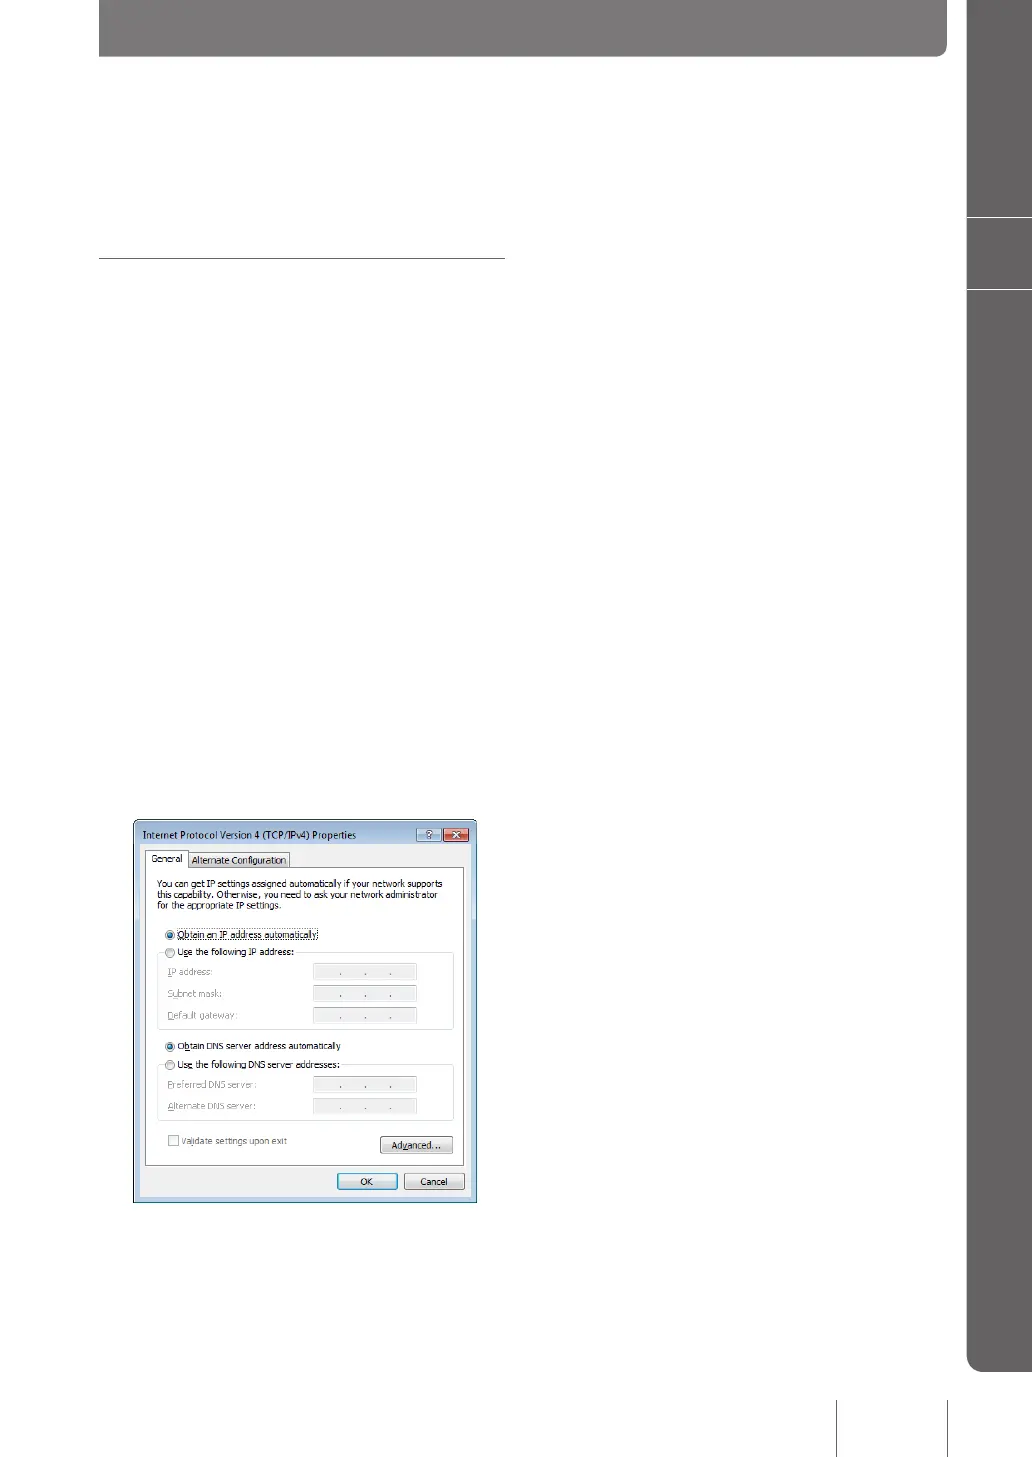
6
Select “Obtain an IP address automatically” and
“
Obtain
D
NS
s
erver
a
ddress
a
utomatically”,
and then click“ OK”.
7
In the “Local Area Connection Properties”
s
creen,
c
lick
“
OK”.
8
Click the “Start” button, then click “All Programs”
- “
Accessories”
- “
Command
P
rompt”.
9
Type in “ipconfig /release”, and press the Enter
k
ey.
The IP address assigned to the PC is released.
10
Type in “ipconfig /renew”, and press the Enter
k
ey.
New IP address is assigned to the PC.
11
Repeat steps 1 to 10 on all PCs in the LAN,
s
o
t
hat
a
ll
P
Cs
h
ave
d
ifferent
I
P
a
ddresses.