164
Annex
9
For Windows Vista
1
Click the “Start” button, then click “Control
Panel”.
2
Click “Network and Internet”.
3
Click “Network and Sharing Center”.
4
Click “Manage network connections” on the
left of the screen.
5
Right-click the connection that you want
to change. From the short cut menus that
appear, click “Properties”.
6
Click the “Network” tab.
7
In the “This connection uses the following
items” field, click to select “Internet Protocol
Version 4 (TCP/IPv4)”, and then click
“Properties”.
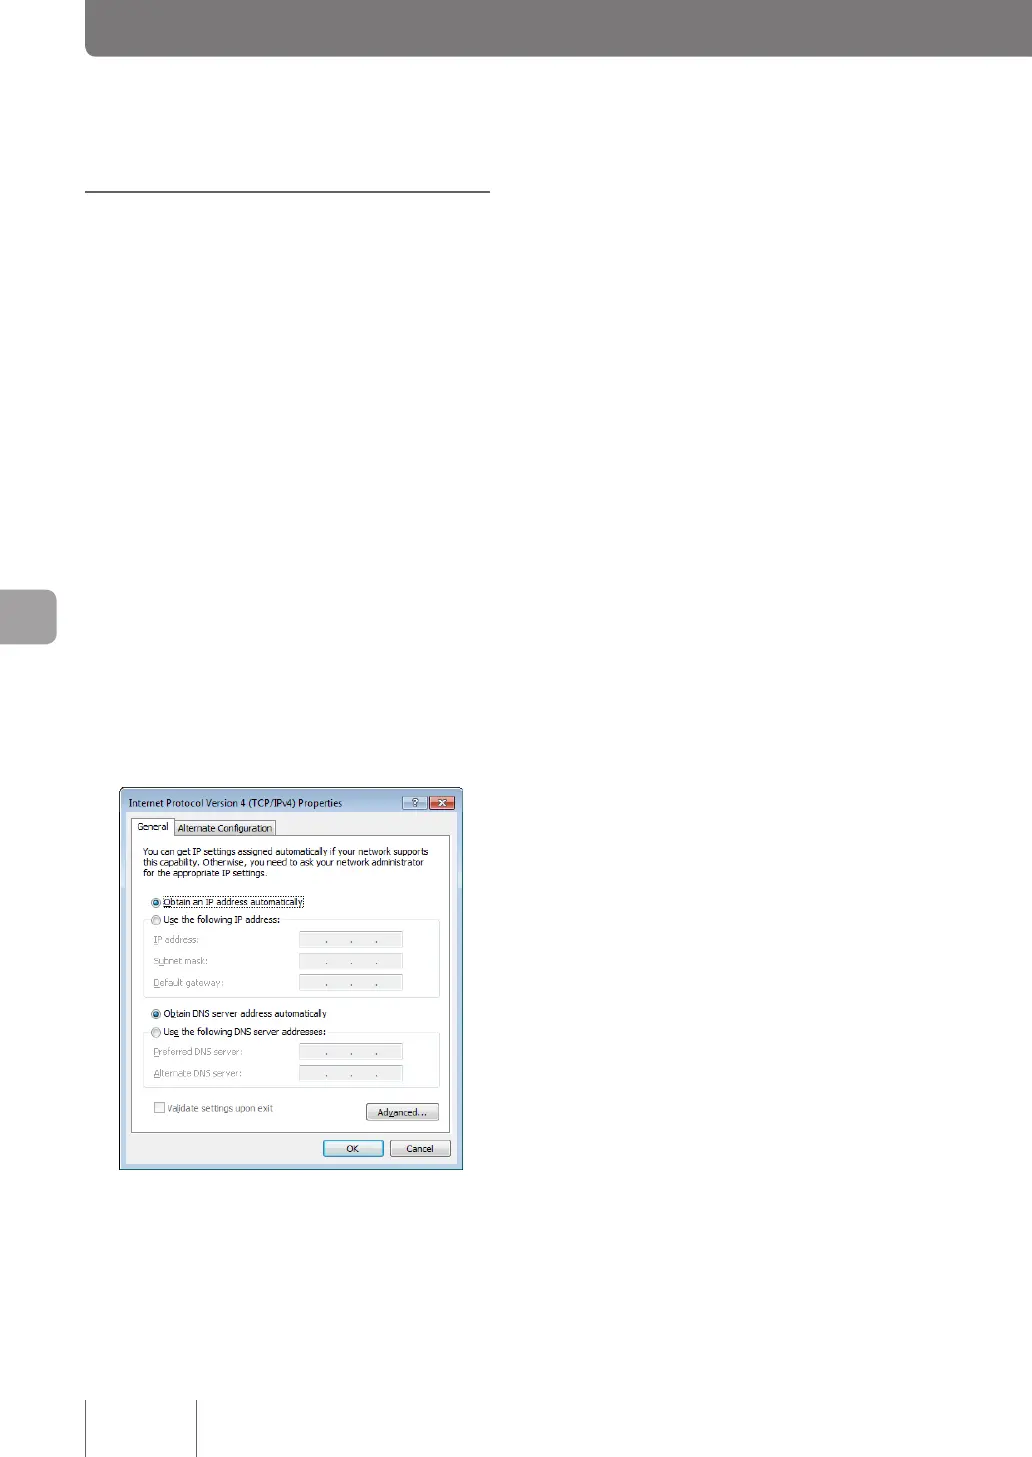
8
Select “Obtain an IP address automatically” and
“Obtain DNS server address automatically”,
and then click“ OK”.
9
In the “Local Area Connection Properties”
screen, click “OK”.
10
Click the “Start” button, then click “All Programs”
- “Accessories” - “Command Prompt”. Right-
click on it and select “Run as Administrator”.
11
Type in “ipconfig /release”, and press the Enter
key.
The IP address assigned to the PC is released.
12
Type in “ipconfig /renew”, and press the Enter
key.
New IP address is assigned to the PC.
13
Repeat steps 1 to 12 on all PCs in the LAN,
so that all PCs have different IP addresses.
Changing the IP addresses of PCs
(Continued from the previous page)