Assembly and installation
4 - 28
Fig. 4-2: Connecting three cabinets
4.4 Installation example
Anchor the controller to the ground. To this purpose, use the bolts as shown below.
NOTICE
For more information about the installation of the robot please refer to the operating and
maintenance manual for each robot type.
2 holes Ø 12 Holes for M10 screws
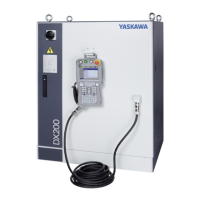
DX200
DX200
YASAKAW DX200
Part No.
Power Supply Peak kVA
AC 400/415/440 Average kVA
Serial No.
Date/Signature
Type ERDR-
Robot Type
Robot Order No.
Robot Serial No.
YASKAWA ELECTRIC CORPORATION
2-1 SHIROISHI KUROSAKI, YAHATANISHILU KITAKYUSYU, JAPAN
YASKAWA Europe „Robotics Division“ GmbH
Yaskawastr. 1, D-85391 Allershausen
DX200
4x M12
4 x M10 x35
4 x M12 x 20
1
2
DX200
YASAKAW DX200
Part No.
Power Supply Peak kVA
AC 400/415/440 Average kVA
Serial No.
Date/Signature
Type ERDR-
Robot Type
Robot Order No.
Robot Serial No.
YASKAWA ELECTRIC CORPORATION
2-1 SHIROISHI KUROSAKI, YAHATANISHILU KITAKYUSYU, JAPAN
YASKAWA Europe „Robotics Division“ GmbH
Yaskawastr. 1, D-85391 Allershausen
1
2
 Loading...


