Carl Zeiss Axiotech and Axiotech
vario
2-4 B 40-020 e 06/99
2.2
Setting up the microscope
• Place the microscope on a suitable worktable.
This is the required footprint:
− Axiotech: approx. 250 × 350 mm
− Axiotech
vario
: approx. 420 × 460 mm.
☞
For the Axiotech
vario
, sufficient space
should be available for the separate
power units.
• Remove the adhesive tapes which secure the
various components during transport.
• The dust covers and sliders contained in the
reflected-light equipment (2-3/1) remain in the
instrument.
• Remove the rubber foam padding from below the stage of the Axiotech after moving the stage
upwards.
2.2.1
Axiotech
vario
- Attaching the microscope body to column X95
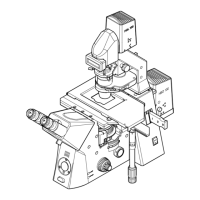
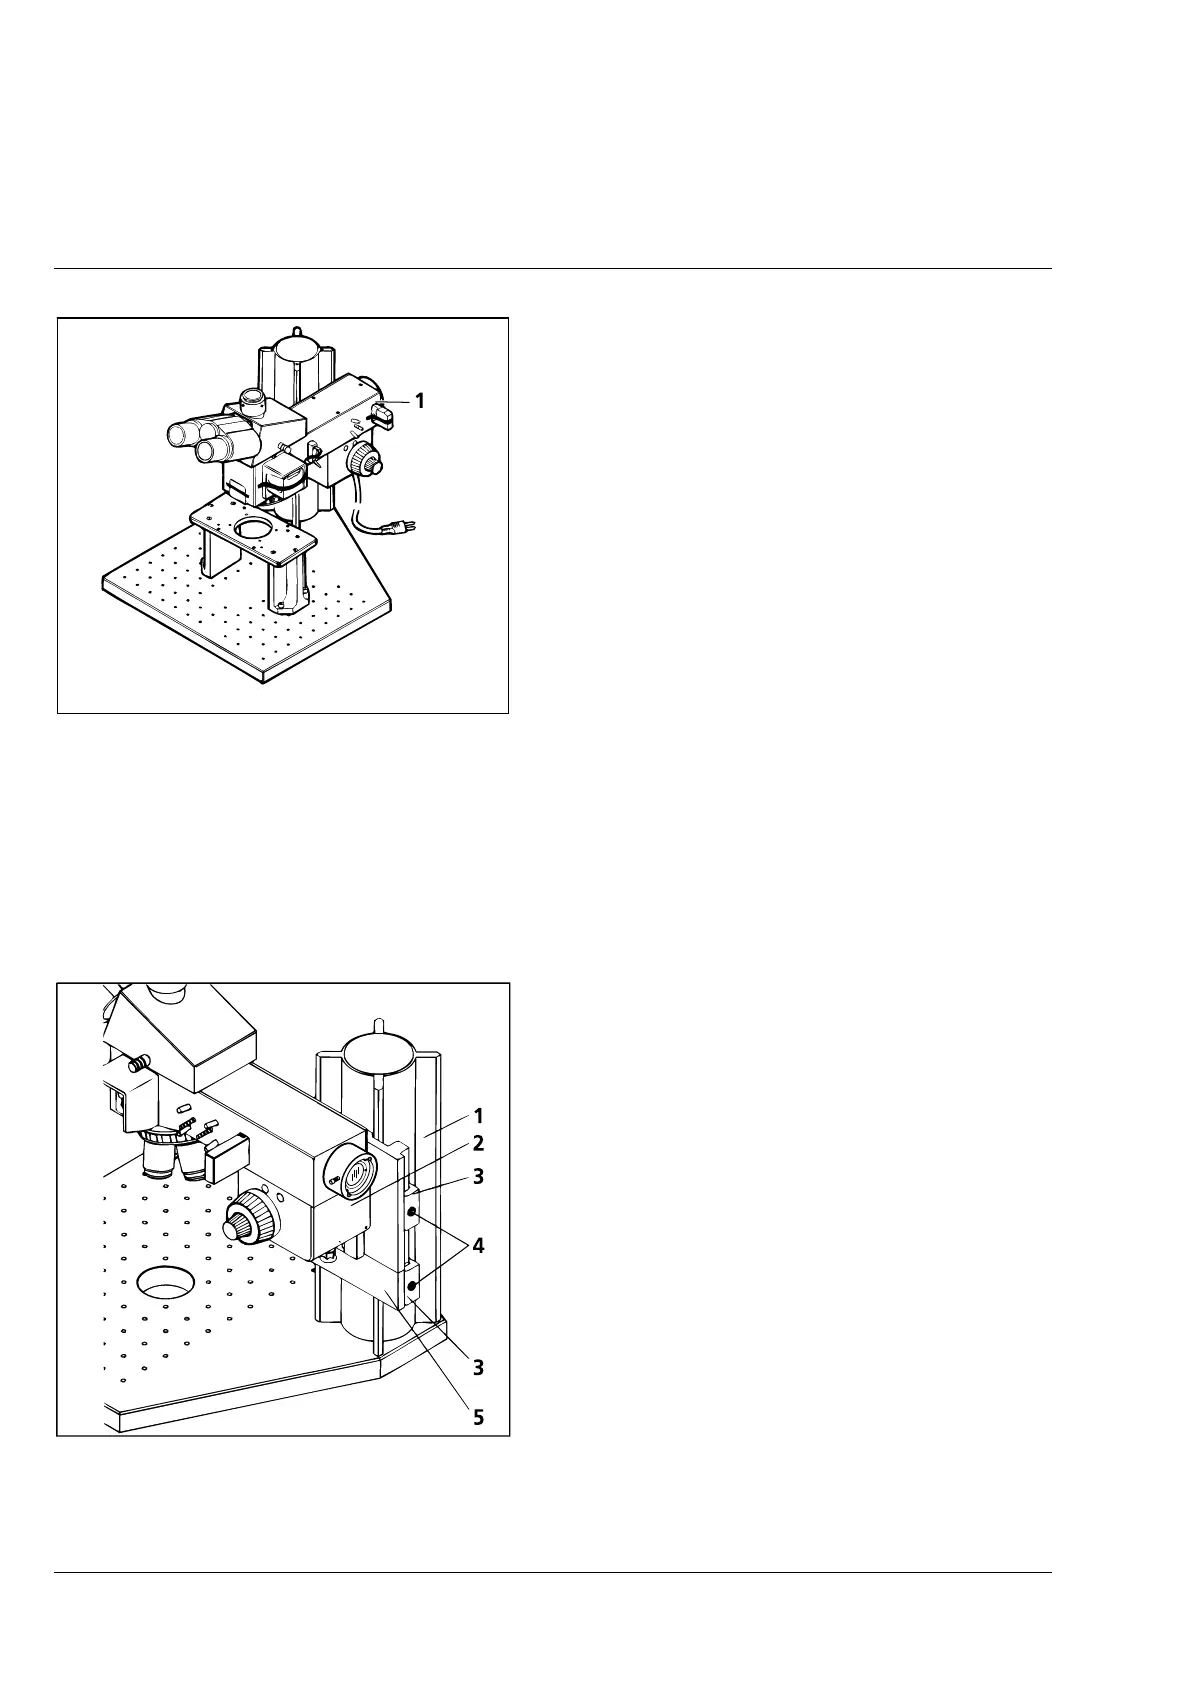
• Depending on specimen and stage, attach and
clamp the microscope body (2-4/2) to column
X95 (2-4/1) in such a way that sufficient safety
clearance is available between the object plane
and the objective.
• Attach securing clamp (2-4/5) to column X95,
push it against the microscope body from
below and clamp it (clamping jaw (2-4/3) must
point to the rear).
• To lower the microscope body, first move the
securing clamp by the relevant distance and
clamp it. Then lower the microscope body
towards the securing clamp and clamp it in
position.
• If the microscope body is moved upwards, the
securing clamp must always be moved up with
it. The clamping screws (2-4/4) are tightened or
removed using the angled hexagon key
included in the line of accessories.
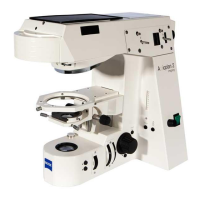
Fig. 2-3 Setting up the microscope
Fig. 2-4 Axiotech
vario
- Attaching the
microscope body to column X95
 Loading...