IES-1000 User’s Guide
Removing and Installing a Fuse C
Appendix B
Removing and Installing a Fuse
This appendix shows you how to remove and install fuses for the AC power IES-1000.
The AC power IES-1000 uses one 250V-3A fuse. The IES-1000 comes with two 250V-3A fuses; one is installed
at the factory (in the fuse housing) and the other is a spare (also located inside the fuse housing). If you need to
install a new fuse, follow the procedure below.
Before you begin, you will need:
• A small flat head screwdriver
• A 250V 3A fuse
• Good lighting
Removing and Installing Fuses
Removing Fuses
Safety first! Disconnect all power from the IES-1000 before you begin this procedure.
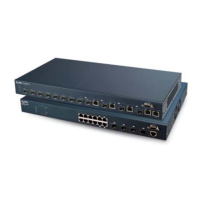
Step 1. Place the front panel of the IES-1000 in front of you.
Step 2. Remove the power cord for easy access to the fuse housing.
Step 3. Using a small flat head screwdriver, gently pry open the right side of the fuse housing (located to the left
of the power cord port receptacle) as shown next.
Diagram 1 Opening the Fuse Housing
 Loading...