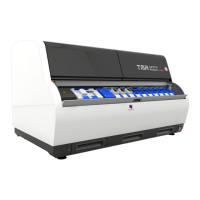
Pannoramic MIDI 1.17 User’s Guide 5 Troubleshooting and Maintenance
Figure 75 – Removal of covers
The protective cover is composed of two halves locked to each other. Locate the hole (1) at the front
of the right half of the cover (2):
1. Push with a blunt or long object (for example, with a 3 mm Allan key) against the opener
lever behind the hole to open the lock. You will hear a “clack”.
2. The two halves can be pushed apart.
Note:
If necessary, one or both halves can be removed completely. For this
purpose, push them to the right or to the left until they can be
detached.
3. On completion of the maintenance or repair work, the cover halves must be pushed
together again and locked. A “clack” sound can be clearly heard.
Caution!
Make sure that no cables are squeezed as you replace the cover(s). This
refers in particular to the cable(s) of the scan camera.
April 3, 2014 - Rev. 1 3DHISTECH Ltd.
113(127)