Pannoramic MIDI 1.18 User’s Guide 4 Software Description
4 Software Description
4.1 Starting / Exiting Pannoramic MIDI Software Application
4.1.1 Starting the software
For the scanning software you can choose from different scanning modes at the startup of the
program.
1. To start the program, double-click on the program icon on the desktop or start it from
Start \ Program Files \ 3DHISTECH \ Pannoramic Scanner
2. During start-up, all motors, the preview camera and the scan camera are initialized. After
successful initialization, the Mode selection window is displayed.
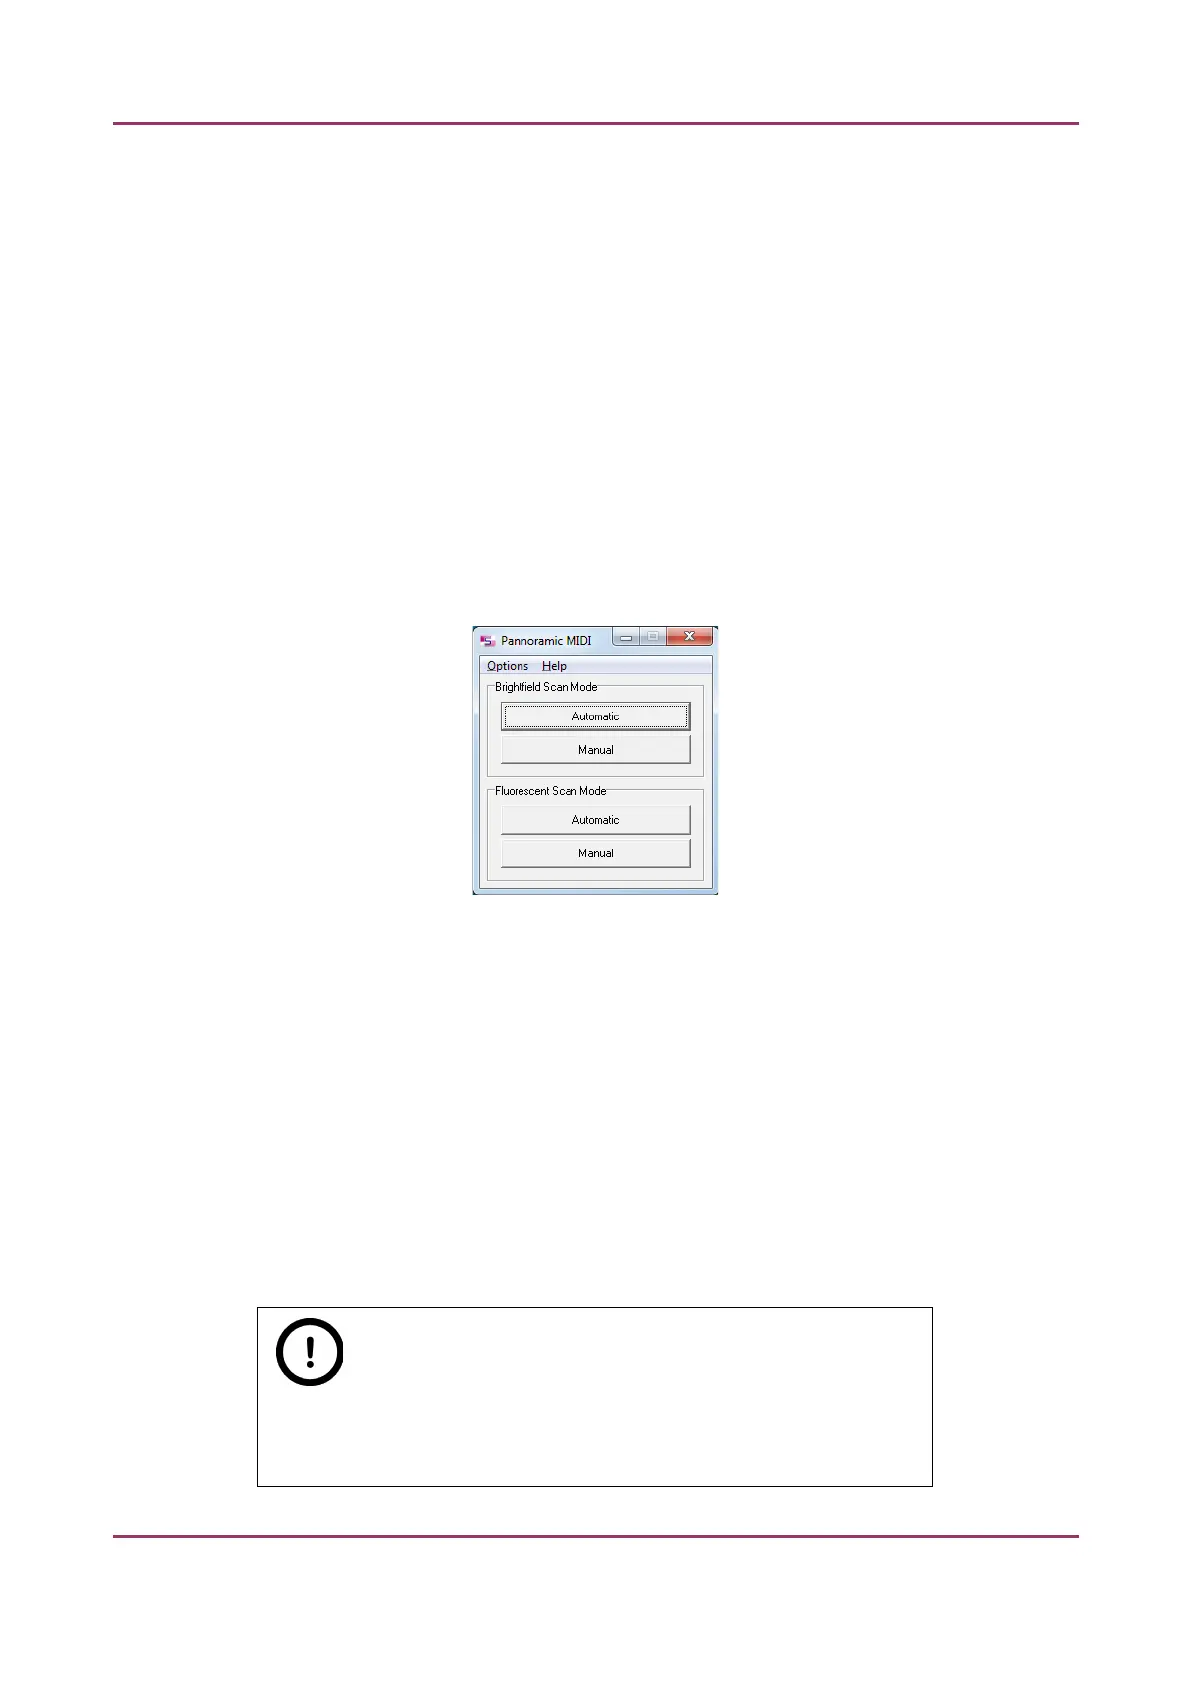
Figure 9 – Mode selection window
The selection window displays two Brightfield and Fluorescent scan modes:
• Automatic
• for digitizing multiple slides
• Manual
• for digitizing individual slides
• where contrast ratio is critical due to specimen staining and where ideal
parameters need to be determined for subsequent use in Automatic mode
• if profiles need to be defined for the Automatic mode
Note:
It is recommended to use specimens with identical staining for a given
tray in Automatic mode.
April 3, 2014 - Rev 1 3DHISTECH Ltd. 30(127)