Overall flowchart of the installation process
For instructions, seeTaskStep
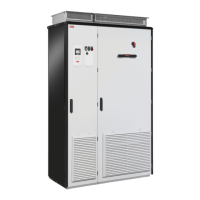
Installing the mechanical accessories into the
cabinet
Install the Rittal parts and drive module mechan-
ical accessories into the cabinet
1
Connecting the power cables
Connect the power cables to the cabling panels2
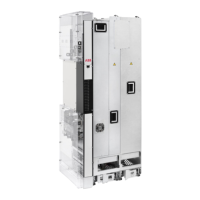
Installing the drive module into the cabinet
Install the drive module into the cabinet3
Attaching the external control unit (page 106)
Install the external control unit4
Connecting the external control unit to the drive
module (page 104)
Connect the control cables5
The component manufacturer’s instructionsInstall the remaining parts, for example, cabinet
doors, side plates, etc.
6
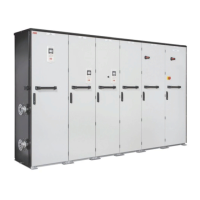
Installing the mechanical accessories into the cabinet
See Step-by-step drawings for an installation example of standard drive configuration in
Rittal VX25 800 mm wide enclosure (page 241) for these steps:
• Attach the plinth to the floor.
• Attach the cabinet frame to the plinth.
• Make the bottom plate with 360-degree grounding entries for power cables.
• Attach the bottom plate to the cabinet.
• Attach the punched section to the back of the cabinet frame.
• Attach the mounting brackets to the punched section.
To install the full cabling panels to the cabinet frame (see the drawings on the next page):
1. Install the Rittal punched sections VX 8100.742 to which the output cabling panel and
the input cabling panel will be attached.
2. Attach the output cabling panel to the punched sections.
3. Install the side guides to the output cabling panel (2 screws for each guide).
4. Attach the grounding busbar to the input cabling panel.
5. Attach the input cabling panel to the punched sections.
6. Attach the input cabling panel to the side guides (2 screws for each side guide).
7. Install the telescopic extraction and insertion ramp as shown in the appendix.
Installation example with full cabling panels (option +H381) 137
 Loading...