Operation Manual / Power2 340-H / Low-pressure stage
3 Removal and installation / 3.3 Installing the low-pressure stage
© Copyright 2022 ABB. All rights reserved. HZTL4053_EN Rev.F March 2022
3.3.3 Steps for fastening the low-pressure stage
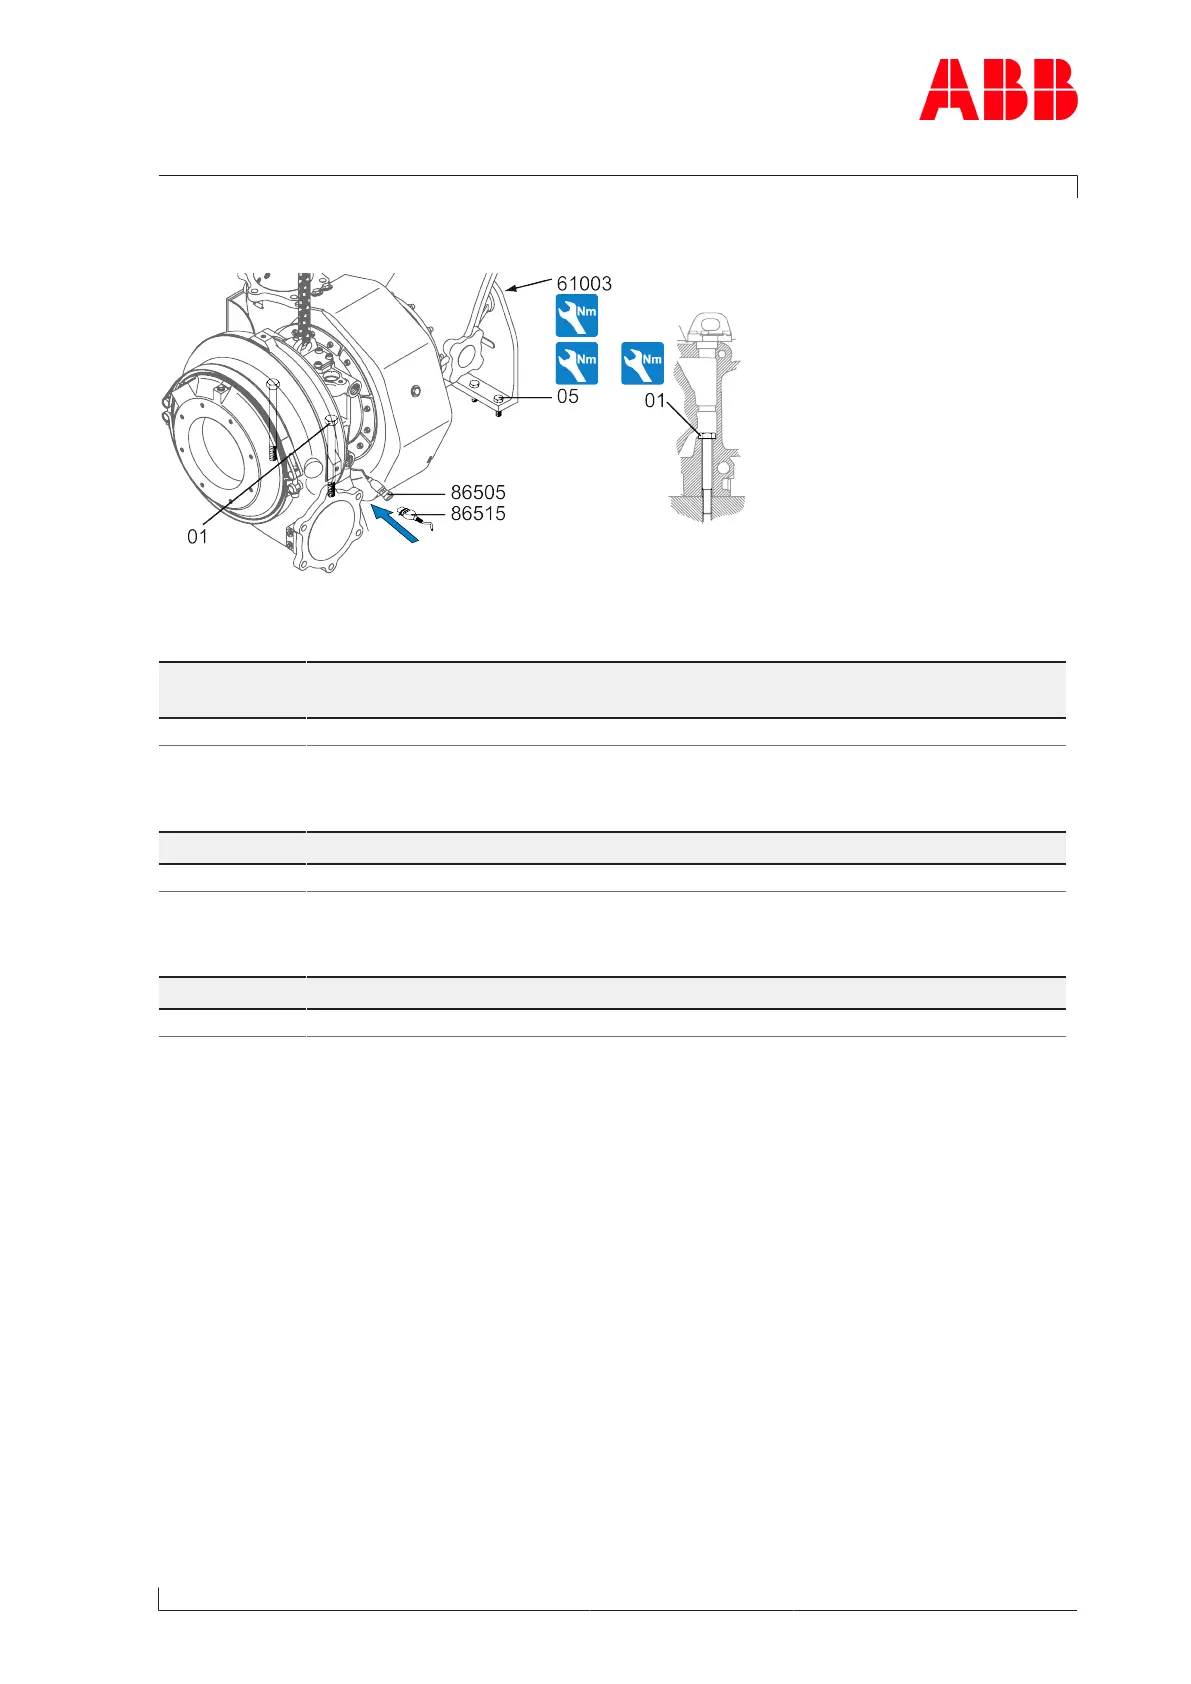
Fig.15: Low-pressure stage, tightening the fixing screws.
u Tighten the fitted fixing screws (01) according to the following table:
Power2 Fixing screws (01) [mm] Tightening torques [Nm] (friction
coefficient µ=0.12)
340 LP M20 455
Table9: Fixing screw tightening torque (01)
u If a support is present, tighten the fixing screws (05) according to the following table:
Power2 Fixing screws (05) [mm] Tightening torques [Nm]
340 LP M16 180
Table10: Fixing screw tightening torque (05)
u Then tighten the hexagon-head screw (61003).
Power2 Hexagon-head screws (61003) [mm] Tightening torques [Nm]
340 LP M20 320
Table11: Tightening torque (61003)
u Remove lifting gear.
u Connect the cable connector(86515) to the speed sensor(86505) (see Fig.14: Placing the
low-pressure stage on the bracket →34).
u Connect all gas pipes and air lines.
Version with water-cooled bearing casing
u Fit the water pipes according to the instructions of the enginebuilder.
Page 35 / 122