MAX_Kurzanleitung_Brief_Overview_V1.03_de_en 61 / 105
Press the On/Off switch on the front (switch light lights up) to switch on the power (24 V DC and 230 V AC).
Now the workstation is ready to use.
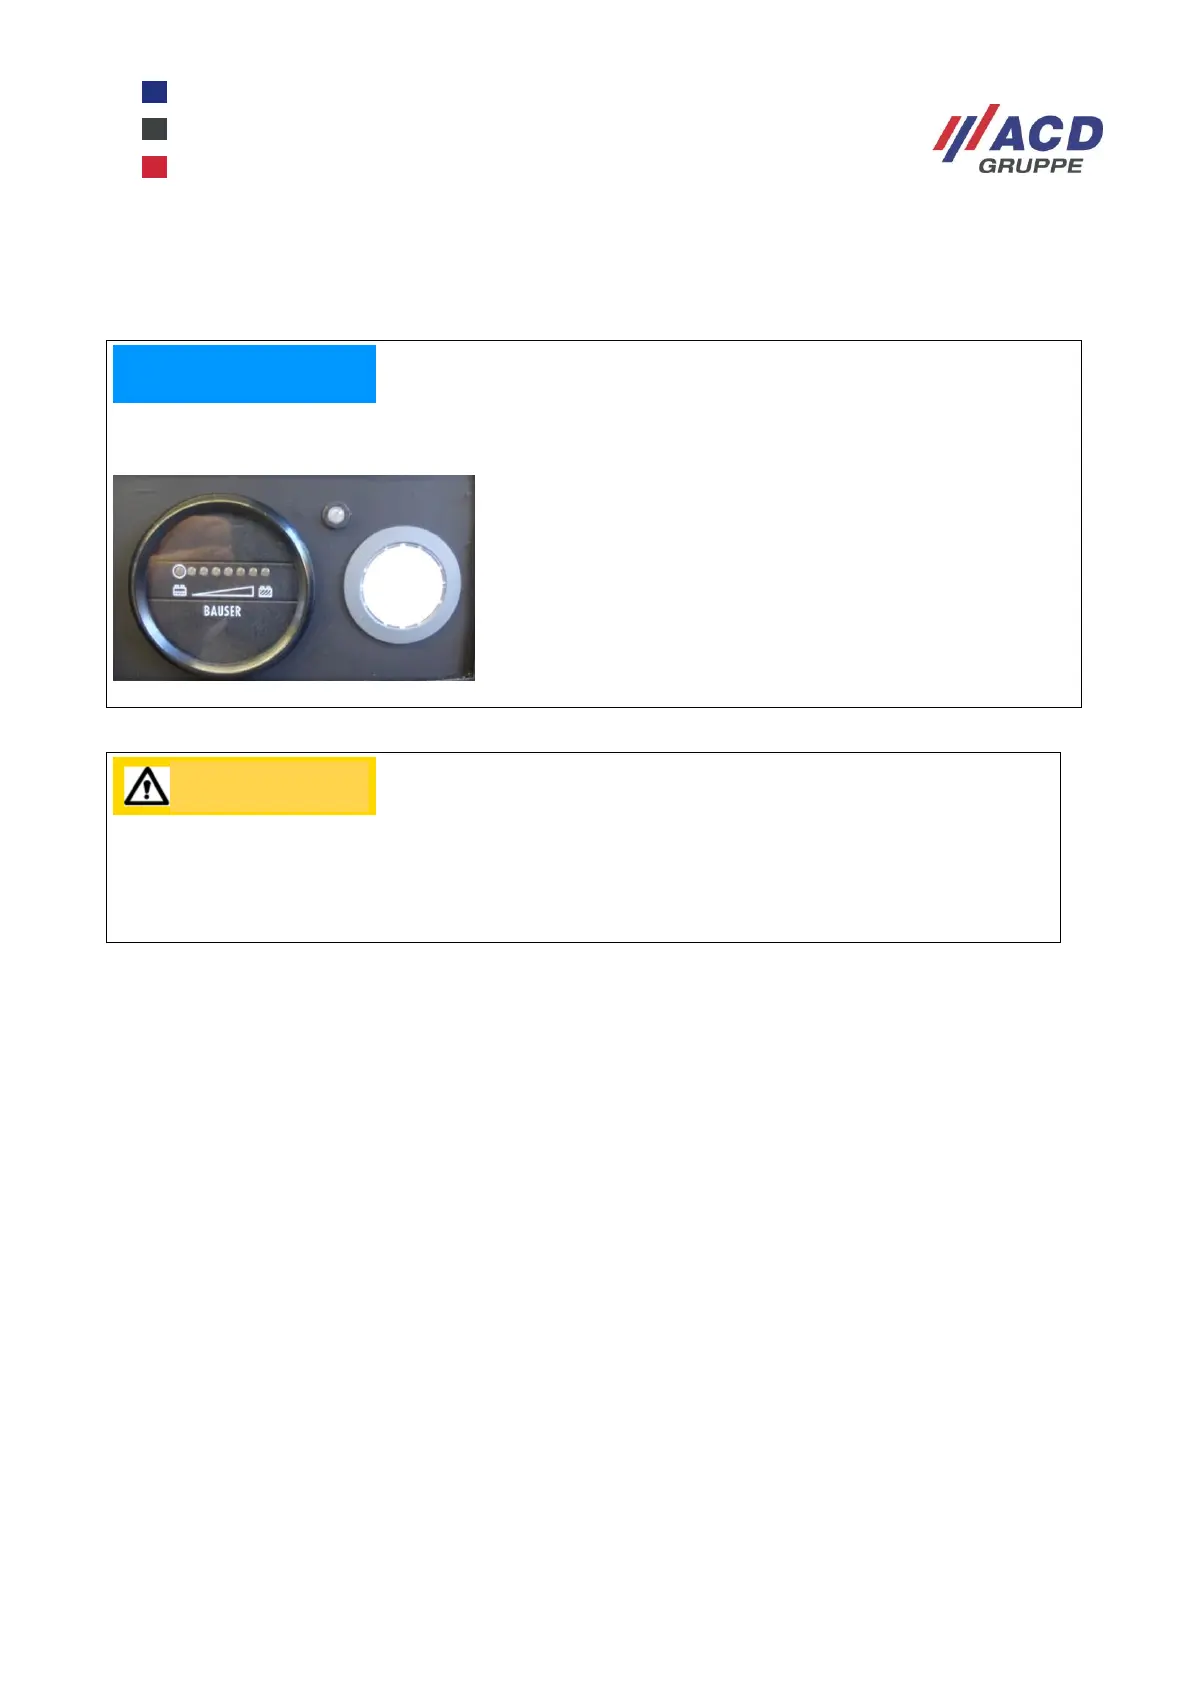
Check the current charge state of the batteries by looking at the row of LEDs for the installed battery
controller.
To switch off the mobile workstation and the equipment connected to it, press the On/Off button on the front
again (switch light goes out).
24.1.2 Mode 2: charging with the integrated charger
Switch off the mobile workstation and the equipment connected to it by pressing the On/Off switch on the
front (switch light goes out). Open the rear panel of the mobile workstation and plug the charger connection
cable into a stationery 230 V AC shockproof socket. This starts the charging process, indicated by the
charger status LED display on the front of the workstation, which flashes green during the entire charging
operation. When the green LED lights up steadily, the charging operation is complete.
Do not plug the charger connecting cable into the mobile workstation socket strip because this will
not charge the batteries.
7 yellow LEDs lit up – batteries are “full”
1 yellow, flashing LED – batteries are “empty”
Figure 3: Battery charge state
Please note that, when final discharge status is reached (red LED lights up, acoustic signal
sounds) and the time for automatic switch-off expires, the mobile workstation switches off all
consumers. This protects the batteries from deep discharging, however it comes with a risk of
system crashes of PCs not suitable for this.