User’s Manual
4
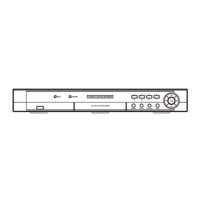
Video Loop Through
NOTE: The Loop BNC connectors are auto terminated. Do NOT connect a cable to the Loop
BNC unless it is connected to a terminated device because it will cause poor quality video.
Audio In/Out
Your DVR can record audio. Connect the audio source to Audio In using an RCA
jack. Connect Audio Out to your amplifier.
NOTE: It is the user’s responsibility to determine if local laws and regulations permit
recording audio.
NOTE: The DVR does not have amplified audio output, so you will need a speaker with an
amplifier. The DVR does not have a pre-amplifier for audio input, so the audio input should
be from an amplified source, not directly from a microphone.
Factory Reset Switch
The DVR has a Factory Reset switch to the left of the VGA port on the
rear panel. This switch will only be used on the rare occasions that you want
to return all the settings to the original factory settings.
CAUTION: When using the Factory Reset, you will lose any settings you have saved.
To reset the unit, you will need a straightened paperclip:
1. Turn the DVR off.
2. Poke the straightened paperclip into the unlabeled hole to the left of the VGA port, and turn
the DVR on.
3. Hold the reset switch until the DVR turns on and live monitoring screen appears.
4. Release the reset switch. All of the DVR’s settings are now at the original settings it had
when it left the factory.
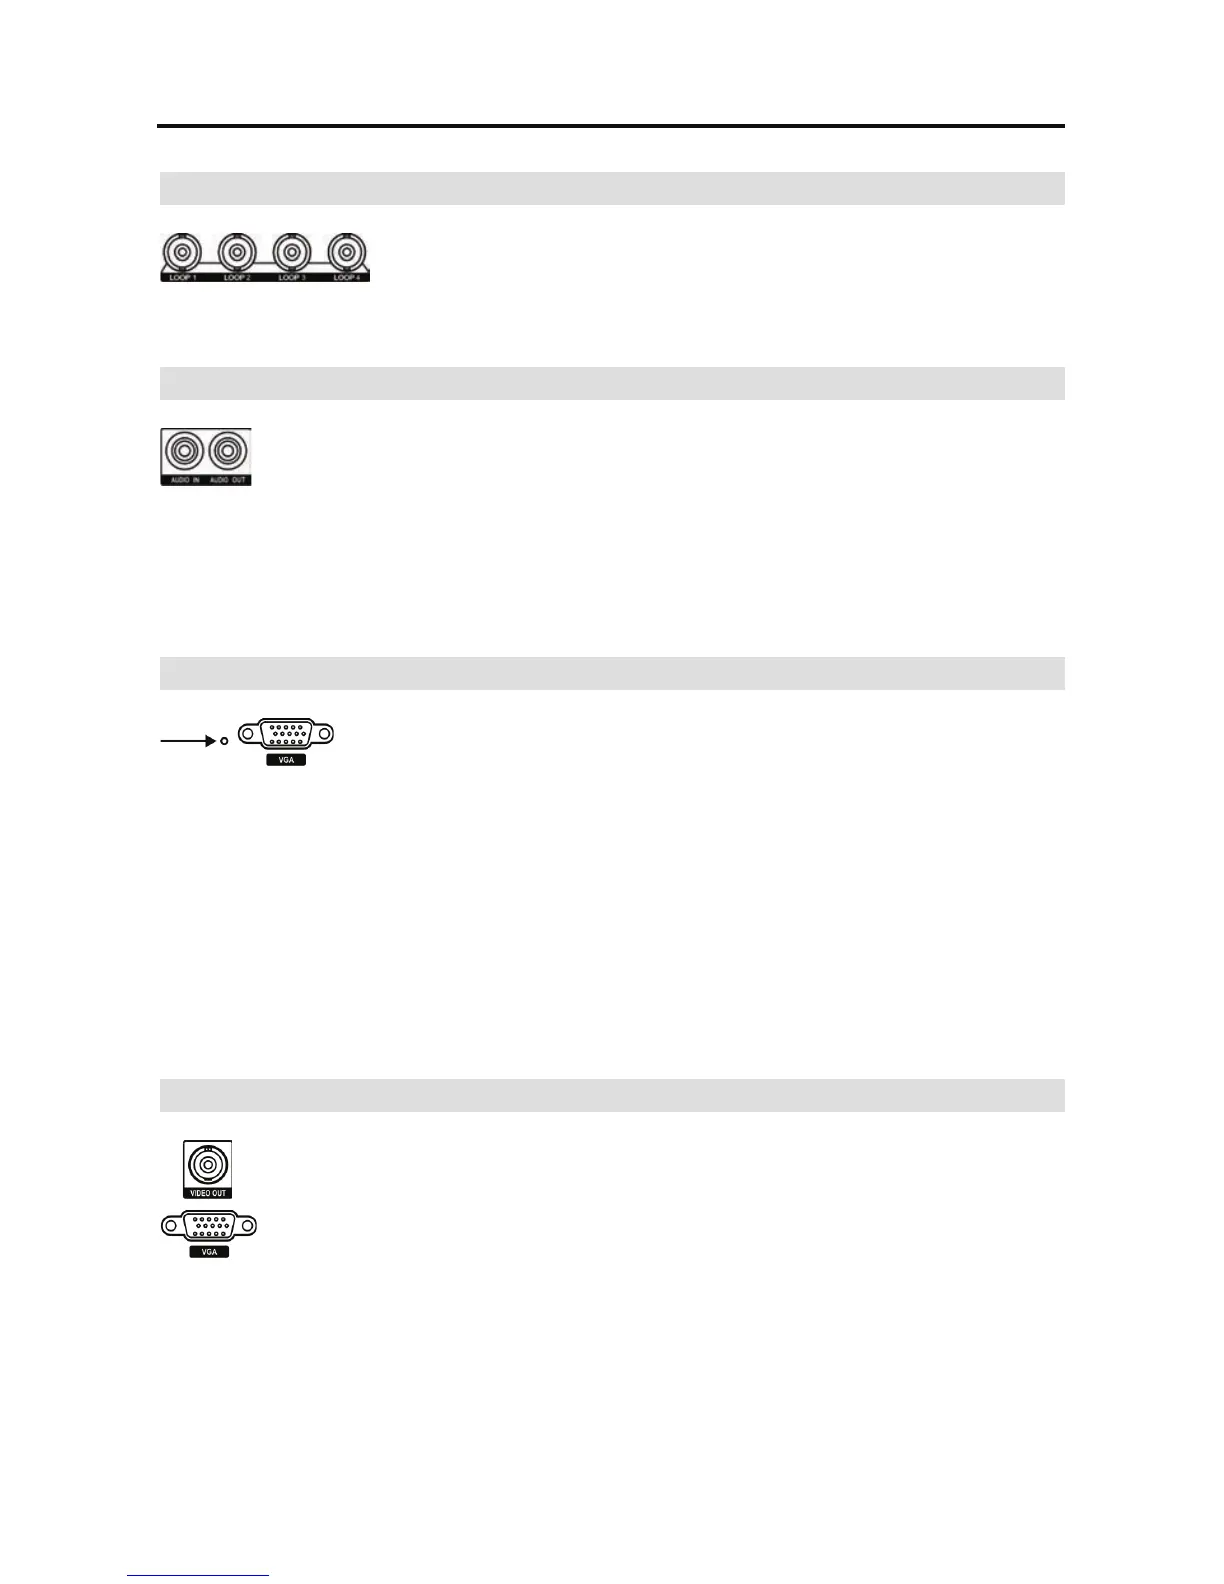
Video Out
Connect the main monitor to the Video Out connector.
A VGA connector is provided so that you can use a standard, multi-sync computer
monitor as your main monitor. Use the cable supplied with your monitor to connect
it to the DVR.
NOTE: The Video Out (BNC) and VGA connectors may be connected to individual monitors
for simultaneous operation.
If you would like to connect your video source to another device, you
can use the Loop BNC connectors.
 Loading...