User’s Manual
12
Turning on the Power
Connecting the power cord to the DVR turns on the unit. The unit takes approximately 60 seconds
to initialize.
Initial Unit Setup
Before using your DVR for the first time, you will want to establish the initial settings. This
includes items such as time and date, display language, camera, audio, record mode, network and
password. Your DVR can be set up using various screens and dialog boxes.
Throughout the screens you will see . Highlighting the and pressing the (Play/Pause)
button gives you the opportunity to reset that screen to its default settings. After you are finished
with any setup screen, you can highlight Save and press the
button to save the changes and
exit the screen. If you do not wish to save the changes, highlight Cancel and press the
button
to exit the screen.
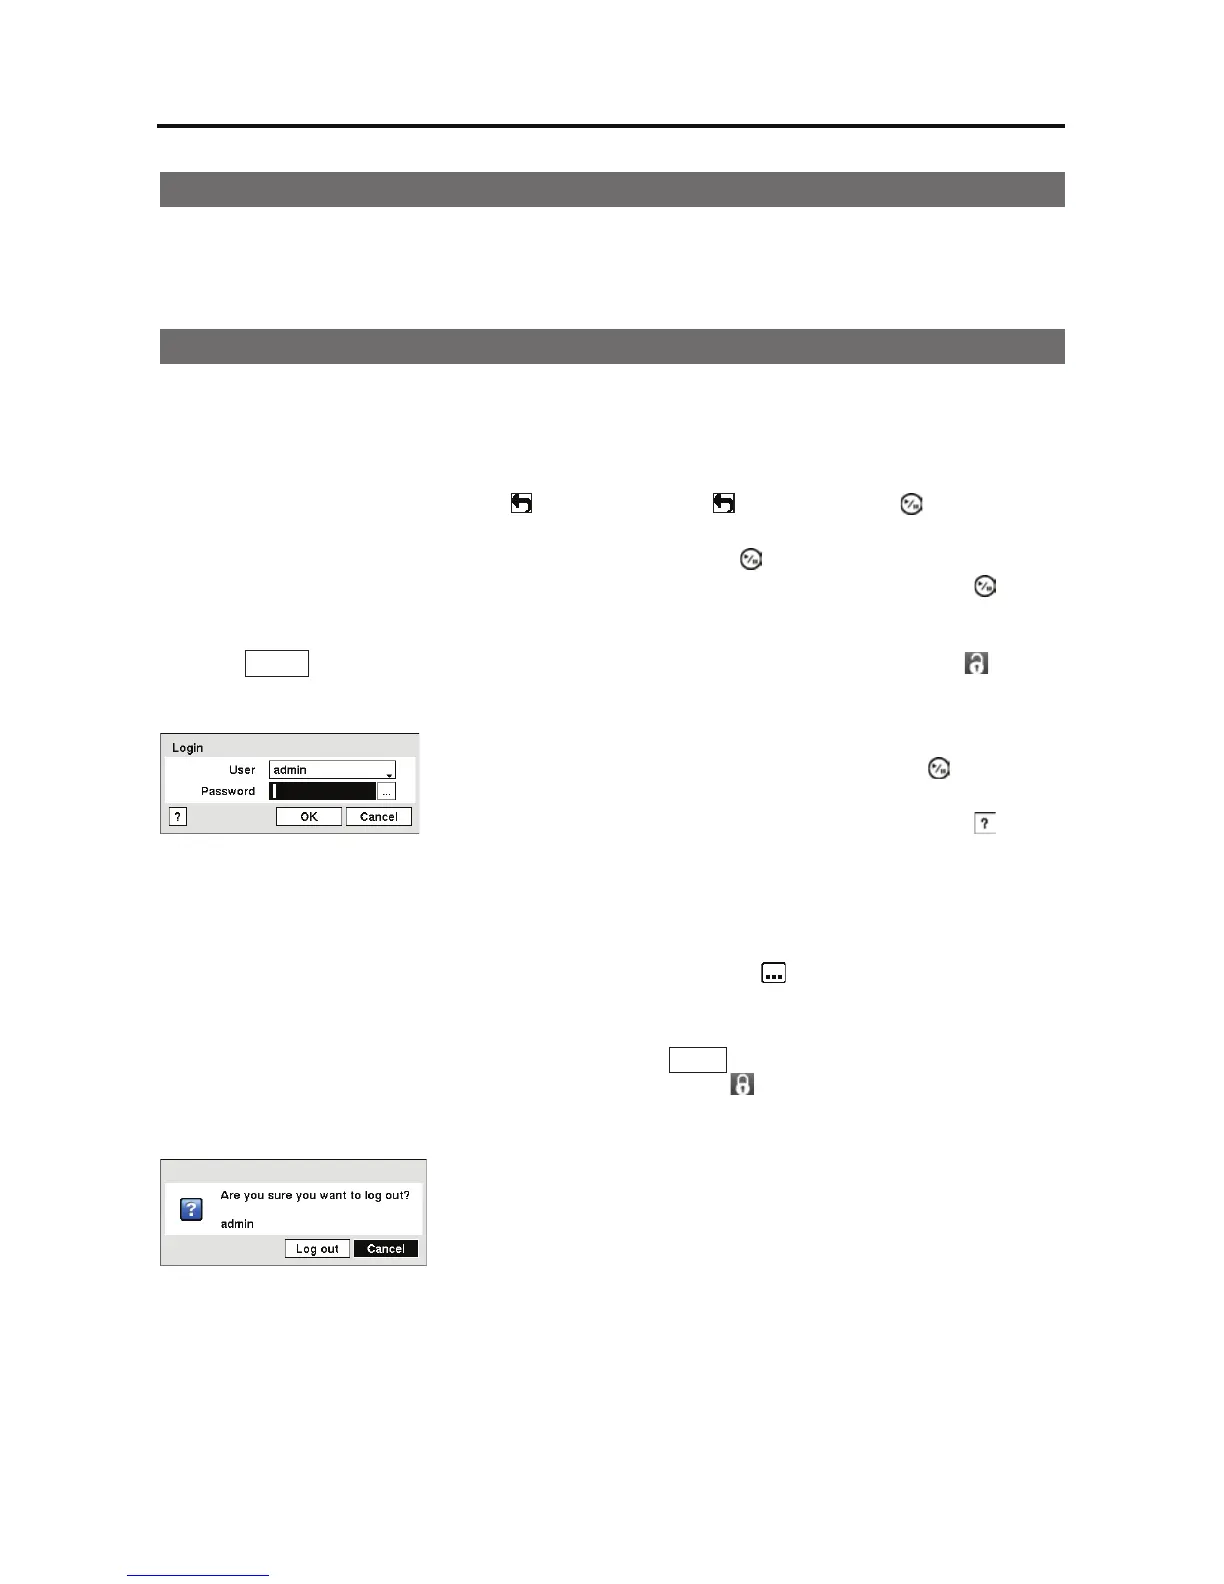
Press the MENU button or move the mouse pointer to the top of the screen and then select (Login)
in the Live Monitoring menu to enter the setup screens. The Login screen appears.
NOTE: To assure the secure management of the system, setting up a password is strongly
recommended.
NOTE: If you cannot use the front panel buttons, click the
button using the mouse to
enter a password, and the virtual keyboard displays. See instructions below for using the
virtual keyboard.
NOTE: To log the user out of the system, press the MENU button on the front panel or move
the mouse pointer to the top of the screen and then select (Logout) in the Live Monitoring
menu. The Logout screen displays asking you to confirm whether or not you want to log
out the current user.
Figure 6 Logout screen.
Figure 5 Login screen.
Select a User and enter the password by pressing the appropriate
combination of Camera number buttons and then the
button.
There is no default password when logging in the admin user for
the first time. If you do not know the password, click the
button
for guidance.
 Loading...