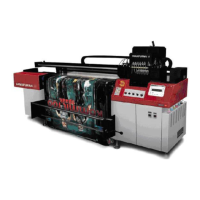
Connect the cables
WARNING:
To avoid risk of electric shock, this equipment must only be
connected to a supply mains with protective earth.
WARNING:
When installing the printer, care must be taken to ensure that
there is either a mains plug or an all-cable disconnecting device
in the internal installation fitted near the printer and that it is
easily accessible.
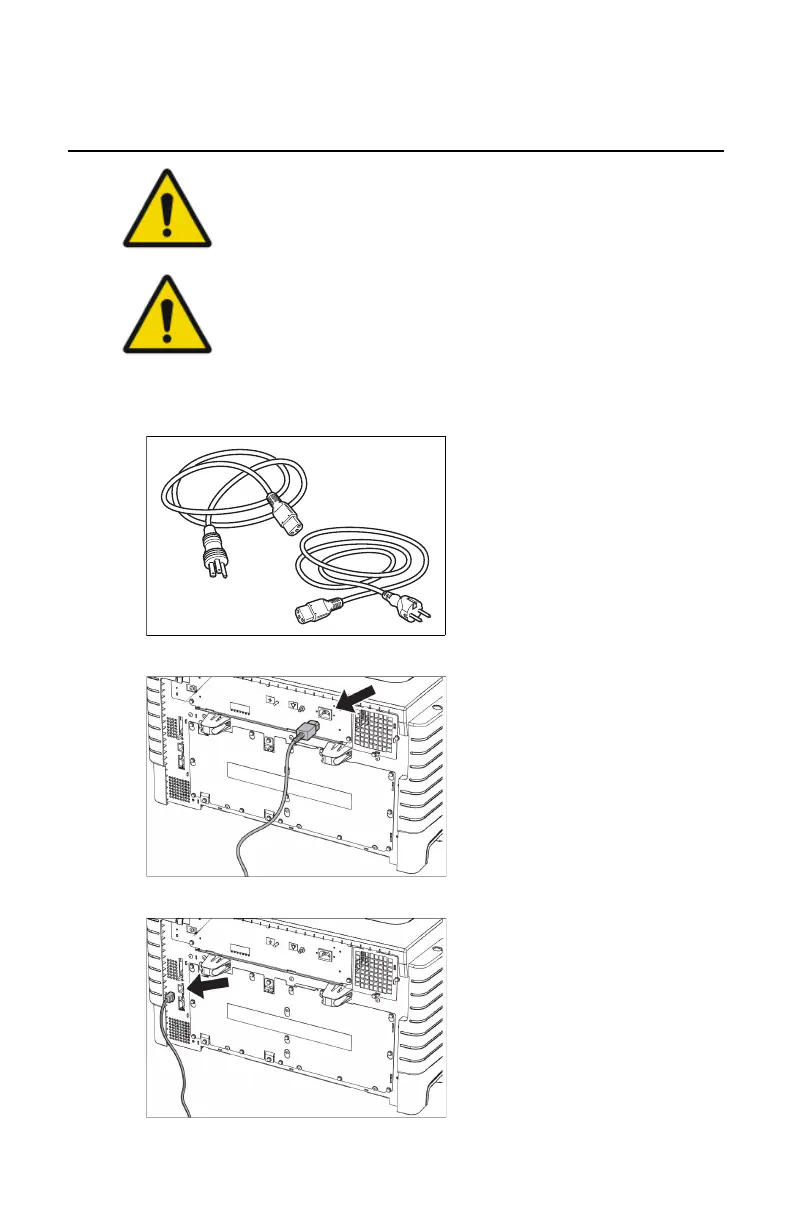
1. Select power cable (country specific, order separately).
13/20
2903S EN 201212072903S EN 20121207
10
Connect the cables (1 of 2)
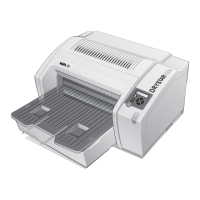
2 Locate the mains connector.
4 Mount the strain relief.
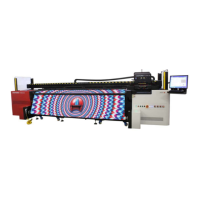
6 Move the printer to its final destination
and lock the wheel.
1 Select power cable
(country specific, order separately).
3 Connect the power cable.
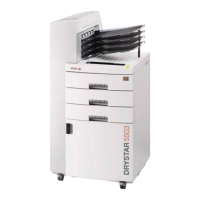
5 Locate the network connector and
connect the network cable.
B
Installation
2. Connect the power cable.
3. Connect network cable.
142 | Drystar 5301, Drystar 5302 | Plug & Play Installation Manual
2831F EN 20210601 1655