10 Agilent U1251B/U1252B User’s and Service Guide
1 Getting Started Tutorial
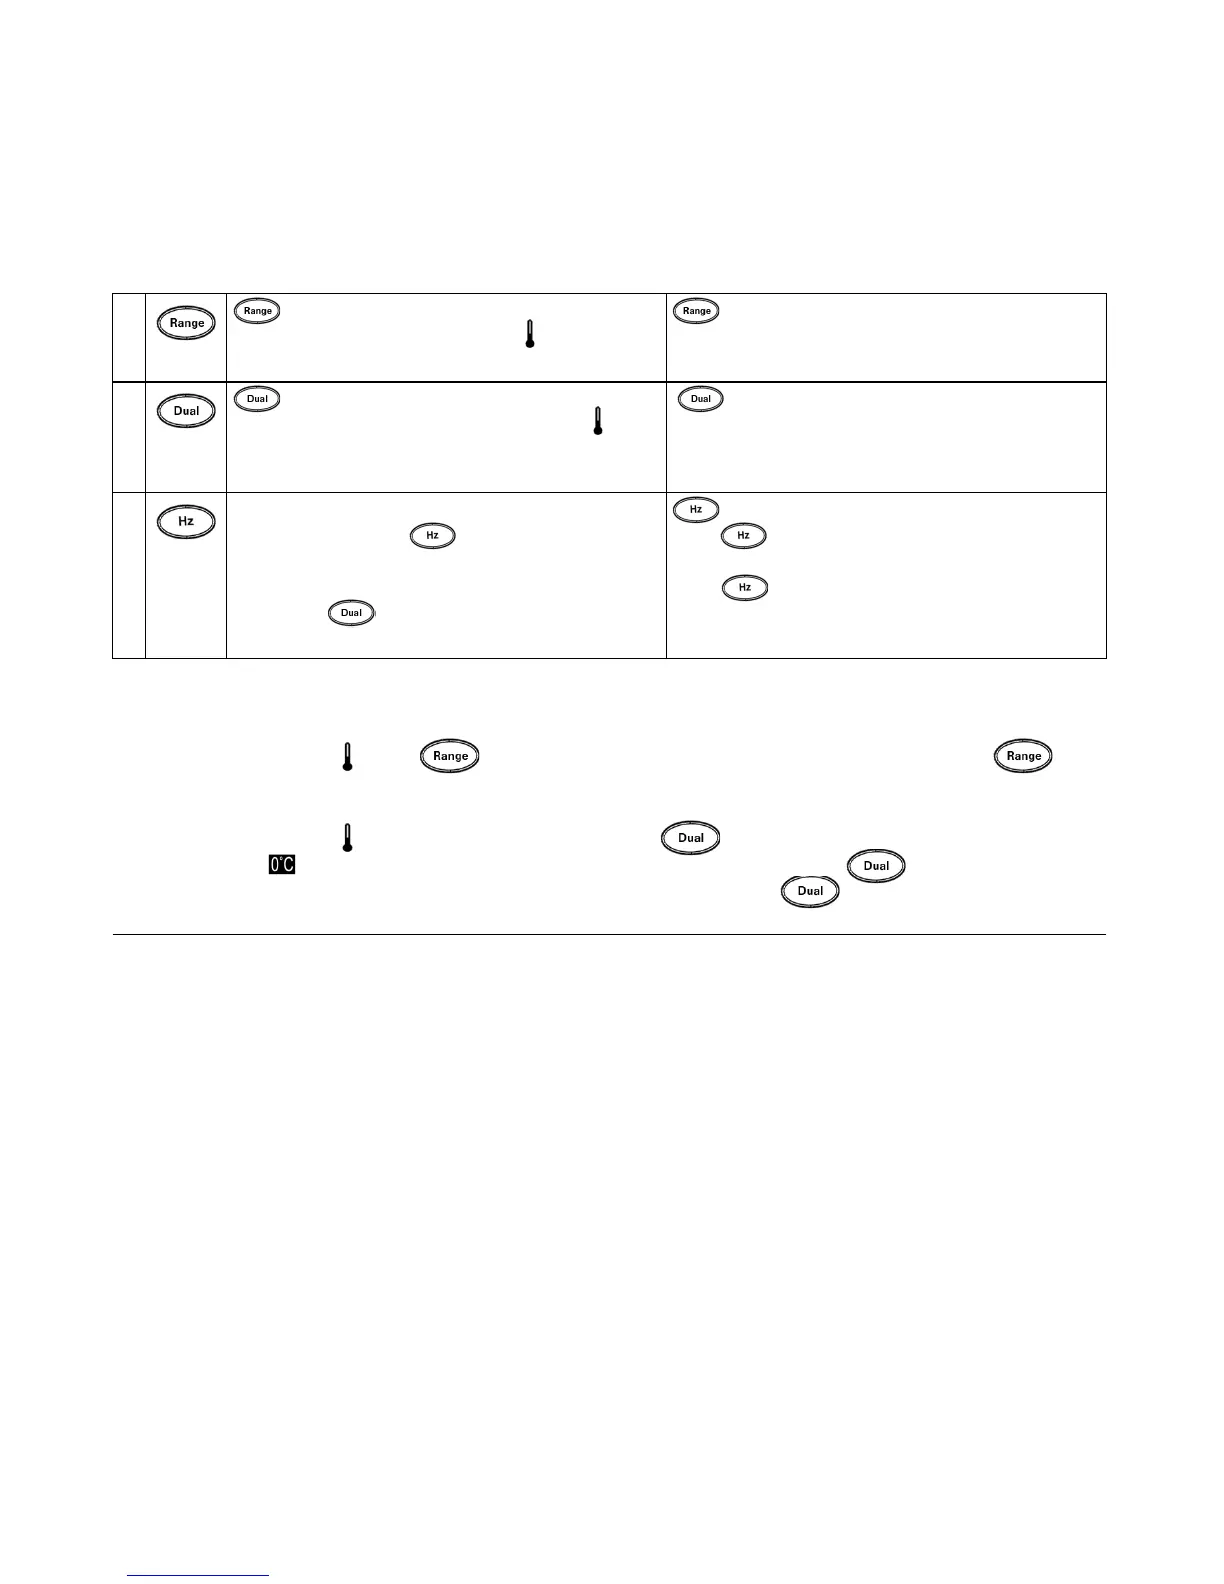
5 scrolls through available measuring ranges
(except when rotary switch is set at or at Hz [for
U1252B] position)
[2]
.
sets to Auto Range mode.
6 scrolls through available dual-combination
displays (except when rotary switch is set at or
TEMP or Hz [for U1252B] position, or when meter is in
1 ms peak hold or dynamic recording mode)
[3]
.
exits Hold, Null, Dynamic Recording, 1 ms
Peak Hold and dual display modes.
7 enters Frequency Test mode for current or voltage
measurements. Press to scroll through
frequency (Hz), duty cycle (%) and pulse width (ms)
functions. In duty cycle (%) and pulse width (ms)
tests, press to switch to positive or negative
pulse.
enters logging mode. In manual data logging,
press to log data manually into memory. In
automatic data logging, data logs automatically
[1]
.
Press for more than 1 second to exit auto data
logging mode.
Notes for keypad descriptions and functions:
1 See Ta b l e 4 - 1 on page 75 for details of available options.
2 When rotary switch is at , press to switch to ºC or ºF display. When rotary swtich is at Hz, press to
switch to division of signal frequency by 1 or 100.
3 When rotary switch is at , ETC is ON by default. You may press to disable ETC (Environment Temperature
Compensation), will appear on display. For pulse and duty cycle measurement, press to switch trigger slope
to positive or negative. When meter is in peak or dynamic-recording mode, press to restart 1 ms peak hold or
dynamic recording mode.
Table 1-2 Keypad descriptions and functions (continued)

 Loading...


