Performance Tests and Calibration 6
U1253B User’s and Service Guide 169
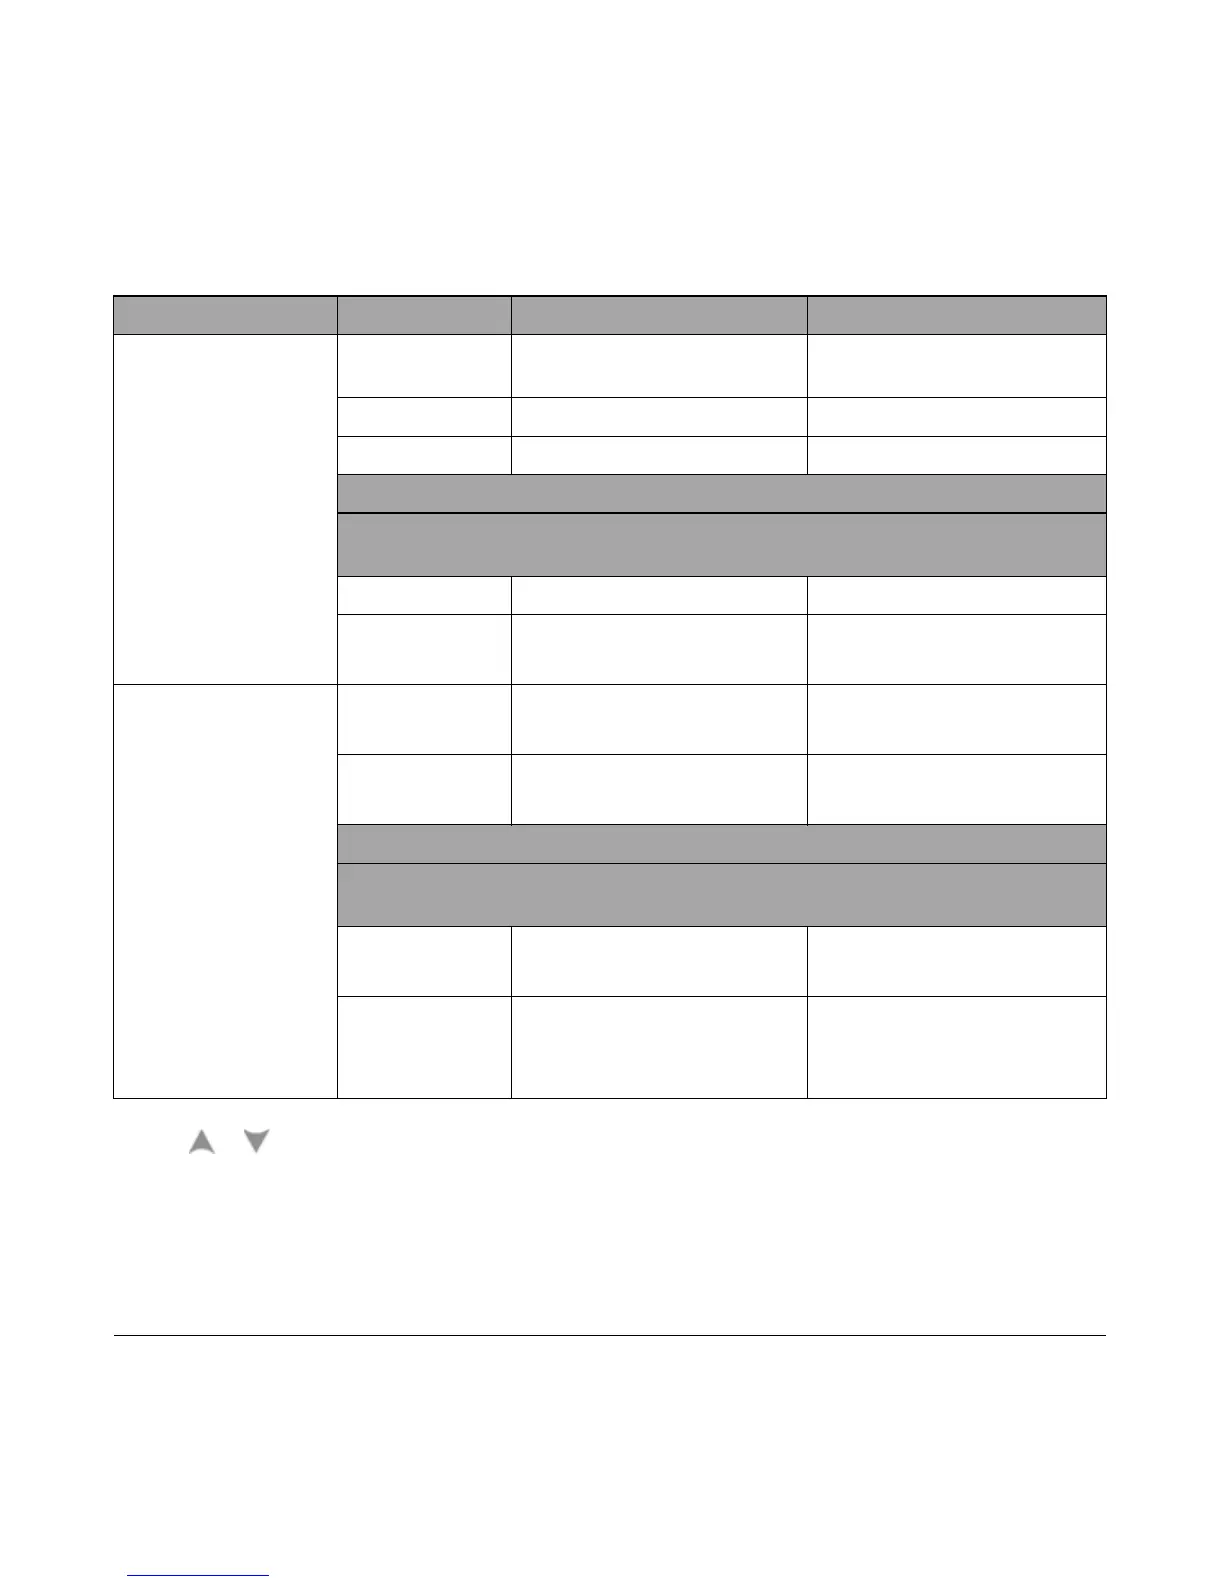
DC mA/DC A Open for all ranges OPEN Unplug all test leads or shorting
plug, and leave the terminals open
50 mA 30.000 mA 30 mA
500 mA 300.00 mA 300 mA
Move the positive test lead from the μA.mA terminal to the A terminal.
Caution: Connect the calibrator to the multimeters A and COM terminals before applying
3 A and 10 A.
5 A 3.0000 A 3 A
10 A 10.000 A
(done)
10 A
AC mA/AC A 50 mA 3.000 mA (1 kHz)
30.000 mA (1 kHz)
3 mA, 1 kHz
30 mA, 1 kHz
500 mA 30.00 mA (1 kHz)
300.00 mA (1 kHz)
30 mA, 1 kHz
300 mA, 1 kHz
Move the positive test lead from the μA.mA terminal to the A terminal.
Caution: Connect the calibrator to the multimeters A and COM terminals before applying
3 A and 10 A.
5 A 0.3000 A (1 kHz)
3.0000 A (1 kHz)
0.3 A, 1 kHz
3 A, 1 kHz
10 A 3.000 A (1 kHz)
10.000 A (1 kHz)
(done)
3 A, 1 kHz
10 A, 1 kHz
Notes for list of calibration items:
1 Press or to select the calibration item (if not performing the complete set of calibration). After successfully
calibrating an item, the multimeter will automatically proceed to the next item.
2 Both AC V positions must be calibrated individually.
3 The minimum AC current output of the Fluke 5520A calibrator is 29.0 μA, therefore, an output of at least 30.0 μA must be
set for the calibrator.
4 Be sure to recalibrate the “Short” using the dual banana plug with copper wire after performing calibration for resistance.
5 Ensure that the multimeter is turned on and stabilized for at least 60 minutes, with the K-type thermocouple connected
between the multimeter and the calibrator out terminal.
Table 6-4 List of calibration items (continued)
Function Range Calibration item
[1]
Reference input

 Loading...


